
Is your spring rate leaving you deflated? Do you feel like you cannot rebound fast enough? It’s time to take an hour or two to set up your mountain bike’s suspension with our essential suspension setup guide.

Suspension, why bother setting it up?
Correctly tuned suspension can make a good bike feel great, but a poor setup can make a great bike feel terrible. We take you through the essential steps to optimize your bike for your riding style and the trails that you love. Spending a couple of hours tweaking your suspension will transform your riding enjoyment and can also be a lot of fun.

You’re not a number!
The purpose of this tuning guide is to help you reach a suspension setting that is optimised for you. Suspension set up is dynamic – there are so many variables like your weight, where you ride, what you ride and how you ride, that mean that simply copying your mates’, or even worse a pro’s, setup will result in sub-optimal performance. While most manufacturers now offer printed guidelines that will give you a good base setup, following this guide will give you the skills to personalise that setup.
Suspension is always a compromise
There’s no such thing as the perfect suspension setting. If you optimise your suspension to provide big-hit support, small bump sensitivity will suffer. Suspension setup is always a compromise, finding a balance between sensitivity and support. It’s therefore important to find the suspension balance that suits the way you ride and your trails.
Before you start
Before you invest time optimising your suspension, you need to ensure that your suspension fork and shock are in good working order. There’s no point spending time on setup if your suspension units are puffing and wheezing their way down the hill. Most suspension manufacturers recommend an oil service every 50 hours of riding and a full damper service every 100 – 200. Be honest, when was the last time you had yours checked? If you’re setting up a new bike you don’t have to worry, but if your bike has seen some action it is essential to first get your units serviced by professionals – it will transform the performance of your bike!
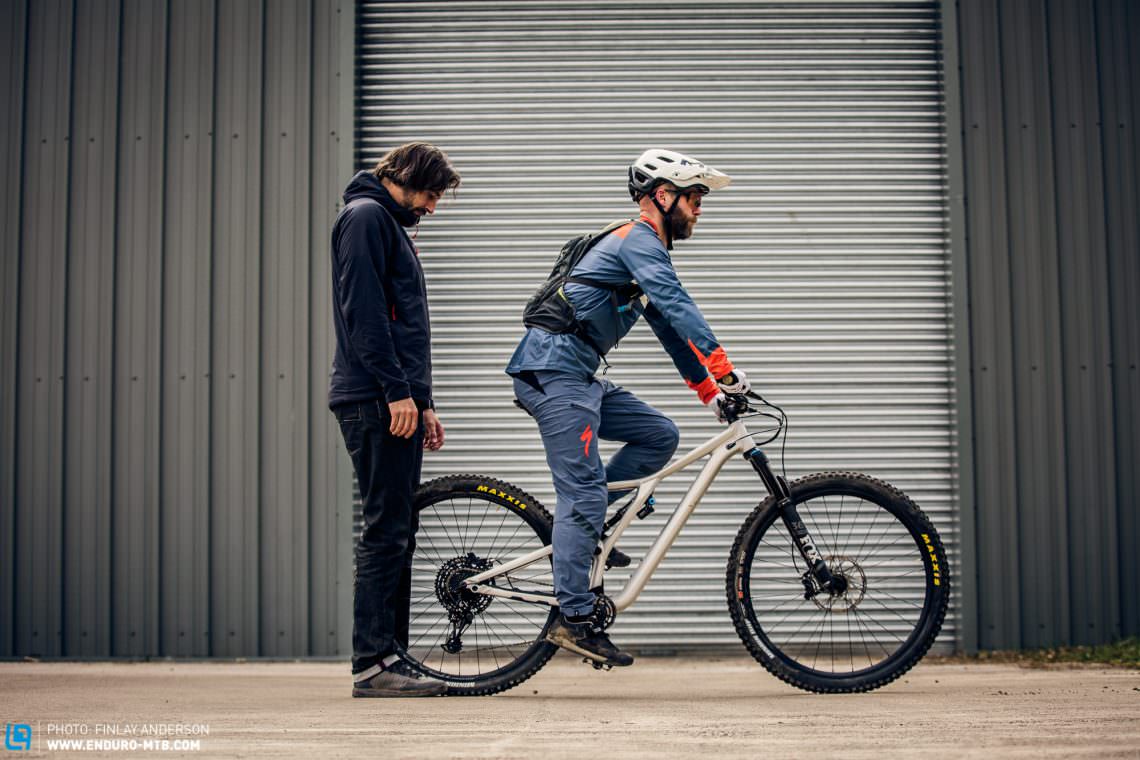
To follow this guide you will need your normal riding clothes, right down to your helmet and backpack. To best optimize your bike’s performance you will need a short section of your favourite technical trail, a shock pump, a measuring device (ruler or tape), a calculator and a buddy to help.
Step 1: Setting your sag
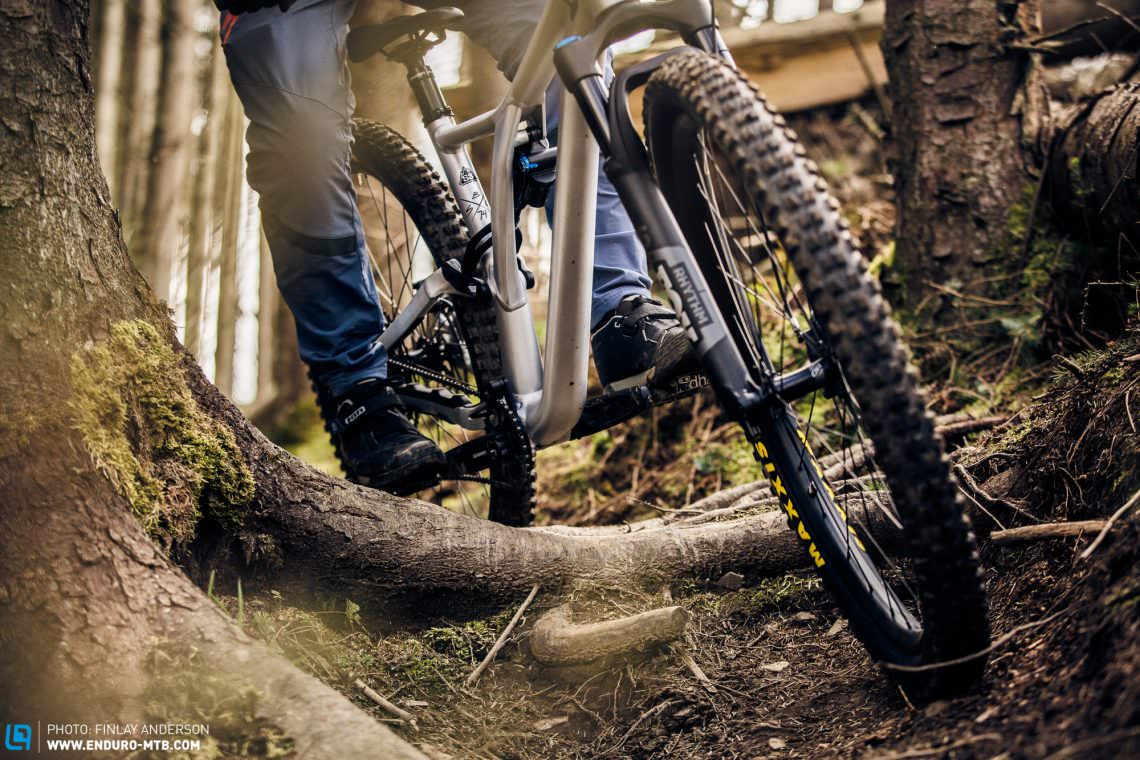
For your suspension to perform at its best, it must be able to respond to every contour of the trail. When you hit an object, your fork and shock compress, absorbing the energy from the impact. This, in turn, is released by extending back out again. To maintain traction, suspension forks and shocks not only have to absorb impacts but also extend to fill holes and keep your tires on the ground. In order to let the suspension both compress and extend, we preload the suspension with our own body weight. The amount of preload is known as sag, literally the amount the suspension sags into its travel when you sit on the bike. Too little sag and the bike will lack grip as it cannot extend into compressions, too much and it will wallow and respond poorly to repeated impacts.
When we sit on the bike the amount the suspension compresses into its travel is known as the sag and it defines the way your bike rides.
Setting your rear shock sag
Before you start make sure your rear shock is in ‘fully open’ mode (if you have a low-speed compression adjuster wind it fully in the [-] direction). Have your assistant support the bike on level ground as you climb on.
- Bounce firmly up and down to charge the negative spring and free up the travel.
- Assume your normal seated position and after allowing the bike to settle for at least 5 seconds have your assistant push the rubber O-ring on the shock stanchion up (or down) to the rubber wiper seal.
- Carefully rock your weight forward and dismount from the bike without disturbing the O-ring.
- Measure the distance the O-ring has been pushed up from the wiper seal in mm.
- Divide this number by the total shock stroke (often less than the physical shock shaft length, check in your bike manual) and then multiply by 100 to get the percentage sag, e.g. (15 mm / 50 mm) x 100 = 30%.
- To achieve the correct sag, add or remove air from the air-spring as needed and repeat.
Many manufacturers will have a suggested sag setting, but if not, we recommend a base setting of 30%. If you require less sag simply add air to the shock, if you require more sag lower the air pressure. Add air in 10 psi increments and each time repeat the process until you reach the required sag.
Pro-Tip: While setting the sag, hold just one brake, not both or you will cause incorrect readings.
Setting your fork sag
Once the rear shock is set correctly, it’s time to set up your suspension fork. Make sure your suspension damping is fully open and adjust the air-spring pressure to the manufacturer’s recommendation. Have your assistant support the bike as you climb on.
- Bounce firmly up and down to charge the negative spring and free up the seals.
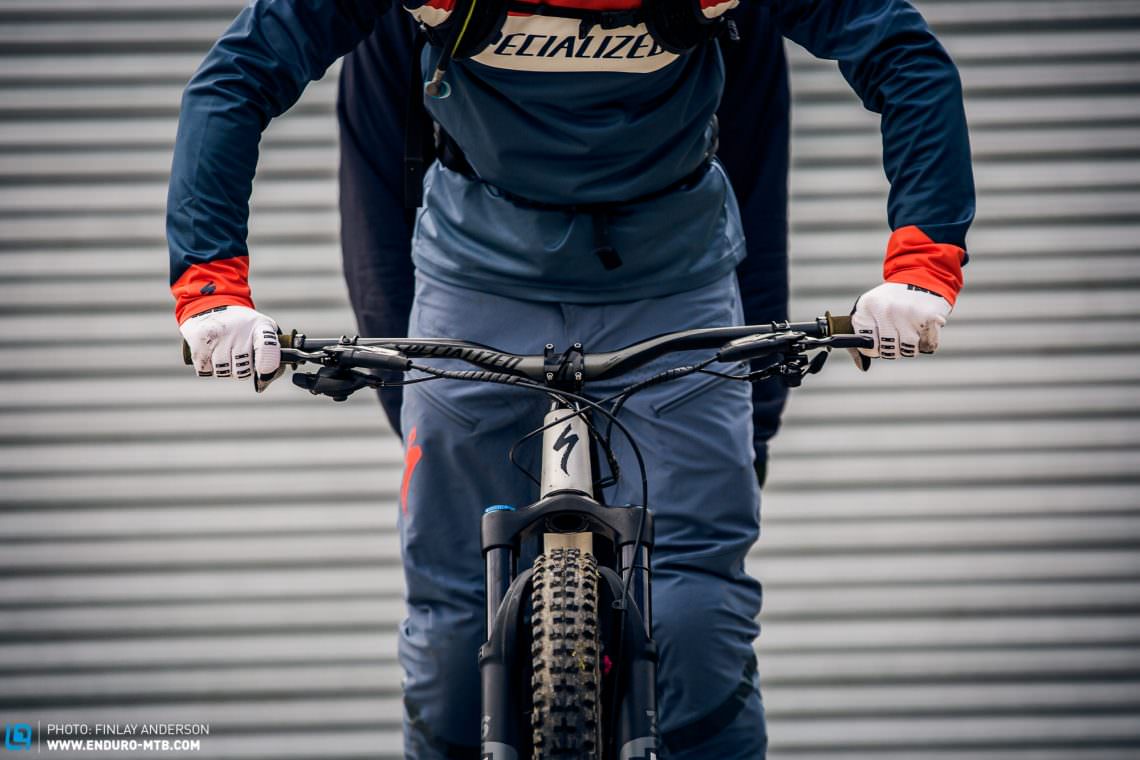
- Assume your normal standing attack position then after allowing the bike to settle for at least 5 seconds have your assistant slide the rubber O-ring on the fork stanchion down to the rubber wiper seal.
- Carefully rock your weight back and dismount from the bike without disturbing the O-ring.
- Measure the distance the O-ring has been pushed up from the wiper seal in mm. Divide this number by the total travel (eg 160 mm) and then x 100 to get the percentage sag.
- To achieve the correct sag, add or remove air from the air-spring as needed and repeat.
Start with the manufacturer’s recommendation, or if there are none we would suggest 20%. If you require less sag simply add air to the fork, if you require more sag let some air out. Add air in 10 psi increments and each time repeat the process until you reach the required sag.

Advanced tuning
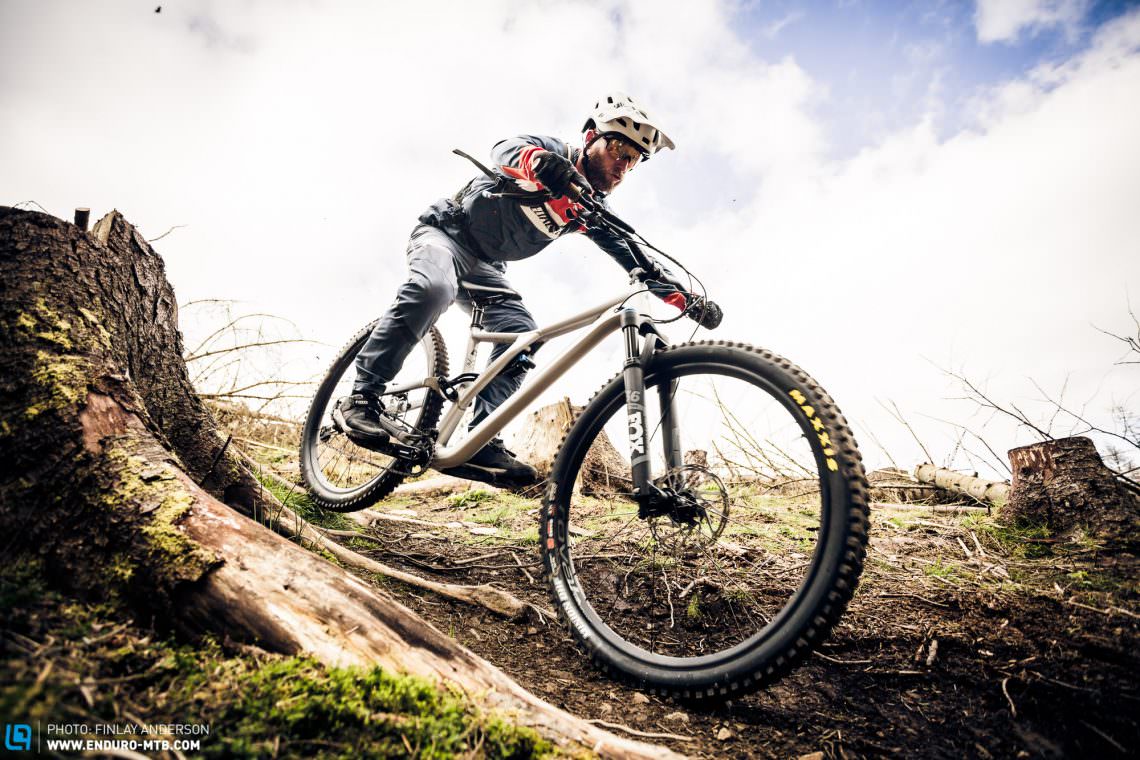
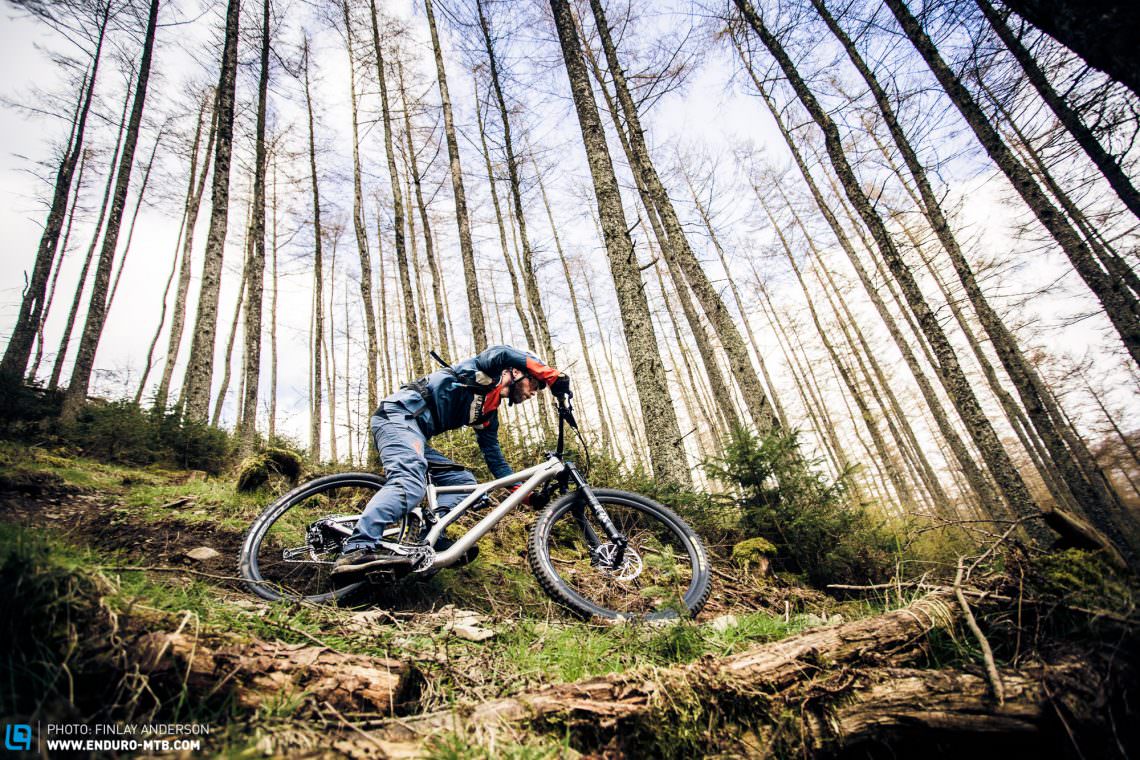
It’s now time to optimize your base setting. Choose a short section of local trail that includes features that you regularly ride. Rocks, drops, jumps, berms and G-outs, whatever you enjoy riding – the more features the better. Choose a trail with at least one section where you would expect to use full travel and one that you are comfortable with where you can hit the same lines again and again. Before you start tuning, be sure all external rebound and compression adjustments are set to the manufacturer’s recommended specifications. This will put all settings in a good base range for your weight.
If a rider has a trail they ride weekly and know very well, they should be using all of their travel on occasions. What often happens is a rider will go to a new trail or one that they don’t know as well and won’t achieve full travel. This is OK as they won’t be riding as fast as they would on familiar trails. Mark Fitzsimmons, FOX Suspension Program Manager
Step 2: Optimising your air-spring rate
While 20% sag in the fork and 30% in the shock is a good base setting, it may not be the optimal for your riding style and the bike’s suspension design. Spring rate (the force needed to compress the spring) is always a balance between big-hit support and small bump sensitivity. The optimum settings for you will depend on your riding style and the trails you ride.
After a few runs to get comfortable, push the fork and shock O-rings down to their wiper seal and ride the trail, concentrating on how big impacts and drops feel, is your bike bottoming out harshly, does it feel harsh on small bumps, are you getting full travel where you expect to?
If the rear of your bike feels wallowy and stuck to the ground, bottoming out easily
Your shock spring rate is too low. Add pressure to the rear shock, 10 psi at a time, and repeat the trail. Stop adding air when the bike feels good, while still giving full travel when required. Make a note of the optimised pressure.
If the rear of your bike feels harsh over small bumps and does not give you full travel where you desire
Your shock spring rate is too high. Remove pressure from the rear shock 10 psi at a time and repeat the trail. Stop when the bike feels good over small bumps and maintains traction. Make a note of the optimised pressure.
If your suspension fork dives when you brake or ride very steep trails
Your fork air spring rate is too low. Add pressure to the suspension fork 5 psi at a time and repeat the trail. Stop when the fork dives less and gives good support. Make a note of the optimised pressure.
If the suspension fork feels harsh over small bumps and lacks grip
Your fork air spring rate is too high. Remove pressure from the fork 5 psi at a time and repeat the trail. Stop when the fork feels sensitive over small bumps but still has good support. Make a note of the optimised pressure.
Pro-Tip: If you find that the only way to stop frequently bottoming out your suspension fork or shock is to use a high spring pressure that feels very harsh over small impacts, you may need to increase your spring rate progression, see Step 3.

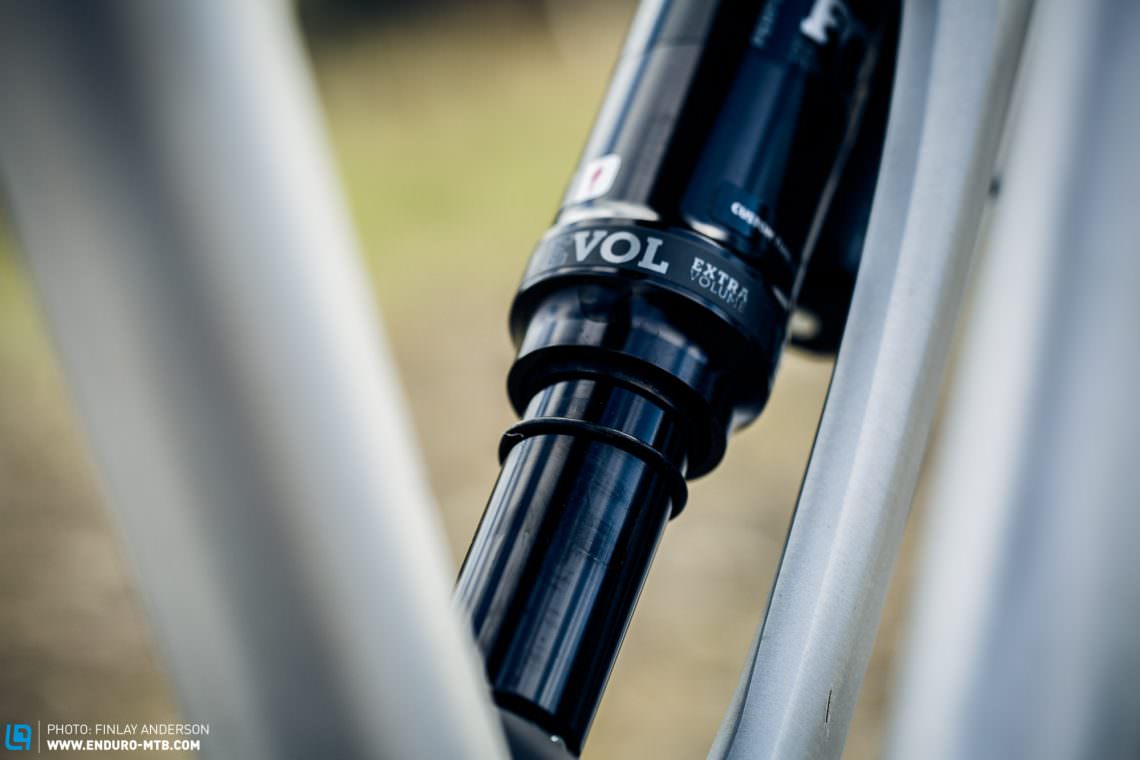
Step 3: Spring rate progression
We now have to consider how powerful you are as a rider and how challenging your trails are. If you’re a strong rider and feel like the rear suspension is frequently bottoming out, or your fork is running low in its travel under hard braking and fast corners even though the bike does not feel soft in general riding, you may need to adjust the spring rate progressivity. For a more progressive spring rate you need to add volume spacers (or remove if you are not using enough travel). Adding volume spacers will make the final part of the suspension stroke firmer, requiring more force to bottom out.
If you feel that you are bottoming out your suspension too frequently, despite running the correct air-spring pressure
Reduce the volume of air in the fork or shock air-spring chamber with the addition of 1-2 volume reducers.
If you feel that you struggle to achieve full travel where you expect to
Increase the volume of air in the fork or shock air spring chamber by removing 1-2 volume reducers.
Pro-Tip: If you make big changes to the setup of your fork, such as a firmer spring rate or the addition of more volume tokens, go back and tune the spring rate and progressivity of the rear shock to match. It’s likely that with improved front end confidence, you will ride more powerfully and need to reconfigure the shock. Go back to the track and start again.
Step 4: Rebound damping
Rebound damping controls the speed at which compressed suspension extends after an impact.
If rebound damping is too low (-) the suspension will extend too fast and feel bouncy and out of control. If the rebound damping is too high (+) the suspension will not recover fast enough after repeated impacts and ‘pack down’, sinking ever lower into its travel and performing poorly.
Setting rebound damping on your shock
- Start by adding full rebound damping (+) to the shock.
- Choose a small drop to ride off slowly and focus on how the rear suspension springs back after impact.
- Repeat the test, each time reduce rebound damping by one click (-) and see how the shock starts to recover faster.
- Stop when the rear shock recovers so fast it overshoots a tiny amount. This is a good base setting. Now repeat a full section of trail at this setting. Experiment twice more with two clicks either side and see which feels the most controlled with good grip .
Setting rebound damping on your fork
- To set a base fork rebound, start with the rebound fully closed (+). Stand next to your bike and compress the fork with your body weight. Quickly release the fork and let it bounce back.
- Adjust the rebound until the fork rebounds as fast as possible without causing the front wheel to ‘jump’ off the ground.
- Once the base setting has been set, repeat a full section of trail at this setting. Now repeat a full section of trail at this setting. Experiment twice more with two clicks either side and see which feels the most controlled with good grip.
But what about high-speed rebound damping? Most suspension forks and shocks have a single rebound adjuster, which effectively is a low-speed rebound adjuster. Some very high-end suspension units also have a high-speed rebound adjuster too, controlling rebound speed at high-shaft speeds. However, we have seen that there is a lot of crossover between high- and low-speed rebound, any adjustment of one directly influences the other. If you have a high-speed rebound adjuster, we recommend setting it to the manufacturer’s recommendation and then setting rebound as described above using the low-speed rebound adjuster.
Pro-Tip: If you ride a lot on easy terrain or slowly, then a slower rebound may feel more comfortable initially. However, moving to faster terrain, for example on a holiday in the Alps, will leave you with sore arms and legs as your bike cannot recover fast enough from the hits. Run as fast a rebound setting as is comfortable for maximum performance.
Step 5: Low-Speed Compression Damping
Low-speed compression damping influences your suspension characteristics at low shaft speeds (not bike speeds), predominantly influencing the mid-portion of the suspension travel.
If you feel like you have achieved a good spring rate with good small bump performance and good bottom out control, but you feel that the bike lacks mid-stroke support, sinking deep into its travel when you brake hard, ride steep trails or push the bike in to corners and jump faces, you need to add more low speed compression damping. Adding low speed compression damping does decrease suspension sensitivity, so you only want to add the minimum level to achieve enough support. Start with it fully open (no additional damping added).
If you feel that your bike moves through the middle of its stroke too quickly
- Starting with no low-speed compression damping added on the shock, ride the test trail, each time increasing the low-speed compression two clicks (+).
- Focus on how the bike feels under big weight shifts, braking, corners and jump faces. Stop when the bike feels supportive in the mid-part of its travel.
- Repeat for the fork.
Pro-Tip: Try to keep your low-speed compression damping settings balanced. For example, if you run very high low-speed compression on the fork and none on the rear shock, the bike will tend to shift more weight to the rear wheel during riding, and vice versa. A balanced setup is key.
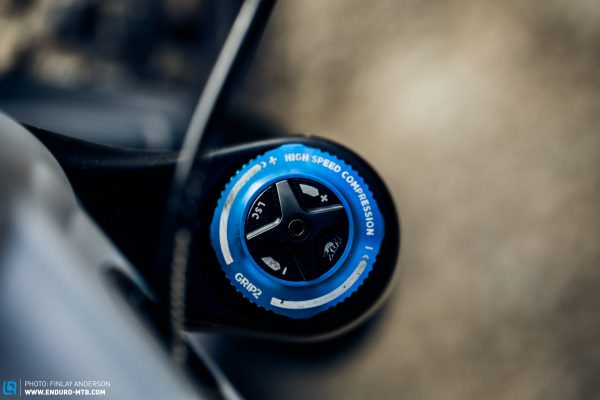


Step 6: High-Speed Compression Damping
The most expensive forks and rear shocks have a high-speed compression damping adjustment (HSC), controlling the damping when the suspension compresses at high shaft speeds (big, fast impacts).
If you find that your fork or shock is still bottoming out too easily and have a high-end shock and fork with the option, you can adjust your high-speed compression damping. Adding more high-speed compression damping reduces the amount of travel the fork uses in high speed impacts (shaft speed not bike speed). Low levels of high-speed compression result in digressive damping which allows full travel easily in response to big, fast hits, whereas high levels result in progressive damping, reducing the amount of travel available in response to big, fast hits.
If you feel that your bike needs more support at the end of the stroke during high-speed hits
- Starting with no high-speed compression damping added on the shock, ride the test trail, each time increasing it by one or two (if there is a lot of range) clicks.
- Focus on how the bike feels under high-speed impacts, like landing jumps or big obstacles at high speed. Stop when the bike feels supportive at the end of its travel.
- Repeat for the fork.
Step 7: Check for balancee
When it comes to rebound and damping, in nearly all cases a balanced suspension setup is essential for optimal performance.
As a final check, find some level ground and ride slowly across it on your bike. From the attack-position pump repeatedly up and down as hard as you can. The bike should feel supportive and the rebound speed should feel balanced for both the front and rear. If the bike feels unbalanced, identify where the imbalance is coming from and make corresponding adjustments.
A balanced suspension setup is very important. Traction not only comes from the tires and terrain surface, but the amount of force the rider is placing on the front and rear tire. A balanced setup is important to this element of traction. Mark Fitzsimmons, FOX Fahrwerksprogramm-Manager
If you follow this guide, you will not only find a suspension setting that is optimised for your riding style and terrain, but also gain a deeper understanding of how each property of your suspension functions and interacts. Good suspension performance is a balance, a compromise even, between many different factors. If you make any big changes to one setting of your suspension, you need to balance the other settings to match.
This article is from ENDURO issue #038
ENDURO Mountainbike Magazine is published in a digital app format in both English and German. Download the app for iOS or Android to read all articles on your tablet or smartphone. 100% free!

Did you enjoy this article? If so, we would be stoked if you decide to support us with a monthly contribution. By becoming a supporter of ENDURO, you will help secure a sustainable future for high-quality mountain bike journalism. Click here to learn more.
Words: Photos: Finlay Anderson