HOPE Technology have always been synonymous with easy servicing by the home mechanic, and in this guide we take you through the process of bleeding a Hope Tech3/E4 brake. Sometimes you are rushed for time when bleeding brakes, so the technical guys at HOPE show you how to do a quick bleed on a Tech3 lever and E4 calliper. Of course it is best practice to remove the wheel and fit a spacer inside the calliper to avoid contaminating the disc but a good bleed can be achieved in five minutes following this guide.
NOTE: DOT 5.1 is highly toxic, we recommend eye protection and gloves while performing this process. Any DOT fluid on the skin should be washed away immediately.
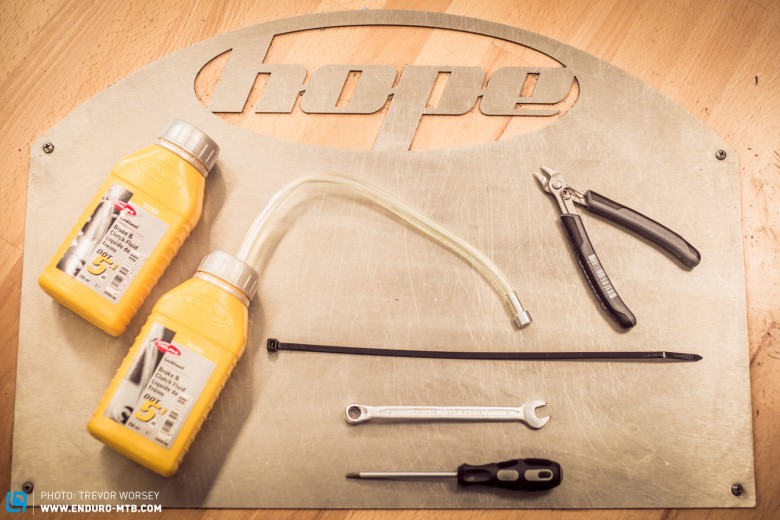
The tools for the job
You will need the following tools.
- DOT 5.1 brake fluid
- Old Bottle with hose poked into the top
- Cable tie
- T10 Torx Driver
- 8mm spanner, cable cutters
- 4mm and 5mm Alen wrenches (not shown)
- Absorbent tissue (not shown)
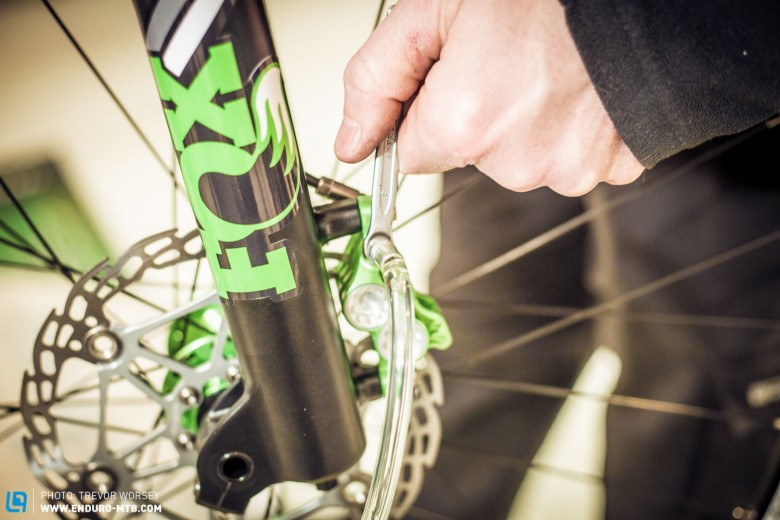
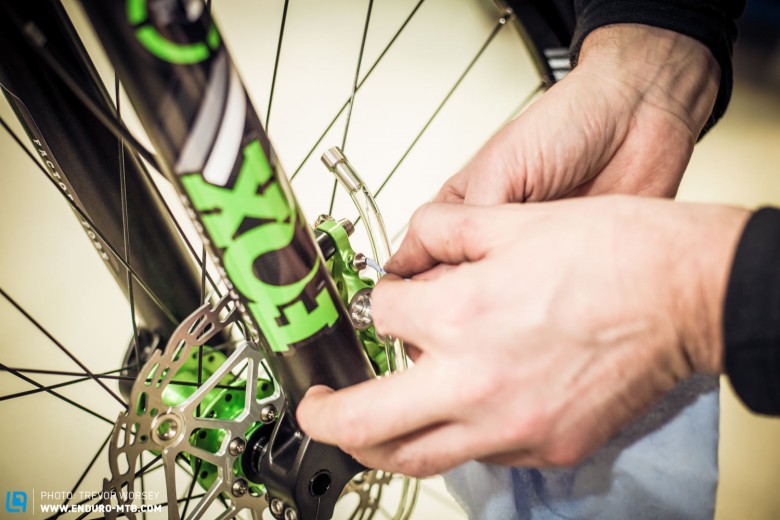
STEP #1: Remove the small rubber cap on the calliper bleed nipple, and then slide on the 8mm wrench. Once the wrench is in position attach the tube from the discard bottle.
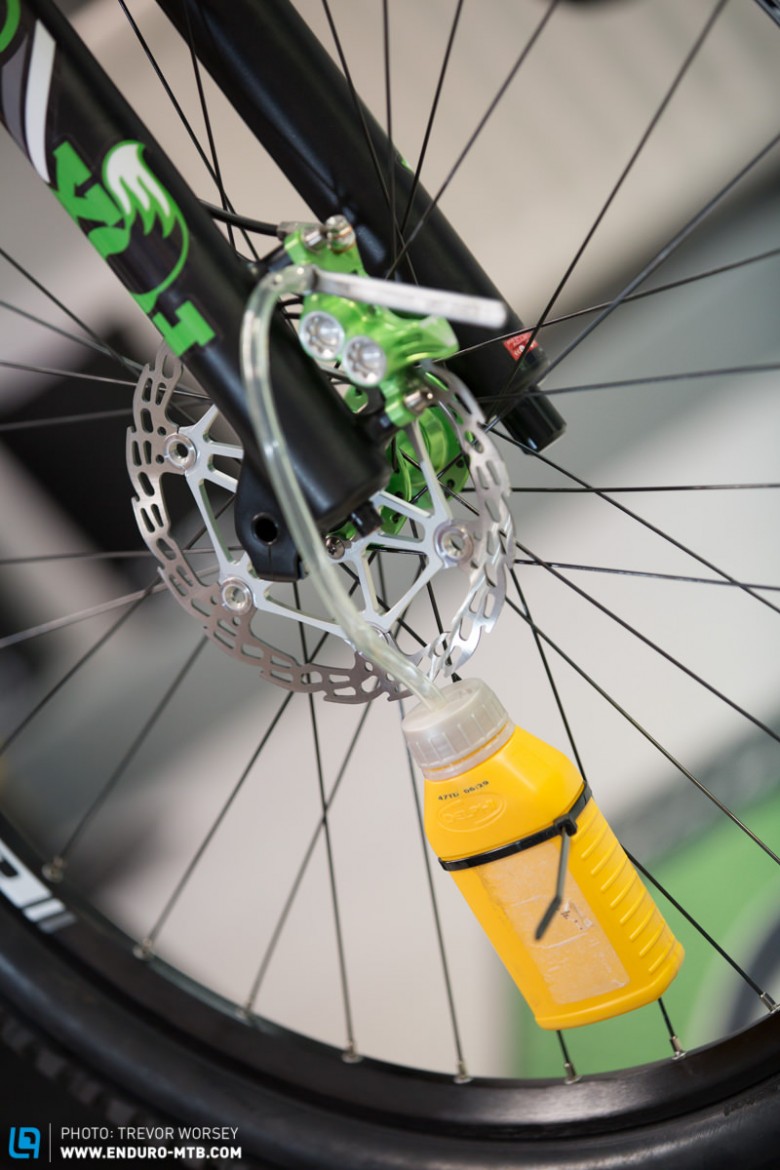
STEP #2: Cable tie the bottle to the spokes to keep it in position

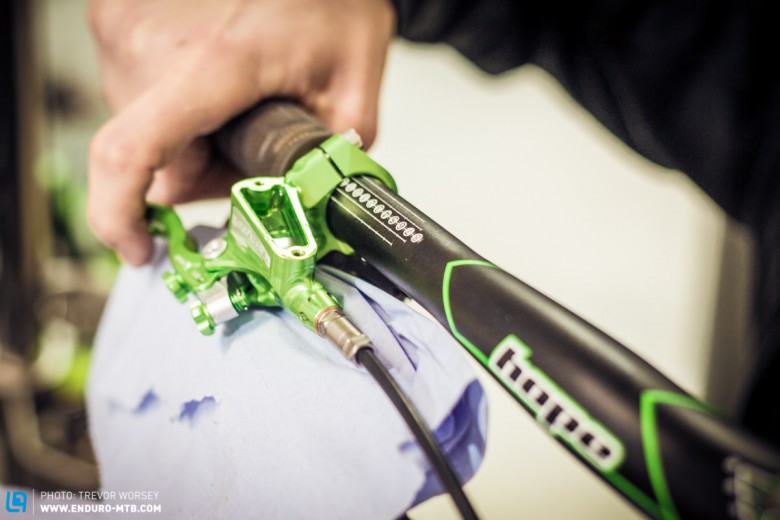
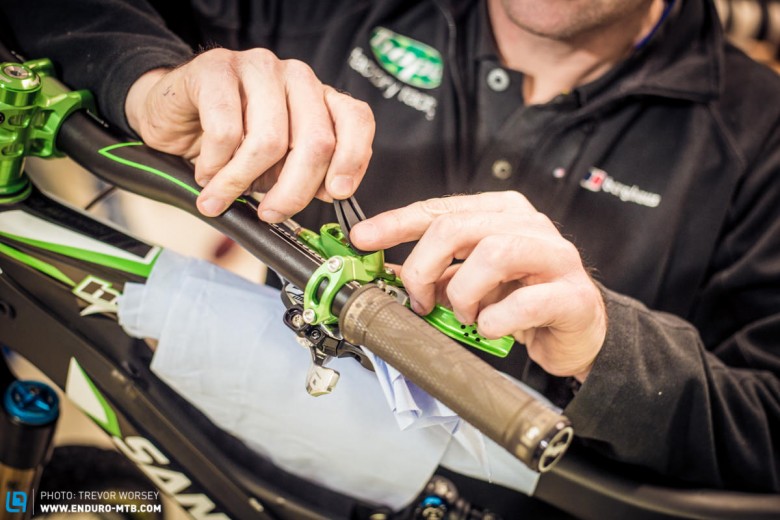
STEP #3: Rotate the brake lever until the reservoir is sitting horizontal and carefully remove the two T10 Torx Screws
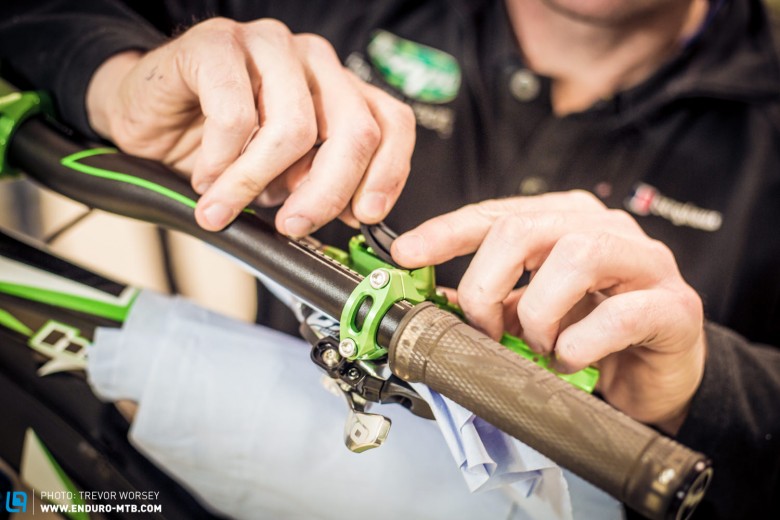
STEP #4: Carefully lift up the reservoir diaphragm and place it somewhere safe
STEP #5: Now begins the bleeding process; the first stage is to pull the lever to the bar, keep the lever held in for the next stage.
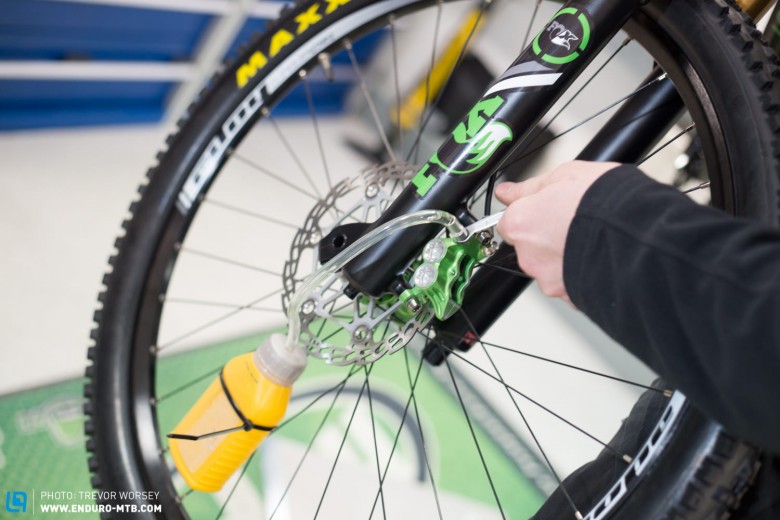
STEP #6: With the lever still held in, open the bleed valve by turning the the 8mm spanner until you see fluid enter the discard tube. You will feel the lever de-pressurise, but keep it held in. Close the valve again.
STEP #7: Repeat stages #5 and #6 until you see no more air bubbles in the discard tube and the brake has a good lever feel. Throughout the process do not allow the main reservoir to empty, keep topping it up with DOT 5.1
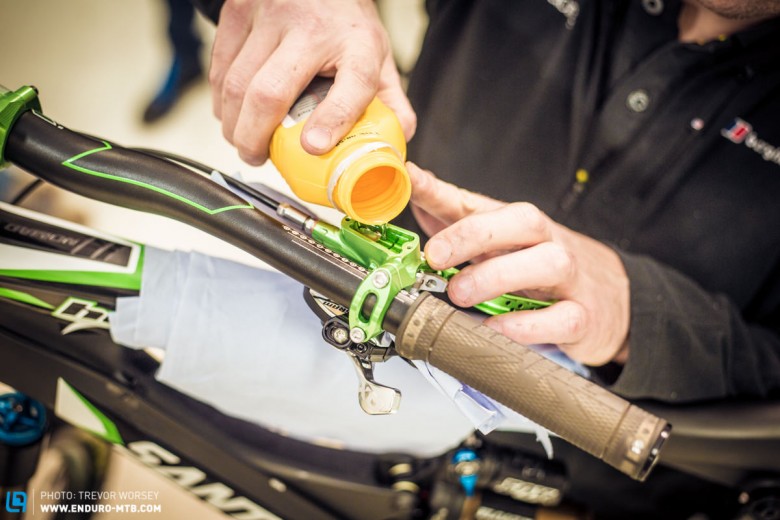
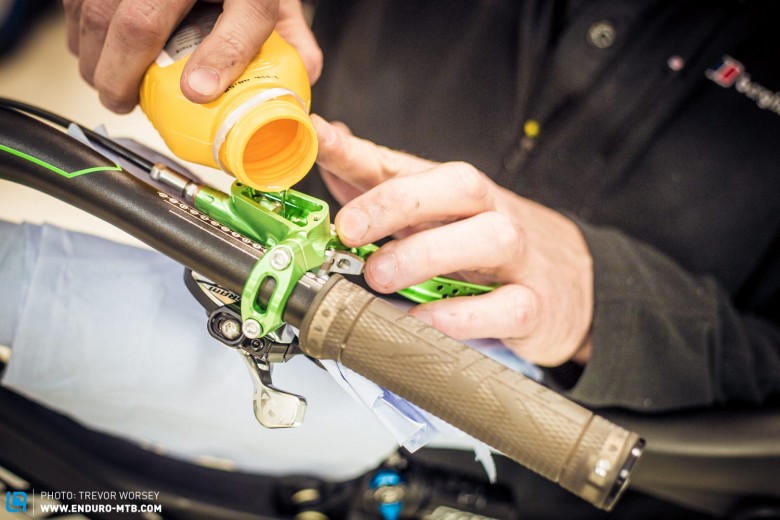
STEP #8: When the exhausted fluid no longer contains air bubbles and the lever feels good the process is complete. The final stage is to top up the calliper reservoir to around 1mm from the top with DOT 5.1
STEP #9: Carefully refit the diaphragm, the best technique is to roll it from one side to the other.
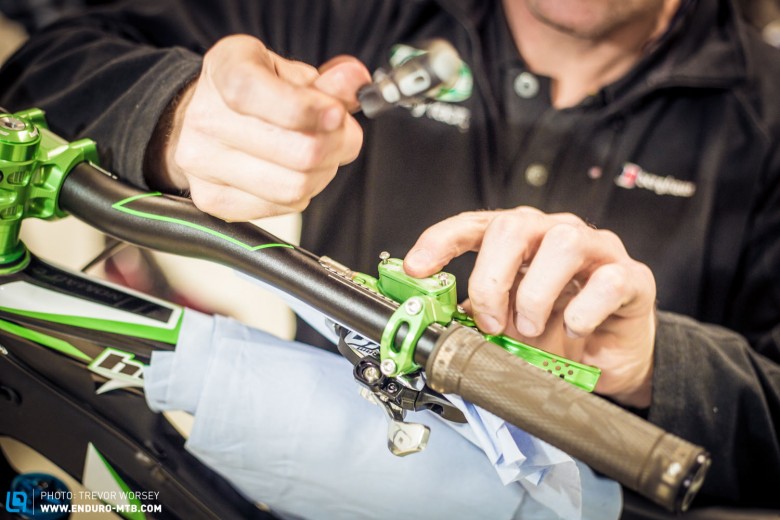
STEP #10: Carefully reinsert the two T10 screws. A little excess fluid may drip here, so be prepared to wipe it up with tissue.
STEP #11: Ensure that the bleed nipple is closed and carefully remove the discard tube. For the full pro trick, wipe the excess DOT 5.1 from within the nipple with some rolled up tissue.
And that’s it, you are done; now it’s time to shred!
Words and photos: Trev Worsey
Did you enjoy this article? If so, we would be stoked if you decide to support us with a monthly contribution. By becoming a supporter of ENDURO, you will help secure a sustainable future for high-quality mountain bike journalism. Click here to learn more.