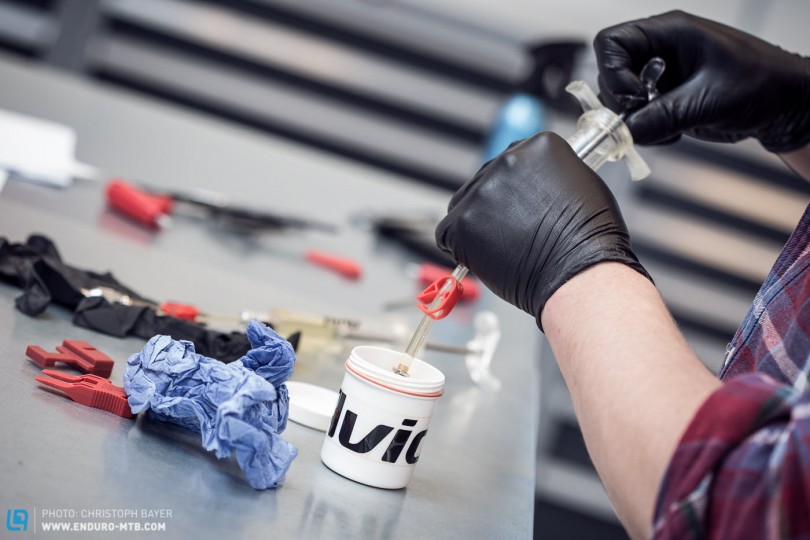
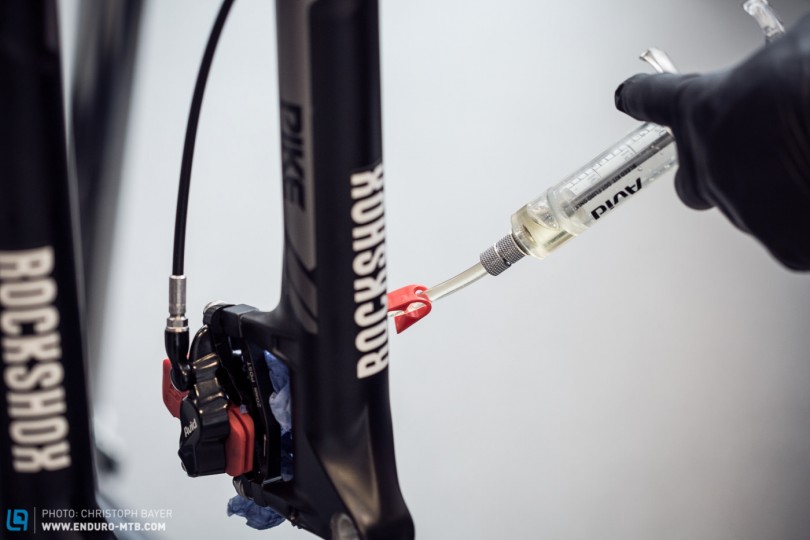
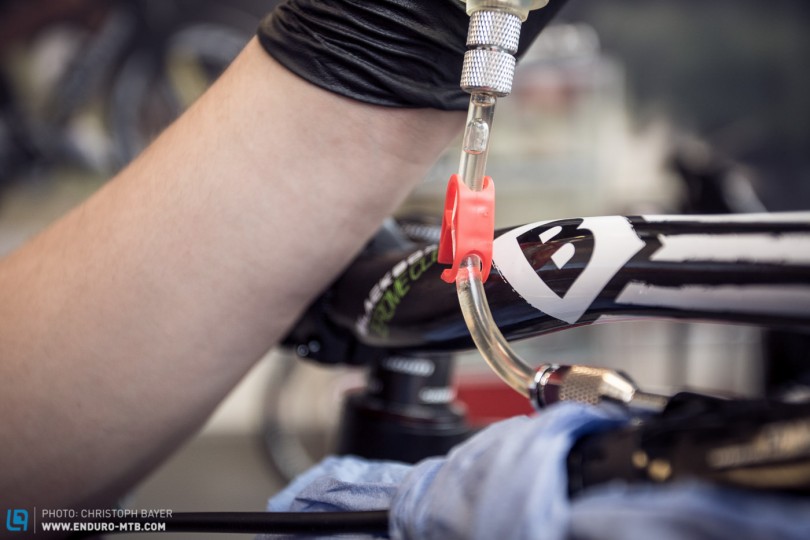
If your brakes are behaving strangely, perhaps the braking point moves on the descent, the brake lever can be pulled all the way to the handlebar or the brake is older than a year, then perhaps it is time to carry out a fluid bleed. We show you now how this is done properly with an Avid or SRAM brake, removing all air from inside the system.
for brakes which use DOT Fluid as a brake medium, it is important to change the fluid once a year to ensure that correct function is maintained in all situations.
Level
advanced
Tools
- Avid Disc Brake Bleed Kit (Bleed Kit oder Bleed Kit Pro)
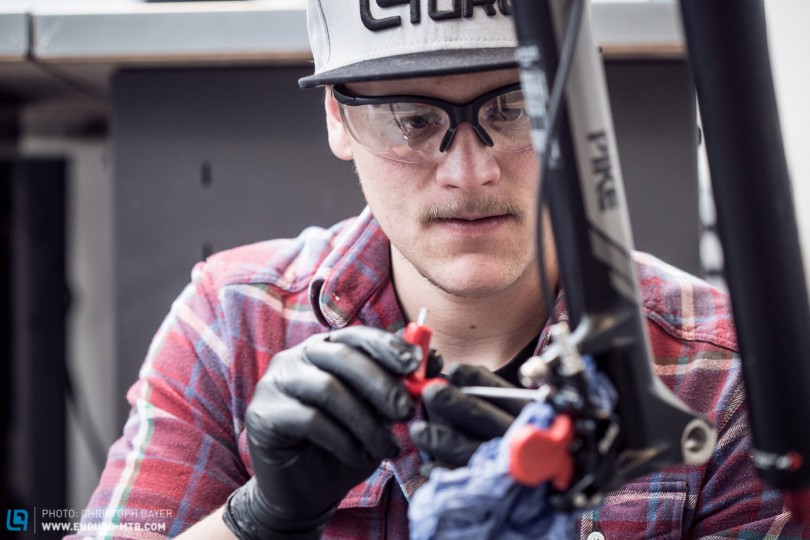
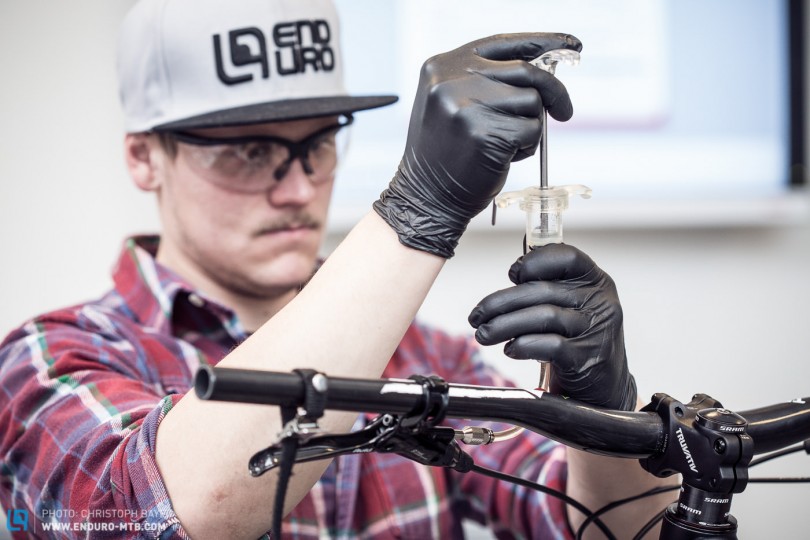
- Gloves
- Glasses
How To
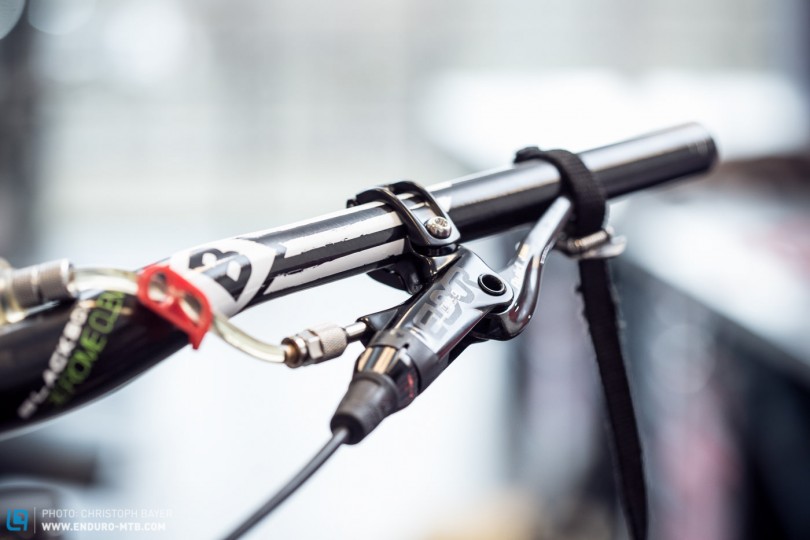
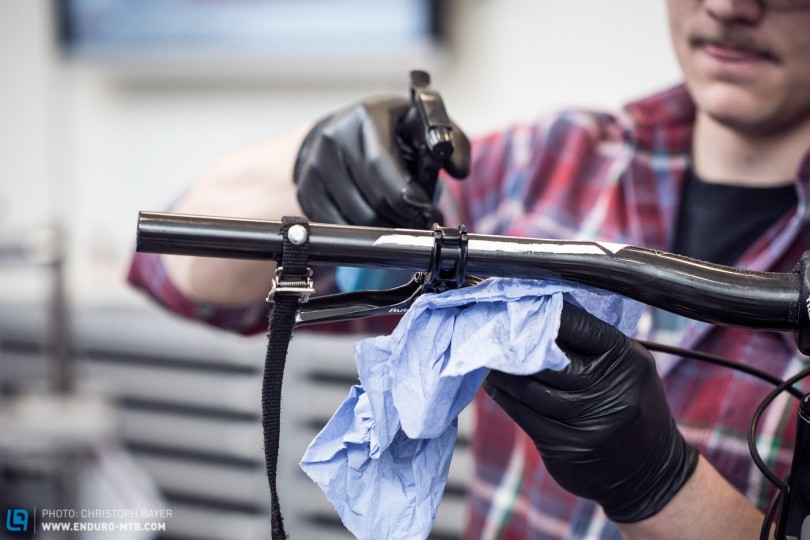
The basic function of a brake bleed is to ensure that the brake lever is set correctly. This refers not to the ergonomics, but the correct adjustment of the pressure point and lever reach adjustment.
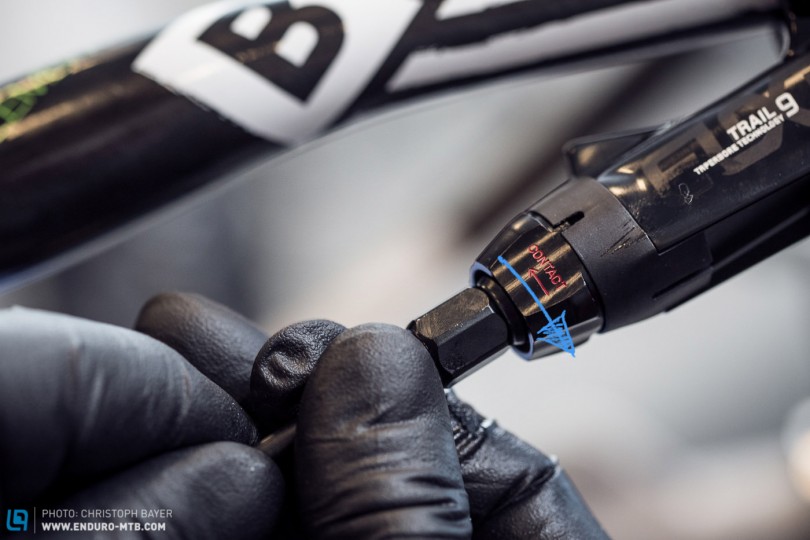
If your model has a Contact Point Adjustment, the adjuster should first be rotated in the opposite direction of the arrow until it stops. If the bleed port is located on the adjuster, turn it back until the screw is at its highest point.
Using the reach adjust, the Lever should be adjusted so it sits around 75-80 mm away from the center line of the handlebar. A quick test to check this is to make sure that still can be pushed forward a small amount. If the reach adjustment is turned too far to the outside, this would not be possible.
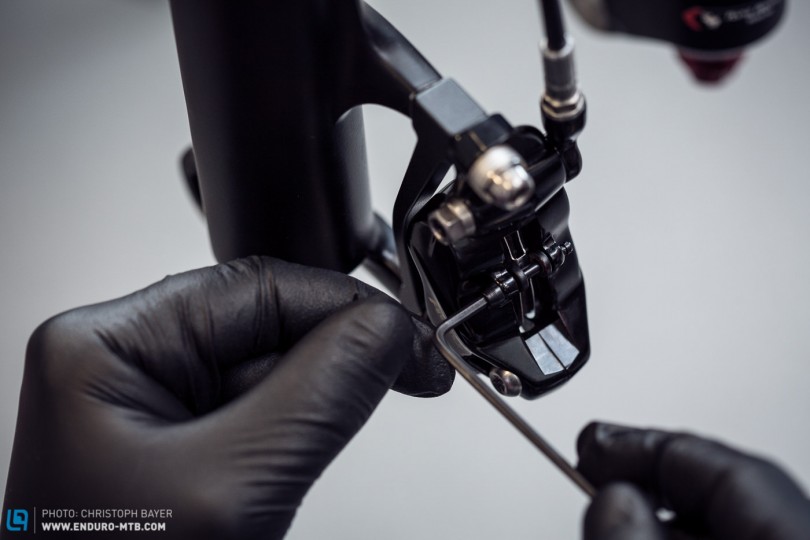
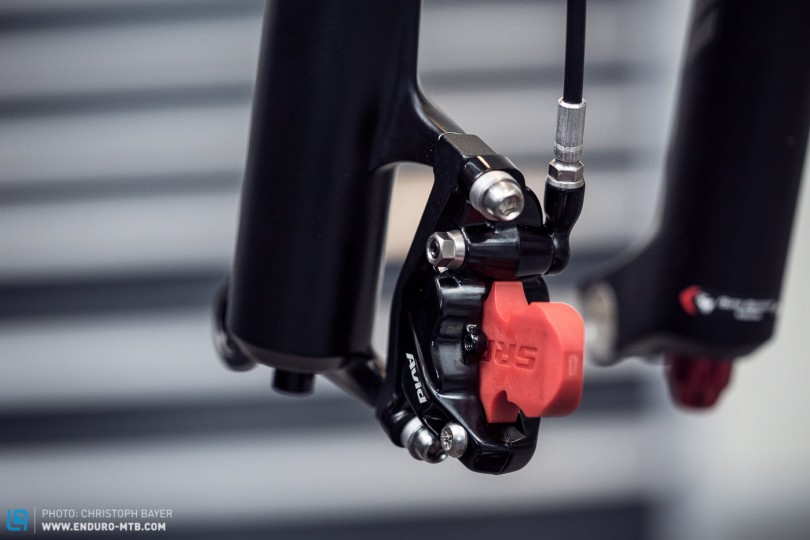
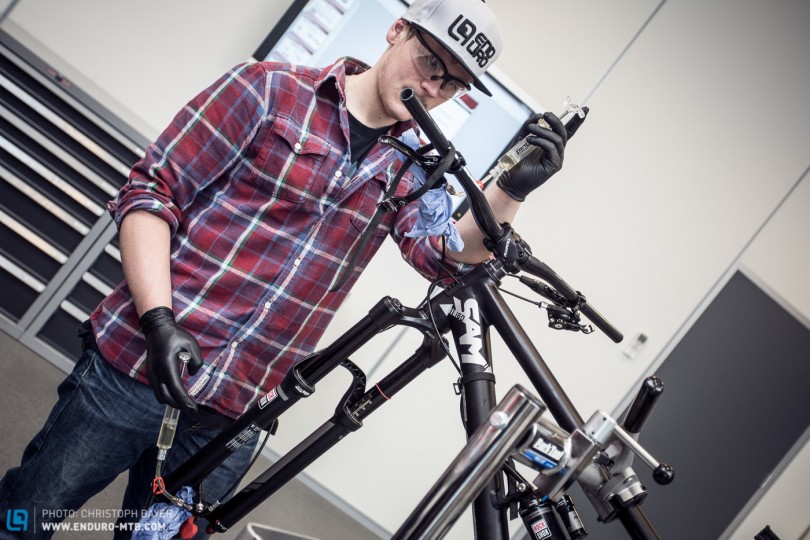
To ensure the correct bleeding of the system, it is important to place the brake pistons into the correct position. For this, use either the spacer that was supplied with the brakes for transport (brake pads remain in place), or the thicker bleed block provided with the bleed kit, (pads must be removed).

We continue next Monday with the next exciting topic for your bike!
Words: Christoph Bayer / Trevor Worsey Picutres: Christoph Bayer
Did you enjoy this article? If so, we would be stoked if you decide to support us with a monthly contribution. By becoming a supporter of ENDURO, you will help secure a sustainable future for high-quality mountain bike journalism. Click here to learn more.