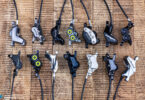
A remote lever for your dropper post is an ingenious thing – provided you can easily reach it. But all so often we see bikes where you need fingers as long as Edward Scissorhands in order to actually reach the remote lever positioned somewhere near the middle of the bars. Here we’ll show you how to tidy up your SRAM-cockpit.

Wenn euer Cockpit in etwa so aussieht, dann solltet ihr jetzt gut aufpassen.
If your cockpit looks like this, then it’s time to pay attention.

Everything on one clamp

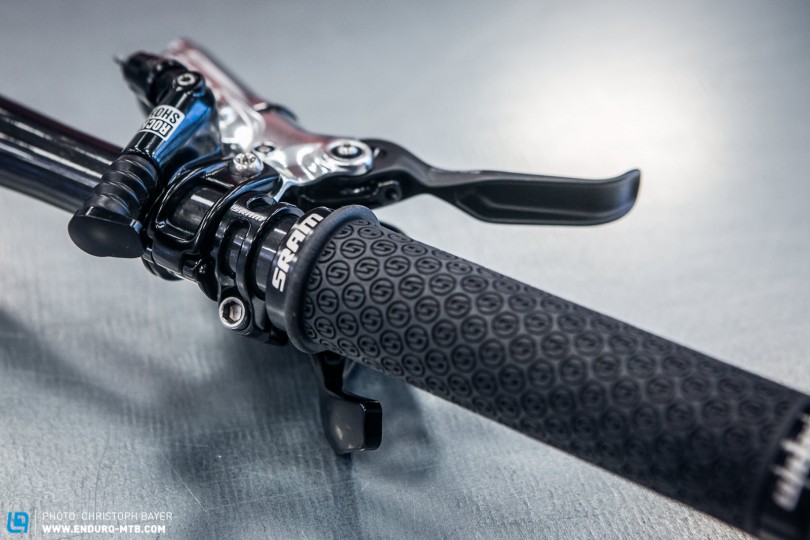
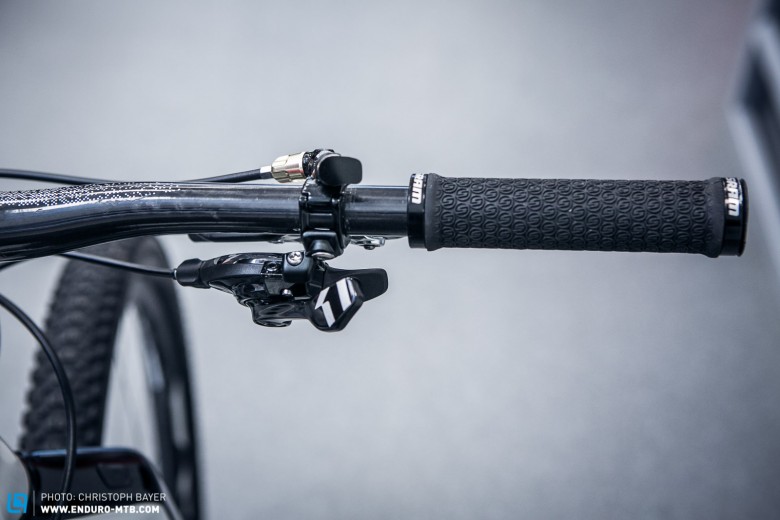
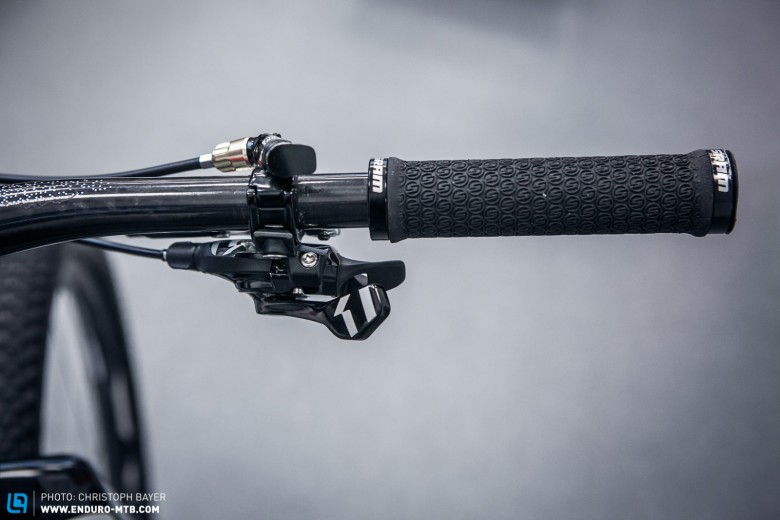
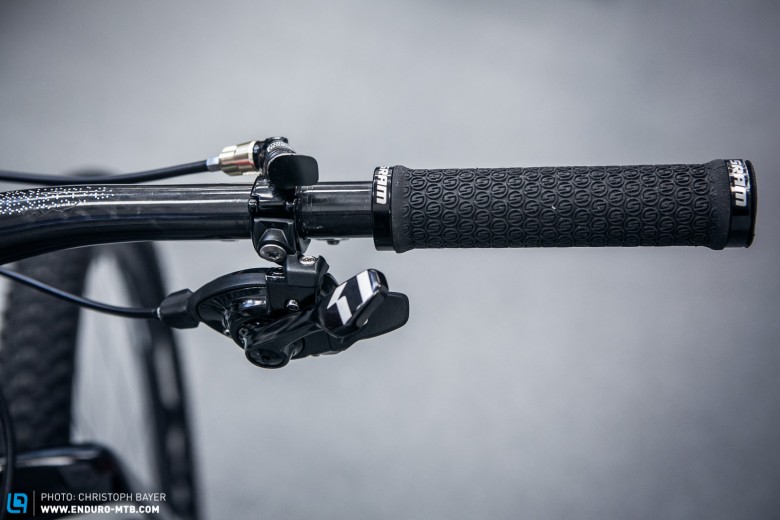
If both your gears and brakes come from SRAM then there’s good news: you can fit them together on one clamp. If there’s a RockShox dropper post fitted then this too can be attached to the same clamp. If you think this means you can’t independently adjust each lever to your desired position then we’ve got good news for you.

So wie es sein sollte: Alle Hebel finden an einer Schelle Platz.
This is how it should look: all levers are connected to one clamp.

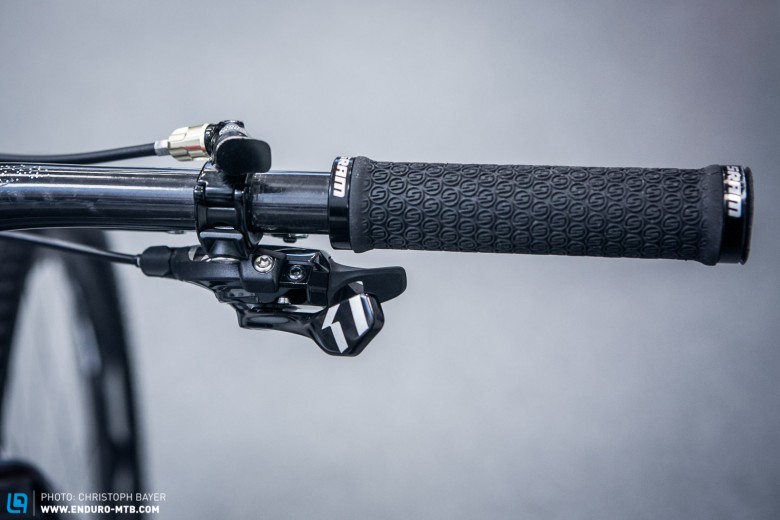
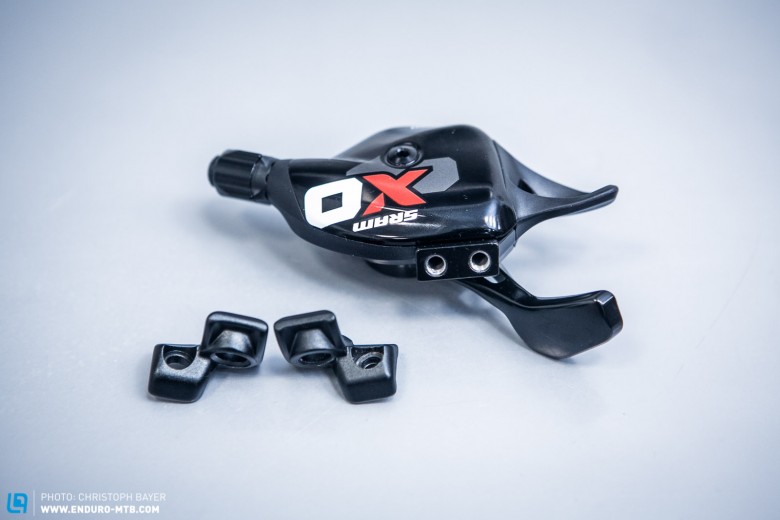
Getting the gears in grip

To start off with you should place the brake levers to the optimum position for your hands.

Bei der Befestigung des Schalthebels könnt ihr über die beiden Bohrungen am Schalthebel aber auch durch das Vertauschen der Adapterwinkel die Entfernung zur Hand einstellen.
When fixing the shifters you can use the two drillings on the shift lever and also the position of the adapter mount to influence the final position.
Zeigt der Adapter nach rechts wandert der Schalthebel näher an den Lenker ...
If the adapter points right then the shifters will be nearer to the stem…
Zeigt er nach links wandert der Schalthebel vom Lenker weg.
If the adapter points left the shifters will be nearer to the grips.
Am Matchmaker lässt sich außerdem auch der Neigungswinkel des Schalthebels einstellen. Hier in der flachen Einstellung ...
The Matchmaker clamp also allows you to adjust the tilt angle of the shifter, seen here in the flatter position…… …
... hier in der steilen Stellung.
… and here in the steeper position.
Zu guter letzt kann außerdem noch die Stellung des vorderen Schalthebels an die persönlichen Vorlieben angepasst werden
Last but not least you can also adjust the position of the front trigger lever to your personal preferences

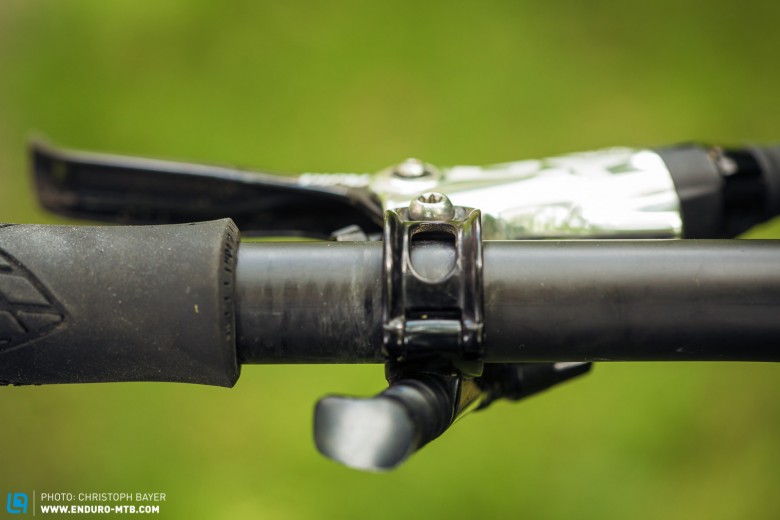
Where to put the dropper post remote lever?

When deciding where to put the remote lever of the RockShox Reverb you have several choices. With 1×11 drivetrains you can use most elegant and fit the remote lever underneath the left hand brake lever instead of the shifter. If you use a double chainring set-up it needs to be mounted above the brake lever. When deciding on which side to choose you might need to take suspension remote adjust levers into account. The rule of thumb is simple: only one remote lever per side!

When using a Reverb with a 1x11 drivetrain it’s recommended to fit the remote lever on the left side. This means you need to order a right hand remote lever with the post.Bei der Verwendung eines 1-fach Antriebs empfiehlt es sich den Remote-Hebel der Teleskopsattelstütze auf der linken Seite zu platzieren. Hierfür muss bei der Bestellung ein rechter Hebel geordert werden.
When using a Reverb with a 1×11 drivetrain it’s recommended to fit the remote lever on the left side. This means you need to order a right hand remote lever with the post.

But remember these are just tips, what counts at the end of the day is your personal preferences! The most important thing is that you can reach every lever ‘blind’ and don’t need to take your eyes off the trail!

Words & Photos: Christoph Bayer


Did you enjoy this article? If so, we would be stoked if you decide to support us with a monthly contribution. By becoming a supporter of ENDURO, you will help secure a sustainable future for high-quality mountain bike journalism. Click here to learn more.