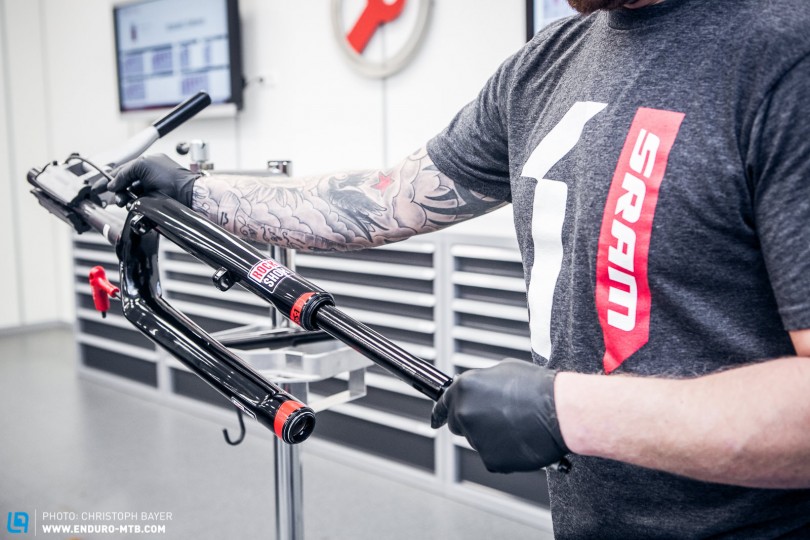
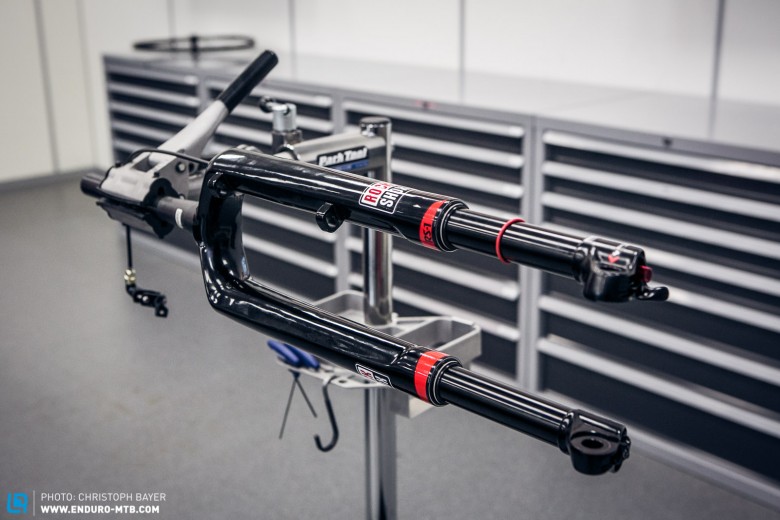
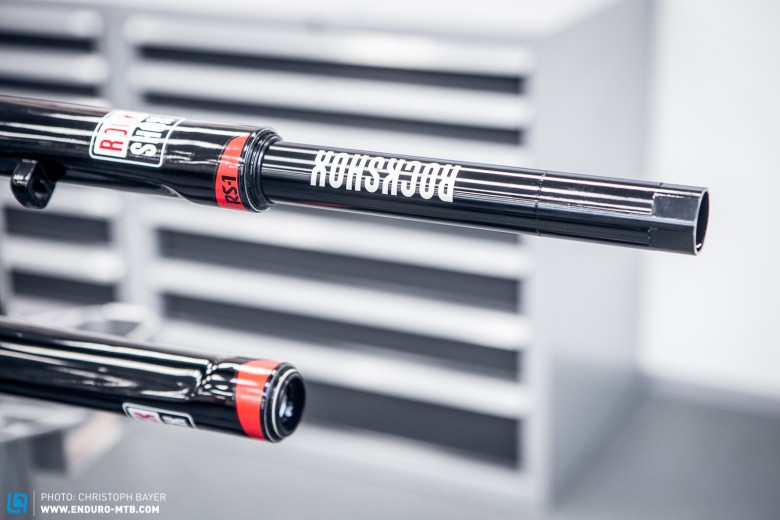
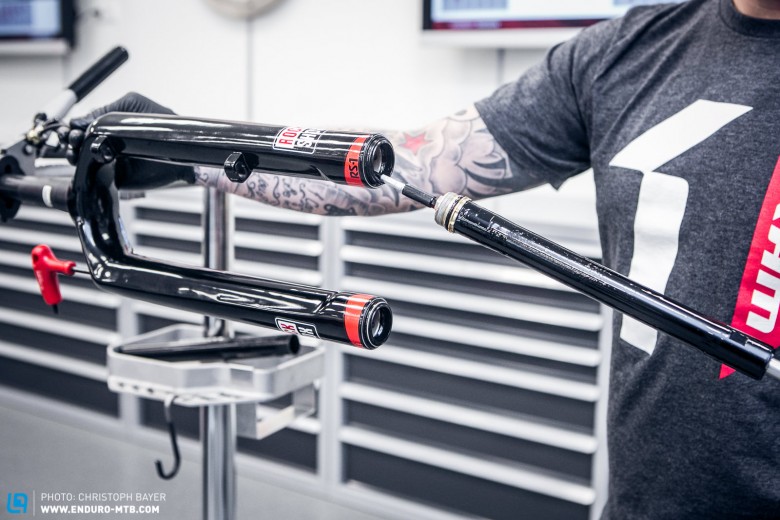
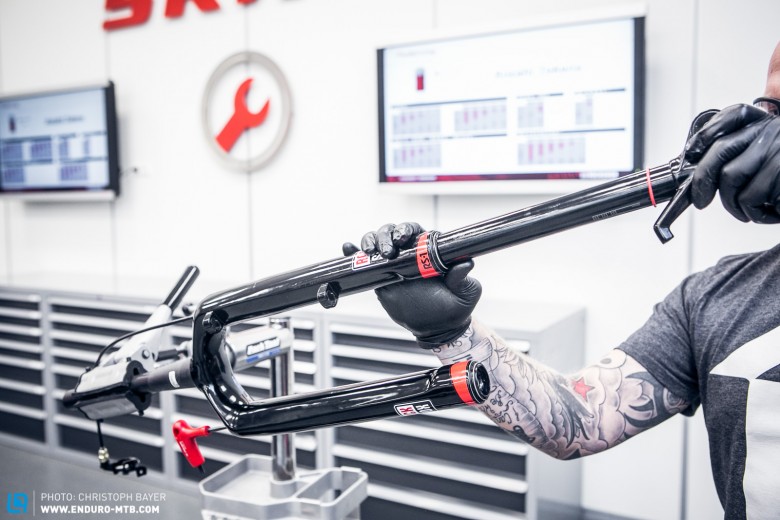
The RockShox RS-1 Upside Down forks aren’t just known for their distinctive look, but mainly because they just perform so damn well. Although to really get the most out of them, it’s crucial to give them a regular service. RockShox recommends swapping the suspension oil inside them after every 50 hours of riding. This is where we show you how it’s done.
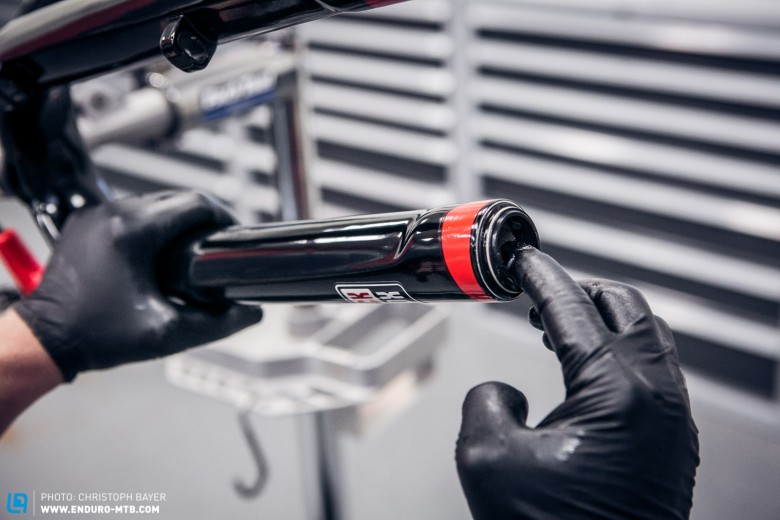
Lower leg servicing isn’t just about swapping the suspension fluid, but also about regreasing the dust seals. You’ll need the RockShox RS-1 Anchor Tool in order to do this correctly on the drive side (the one with the damping cartridge) – otherwise you’re unable to sufficiently clean and grease the dust seals. But other than, no special tools are required.
The RockShox RS-1 set a new standard in aesthetics and consistently performs. But they do demand a little TLC.
Difficulty
medium
Necessary tools
Flat blade screwdriver
5mm Allen key
Soft mallet/nylon hammer
RockShox RS1-Anchor-Tool
30mm socket
Torque wrench
RockShox 15w suspension oil
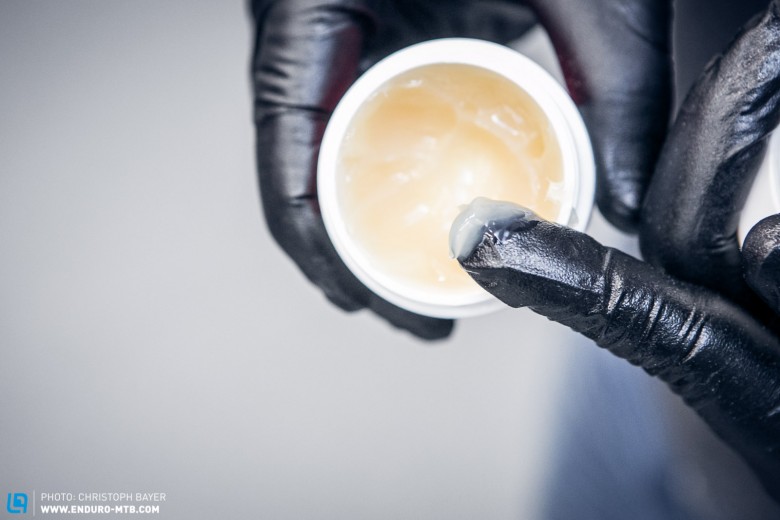
RockShox Butter
20 ml syringe
Instructions
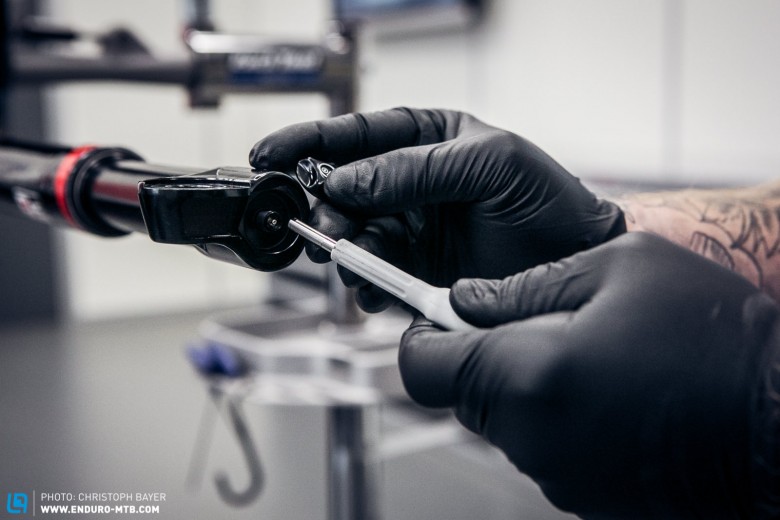
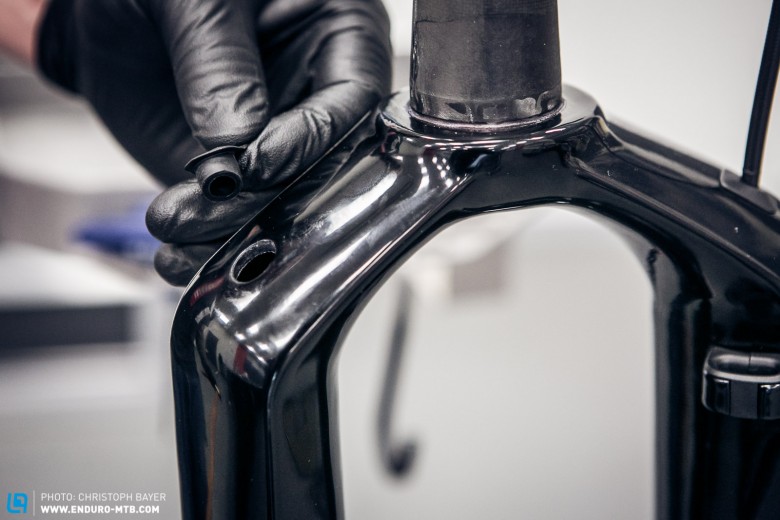
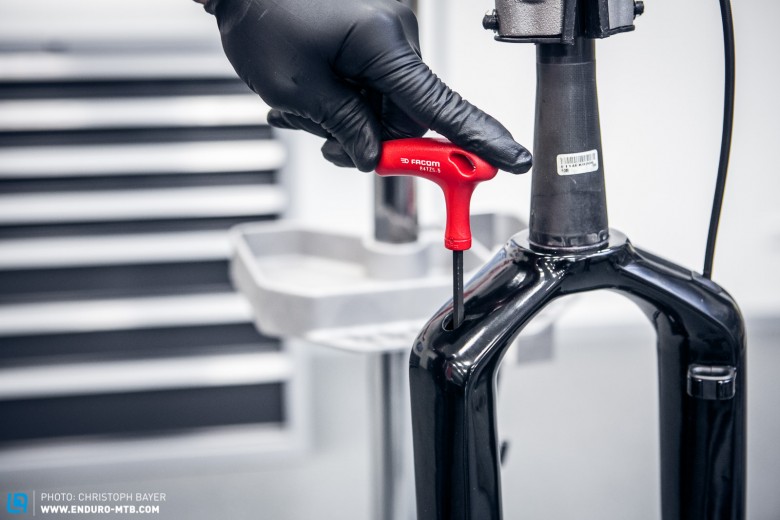
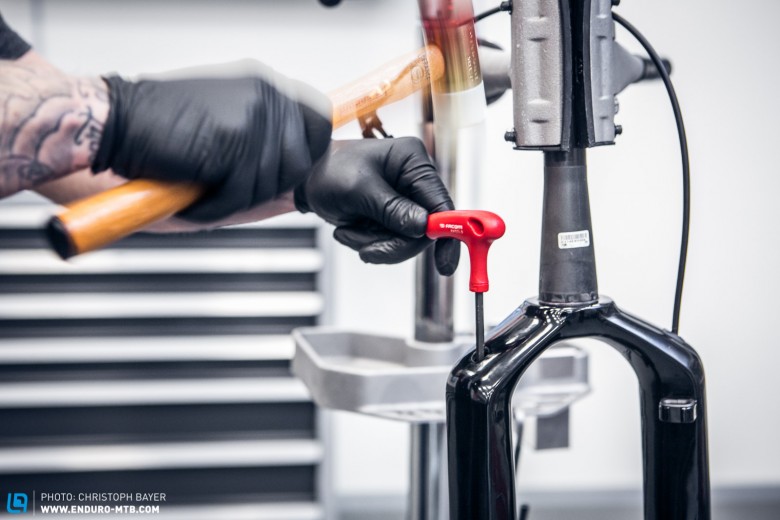
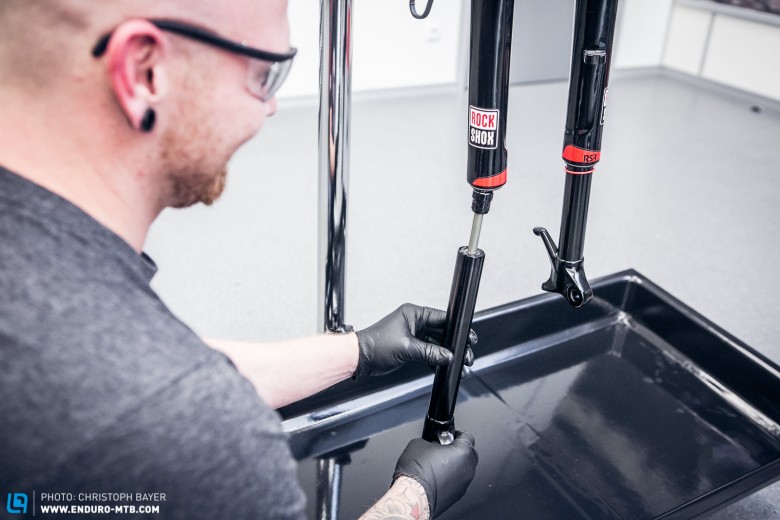
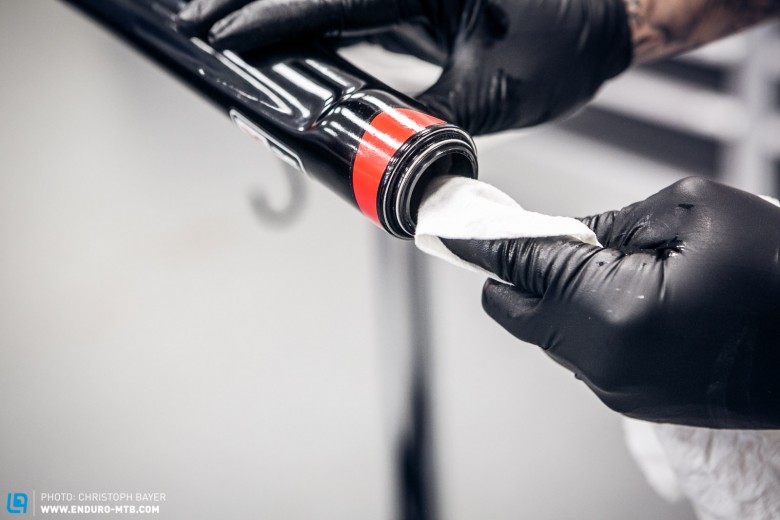
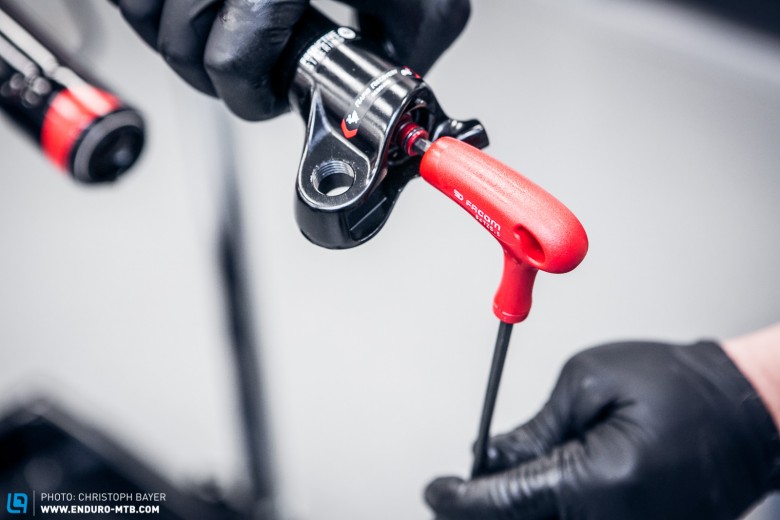
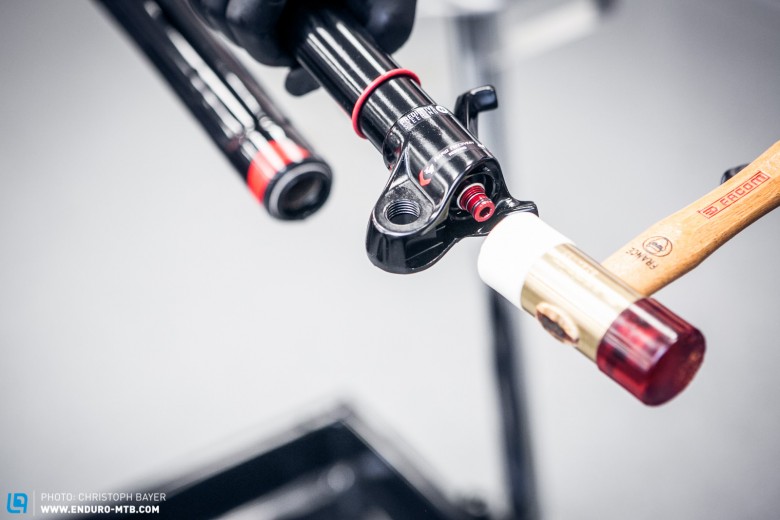
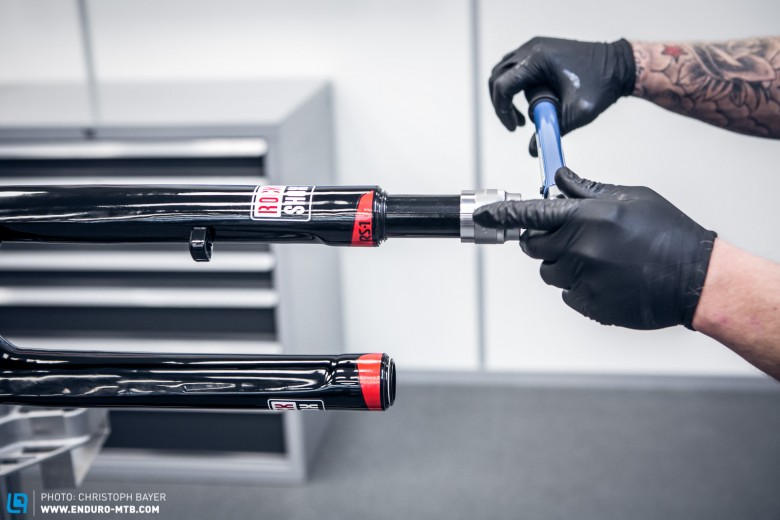
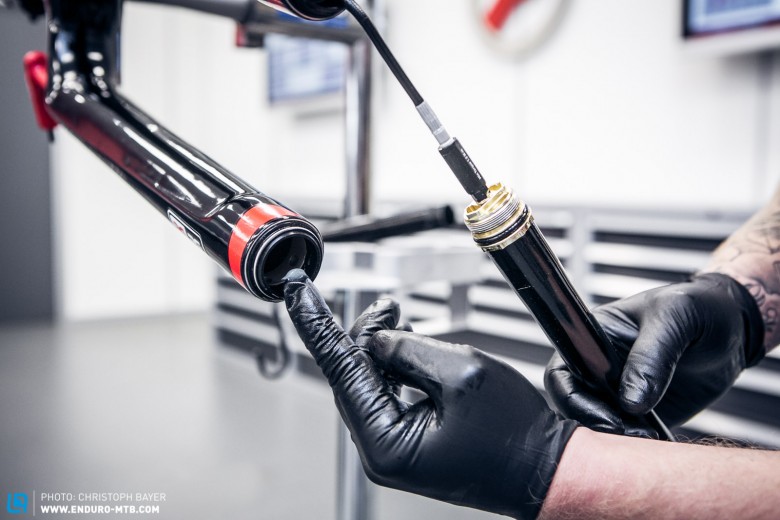
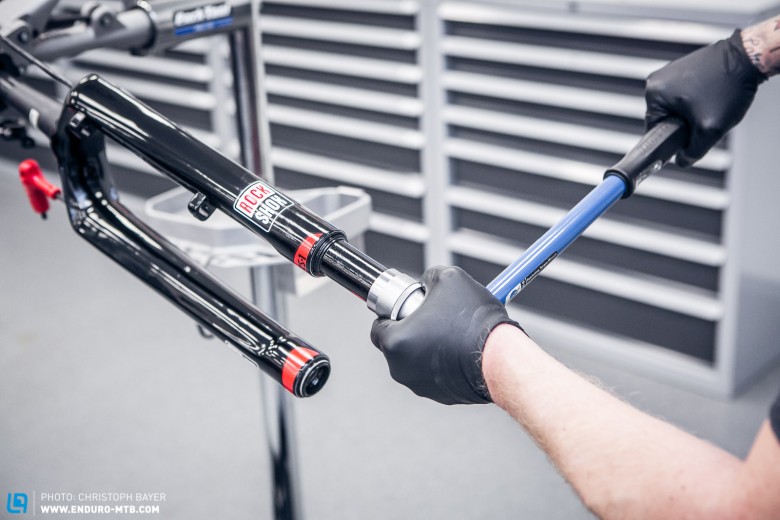
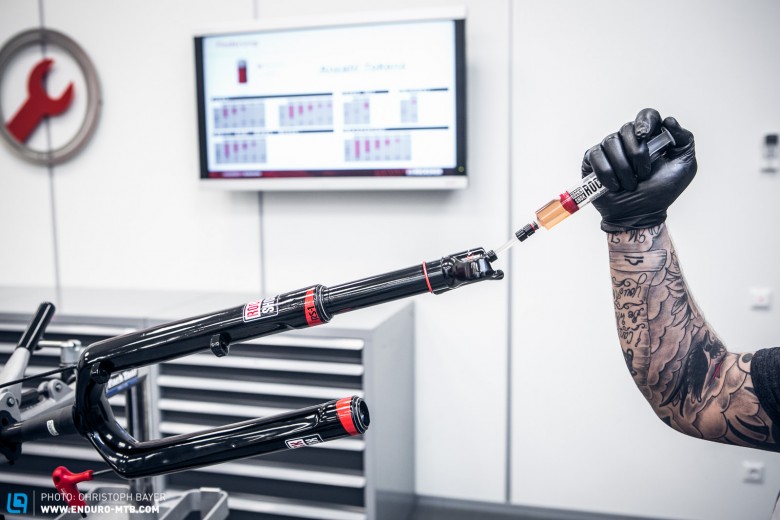
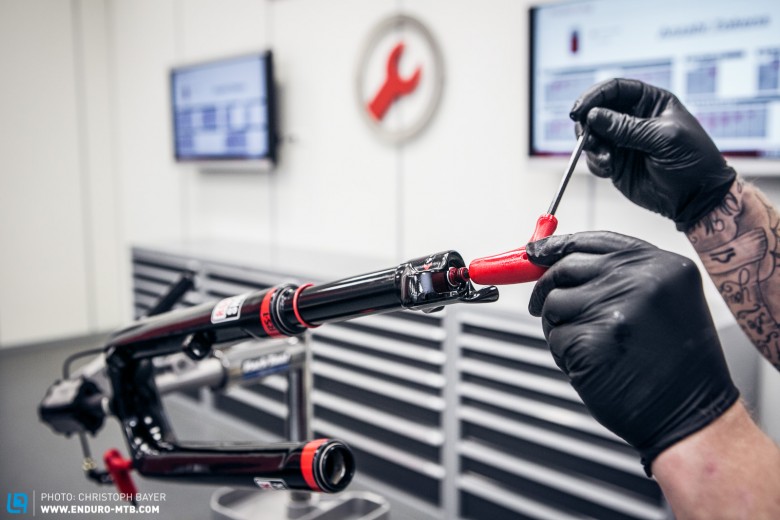
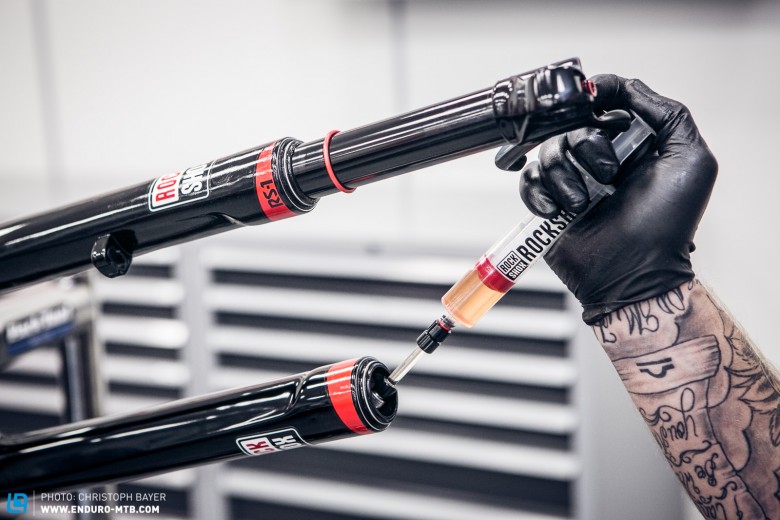
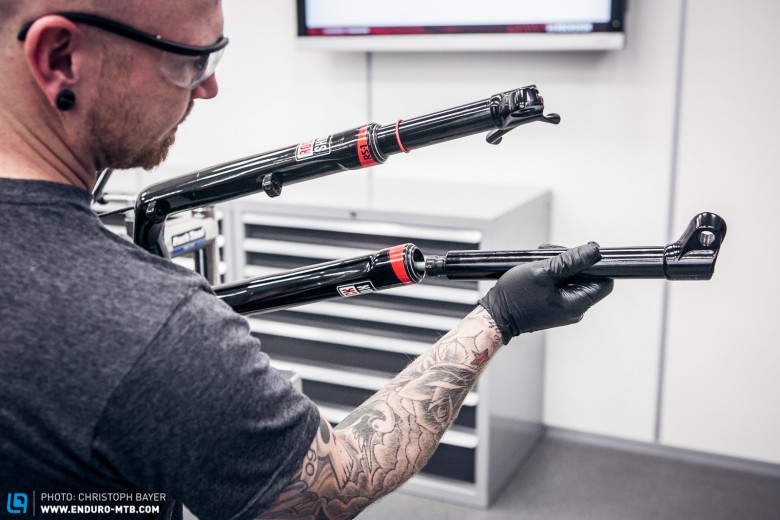
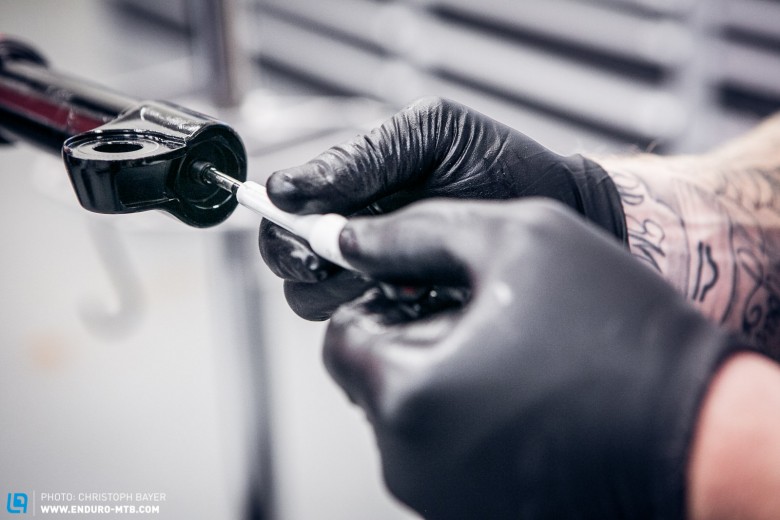
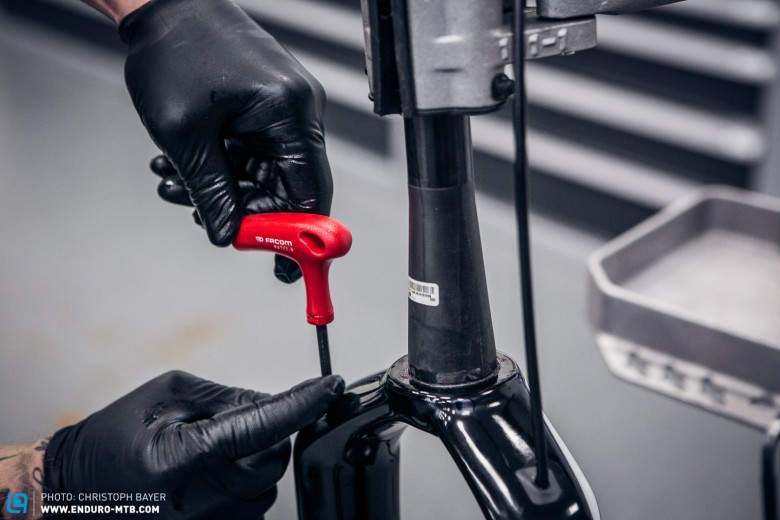
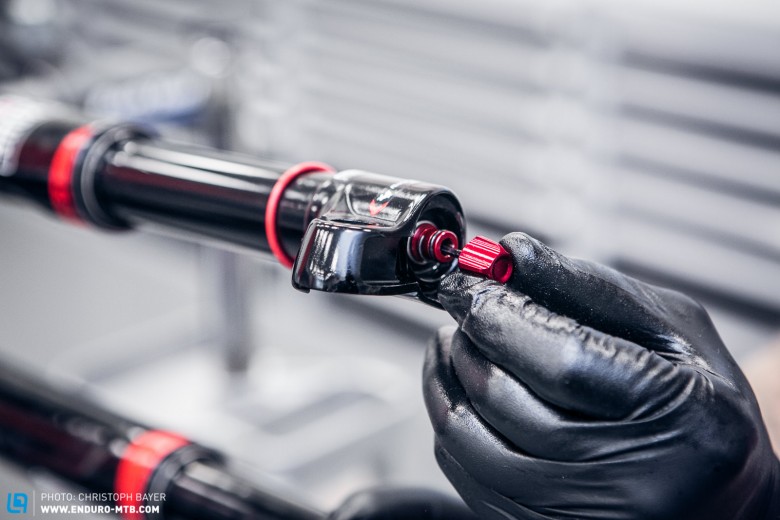
To make the job of servicing easier, it’s wise to remove the forks from the bike.As is common when working with suspension, first let the air out and remove the valve.Then take out the rubber stopper (air spring access cover) from the top of the forks…… now use a 5mm Allen key to loosen the anchor bolt inside the forks, but don’t completely remove it.Gently tap the Allen key to dislodge the air shaft …… and pull the stanchion and spring assembly downwards. NOTE: some oil may leak.With the fork facing downwards, clean the dust wiper seals and the inner with a damp cloth.Remove the rebound adjustor knob from the bottom of the opposite leg.Loosen the non-drive side bottom bolt …… and then dislodge the rebound damper shaft by gently tapping with a soft mallet.Now the other stanchion can be removed from the fork leg. Some oil will escape again.As the inside of the dust wiper seal is still covered by the damping cartridge, this now needs to be removed with the use of the RS-1 Anchor Tool. To do this, open the damping on the remote lever and after removing the little washer insert the Anchor Tool until it threads.Using a 30mm socket unscrew the air spring (also referred to as the Excallarater ). NOTE: in a clockwise direction!Now the air piston can be pulled out …… and the second dust seal can be cleaned.Apply RockShox Butter (or another fork-specific grease) to the O-rings.Liberally apply the SRAM butter to the air piston with your finger.After greasing the air piston, reinstall it …… and tighten it to a torque of 12 Nm.Then install the lock ring back onto the dust seal.Now the first stanchion can be reinstalled …… and then inject 10ml RockShox 15wt suspension fluid into the hole of the tuning knob of the Carbon Fibre Upper.Tighten to the bottom bolt to 6.8 Nm.If you haven’t done it yet, use this opportunity to grease the two dust wiper seals.And insert 10 ml RockShox 15wt suspension fluid into the drive side too.
And then rethread the other fork leg.Screw the valve back on.And tighten the drive side fork to 8 Nm.Reinstall the rebound adjustment knob and reset up your fork as desired. Finished!
Photos: Christoph Bayer Words:Christoph Bayer
Did you enjoy this article? If so, we would be stoked if you decide to support us with a monthly contribution. By becoming a supporter of ENDURO, you will help secure a sustainable future for high-quality mountain bike journalism. Click here to learn more.
Aaron was our first employee and actively helped make our company what it is today, significantly shaping the look and direction of our various magazines. Aaron has been pursuing his own projects since mid-2020 but he continues to advise and support us on issues of marketing and technology. For many years, you would usually have found Aaron at casual enduro races, but increasingly you'll find him riding his road bike – long live freedom on two wheels!