We’ve all been there, finally hitting that gap, stoked and buzzing while throwing out high-five’s everywhere. “Yeah man I got the shot” your mate proudly shouts… “Let me see, let me see!” With a beaming smile you look at the screen, only to discover an out of focus streak flying through the air, looking like it been taken on a camera with all the technology of a potato. Here’s our ENDURO guide to getting better shots with a humble smartphone.
Mountain biking is one of the most demanding sports to capture, shooting fast moving action in the dark woods is never an easy job for an expensive camera, never mind a smartphone. Of course here at ENDURO we don’t shoot our features on smartphones, and there are certainly huge limitations to their use, but with a little care and some clever tricks you can get some surprisingly good images of your buddies.
Composition
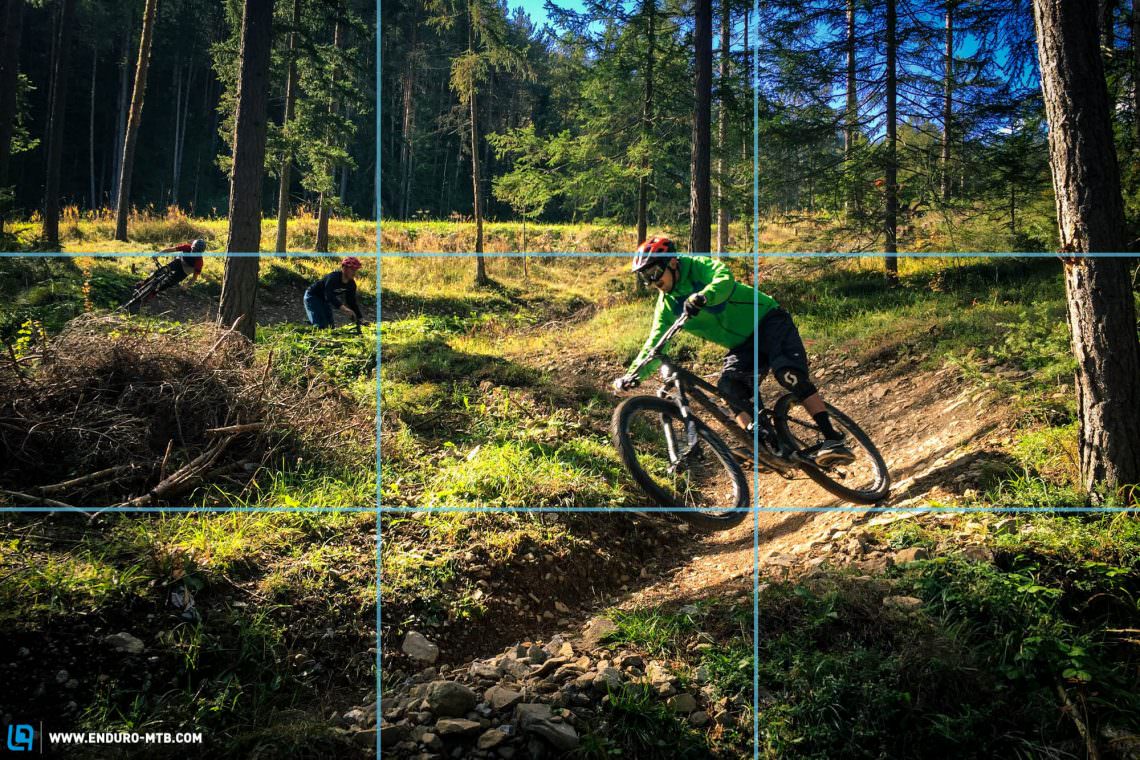
One of the most basic but important photography techniques is composition which is essentially how you ‘construct’ your image. It’s all to easy to simply frame the rider in the middle of the image and shoot away, but you can improve your images dramatically if you compose them properly. This should start with where you place your subject in the camera frame, since the dawn of photography the technique for drawing more attention is to utilise ‘the rule of thirds’ by placing your rider over the various thirds of the image, a grid overlay can be turned on in your camera settings which will make positioning even easier! Give it a try and see how it improves the overall look of the image.
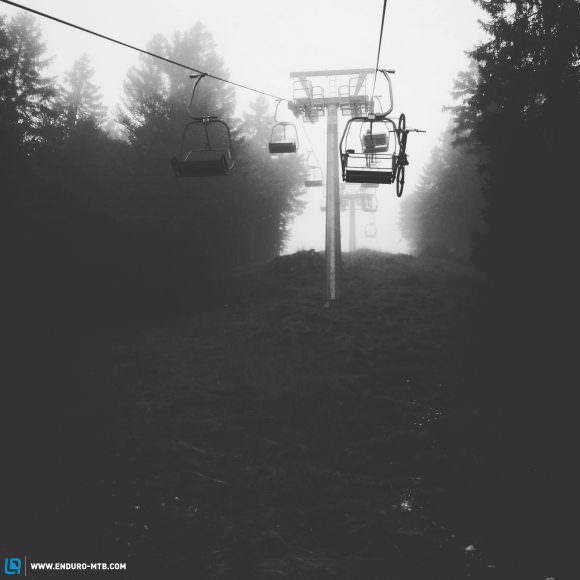
Why are my photos so blurry?
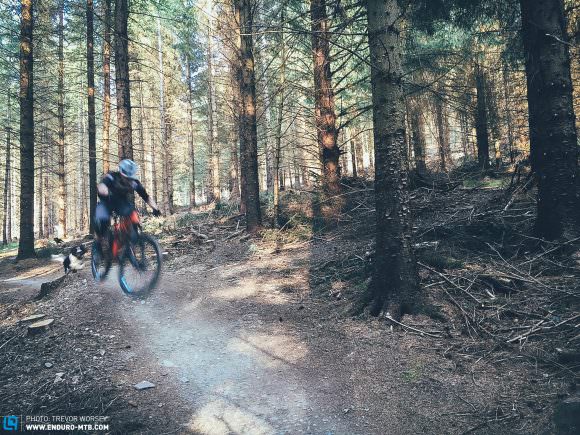
This is a pretty common problem for those shooting in the woods with a smartphone. Why is the rider so blurry? Well, it’s simply due to the lack of light in the trees. When the camera runs out of light it is forced to leave the shutter open longer to let more light in. As the rider is moving fast they change position between the shutter opening and closing, resulting in blur. But there is a neat solution, it’s time to start panning!
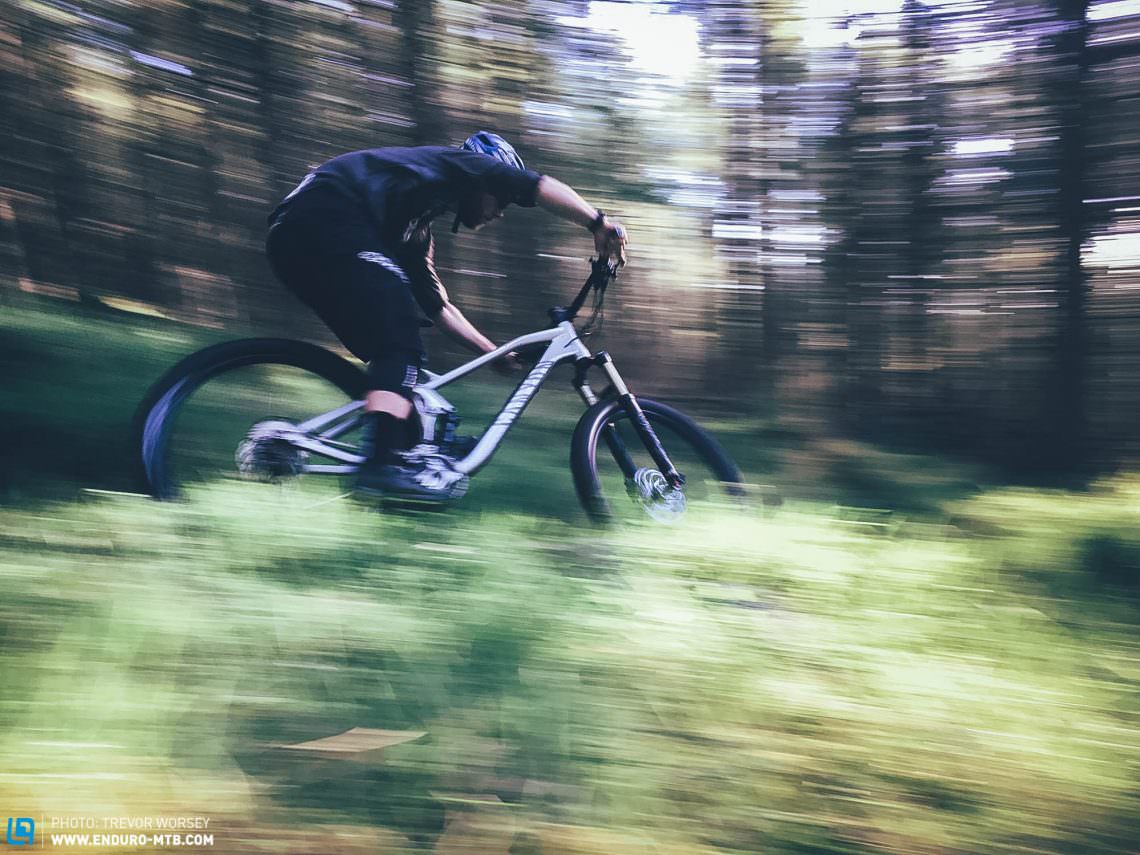
Pan to win
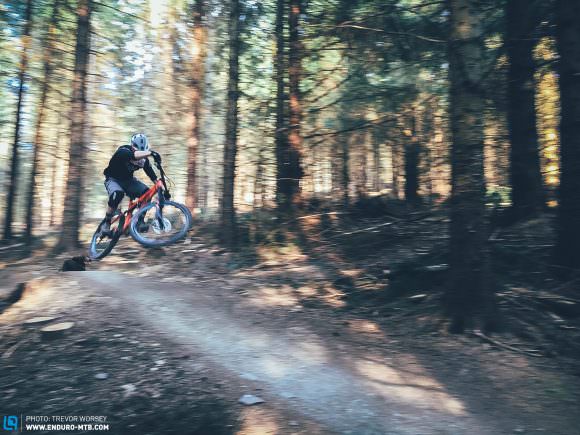
If you are finding that your action is blurred, it’s time to use an age-old technique employed by professional sport and action photographers, panning. Panning means that rather than holding your camera stationary, you follow the action and inject some movement into your shot. In this example as the rider heads towards the jump simply follow his movement through your phone and keep shooting photos while you pan the camera smoothly in time with his the movement. It takes some practice, and is often a bit hit or miss (burst mode helps a lot here), but soon you will start to match the rider’s speed and they will be in focus while the background will blur. This also adds some movement to your image, leaving you with a much more exciting and dynamic shot.
Get Creative
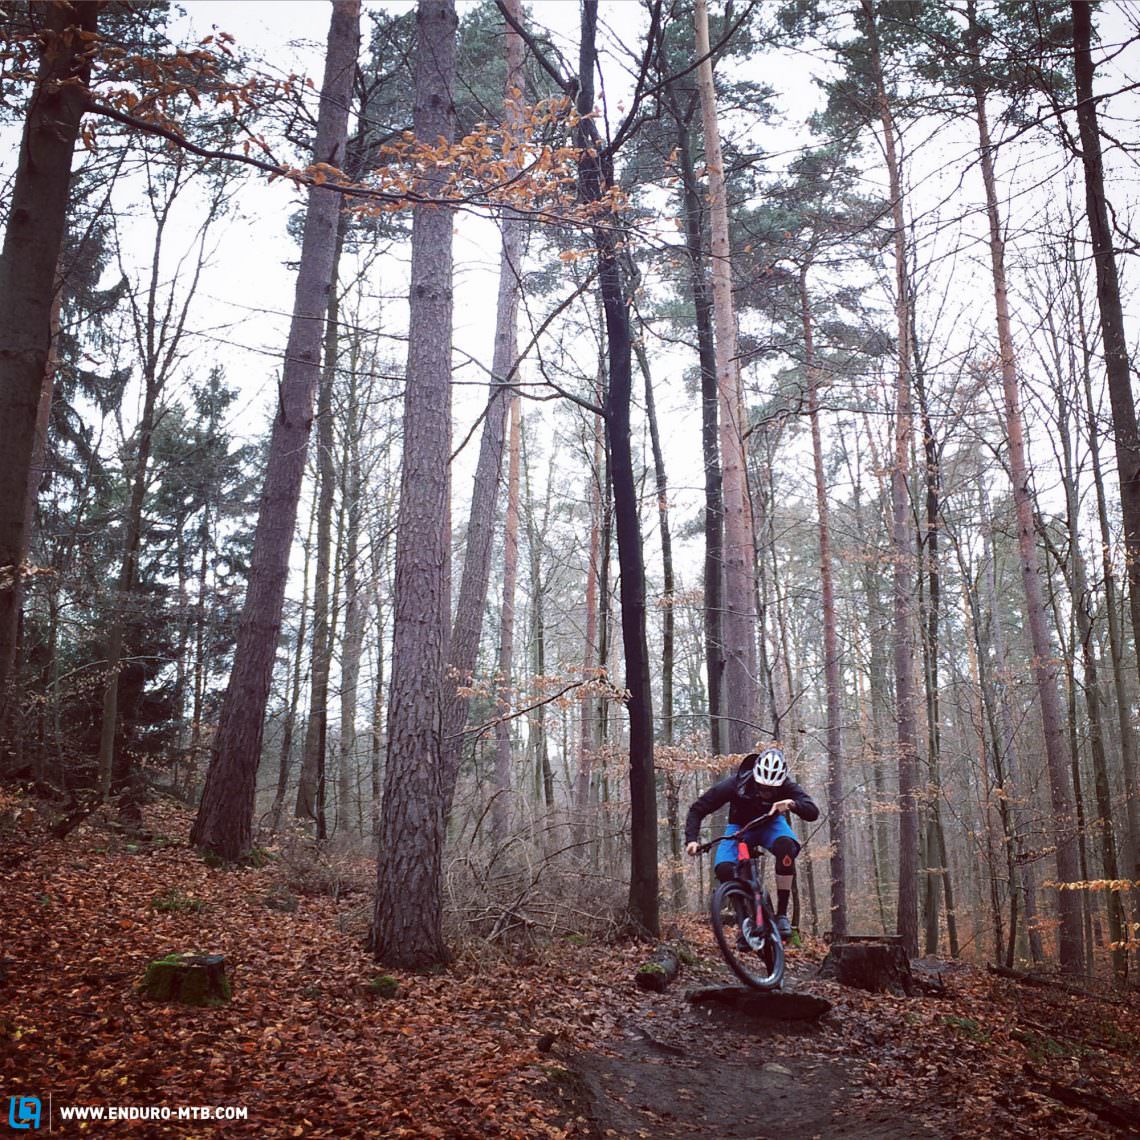
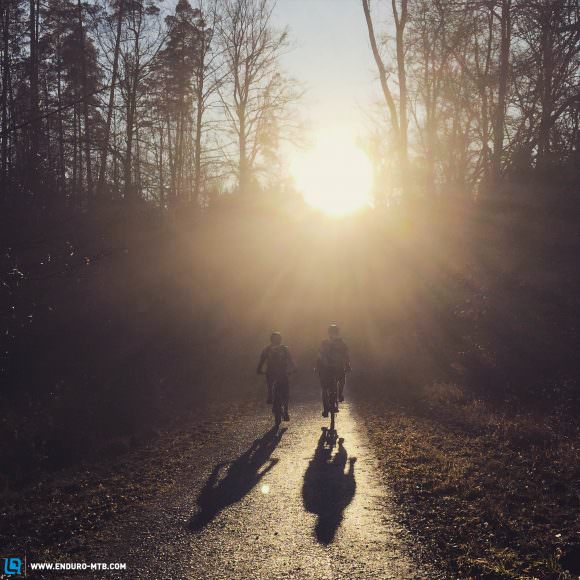
This is the thing that really sets apart your image from others, taking it from plain to powerful! Think about the angle / height you are taking your photos from, nine times out of ten most people shoot from chest height and the resulting shot lacks dynamism. Time to think about your angle, shooting from low at your subject makes them seem imposing whilst shooting from above can give images a graphic feel. Another way of adding another dimension to your photos is to utilise foreground such as rocks or flowers which will help give photos depth and texture.

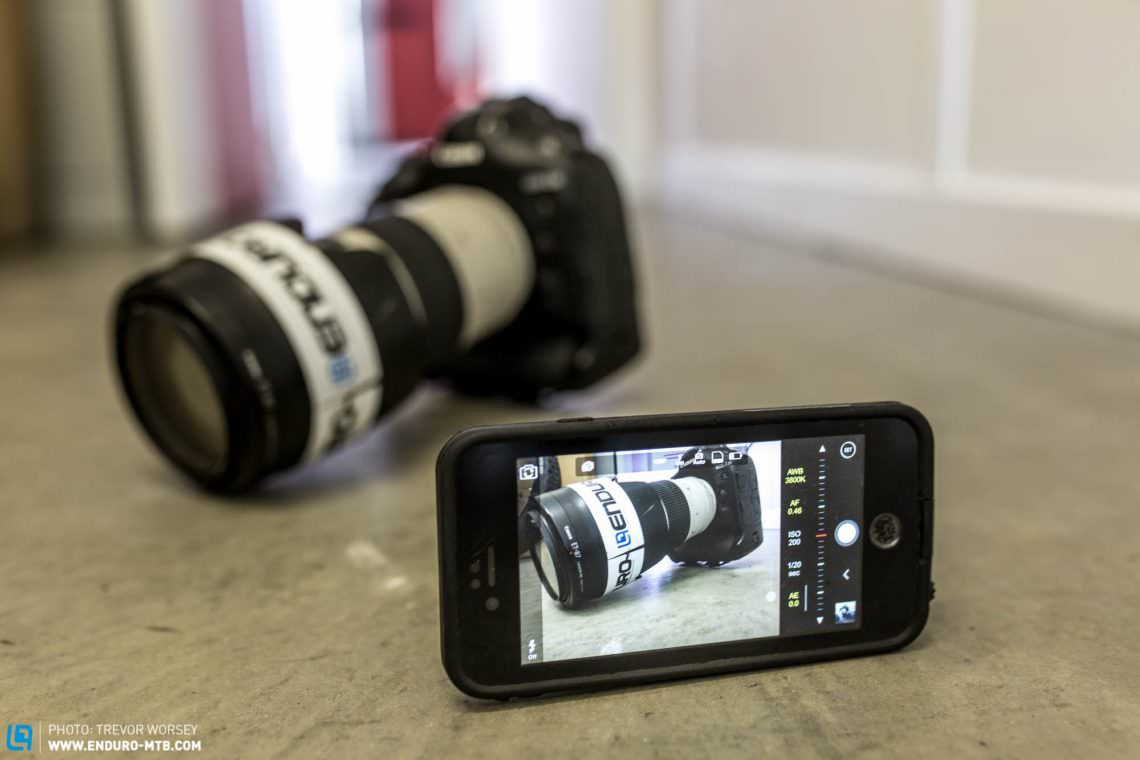
Get to know your phone
There is quite a lot to be gained from knowing the basic settings on your phone as well as using a few third-party apps to get the best from your photos. Our first tip would be to turn on ‘HDR Auto’ mode, this will help give your images a bigger dynamic range so there will be more detail in the brightest and darkest parts of your image. Utilising the ‘Burst’ function will take multiple photos in one sequence, helping you capture the exact moment you want much easier! Avoid zooming on your phone as it is a digital zoom which crops the original image and destroys quality. If you want to dig deeper, there are a multitude of phone apps you can utilise, such as MANUAL which helps you take controls of your camera’s settings giving you greater control over shutter speed, aperture and exposure. When it comes to post-processing, of course there are the classic Instagram filters, or for more control check out the editing apps such as VSCO which will help you edit the colours, contrast, exposure and so much more, along with some ready to go filters – get creative and see what you can do.
A little bit of app processing can go a long way, just don’t start maxing out all the sliders!
Cameras on modern smartphones are growing increasingly advanced and with a little creative thinking and using some of the great apps available, you can now get some awesome riding shots. The best camera is always the one you are carrying and its never been easier to get great shots. Now get out there and get snapping and pot your best smartphone shots below in the comments!
Did you enjoy this article? If so, we would be stoked if you decide to support us with a monthly contribution. By becoming a supporter of ENDURO, you will help secure a sustainable future for high-quality mountain bike journalism. Click here to learn more.
Words: Trev Worsey and Ross Bell Photos: Trev Worsey, Ross Bell, Noah Haxel and Moritz Ditmar