10 handy tips for flying with your bike
Are frozen fingers and numb toes while riding not your thing? Prefer to spend your Christmas pennies on a bike holiday rather than mortgages and presents for distant relations? Here are 10 useful tips for anyone heading off on an airplane with their bike in the near future.
TIP 1: Call your airline and book your bike separately
Naturally if you want your bike to join you on holiday then you’ll have to book it with the airline as extra baggage. Our experience has taught us that it’s wise to call the airline directly as they can frequently offer you a more affordable additional price than what is initially apparent as you make your online booking.
TIP 2: Do Online Check-in
Pretty much every airline gives you the opportunity to check in prior to arriving at the airport, be it a week or a day earlier. You can then print out your boarding pass, or just download it onto your smartphone. This saves you from wasting time at the airport and you can head directly to the over-sized luggage drop-off.
TIP 3: Reserving a seat
By checking-in online you have the option to reserve a seat. So if being stacked like a sardine isn’t your thing, then we’d definitely recommend the following: if you’re travelling as a pair, go for an aisle and a window seat on the same row – but leave the middle seat free. If the plane isn’t full then it’s highly likely that you’ll get away with the free space trick you just pulled. And if – unluckily – someone gets that middle seat then you can always suggest swapping with them so you can be reunited with your mate. The seats over the wings and those that split the business class from the paupers (known as the bulkheads) tend to offer more legroom. But there’s a disadvantage: there’s often no window and there could be a surcharge.
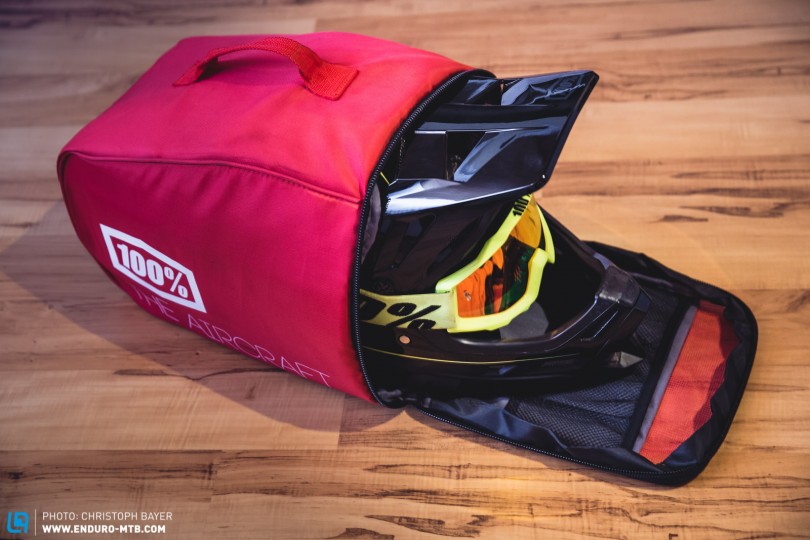
TIP 4: Keep your full-face helmet in your hand luggage
If you’d be lost without your full-face helmet at your destination then you’d be wise to take it as hand luggage in a helmet bag. Your suitcase naturally has limited space, and you can frequently get away with carrying more as carry-on luggage (unless you’re flying with the penny-pinching, blue and yellow Irish airline). So far we’re never encountered any issues with the extra piece of hand luggage. If you’re worried, just put your laptop in the same bag, as they’re virtually always allowed as an extra bag.
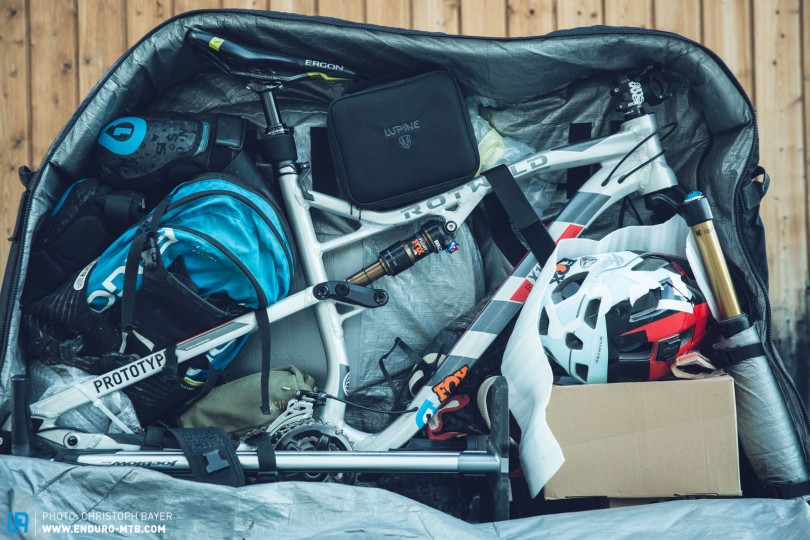
TIP 5: Pack wisely
It’s never nice to arrive at your destination and realize that your sweaty protectors and bike shoes have stunk out your suitcase and all the clothes you’d been planning on wearing. In that case, put your knee guards and shoes inside the bike bag. There’s usually a 30 kg weight limit for sports equipment, which means you can pad out the empty space around your bike with your gear.
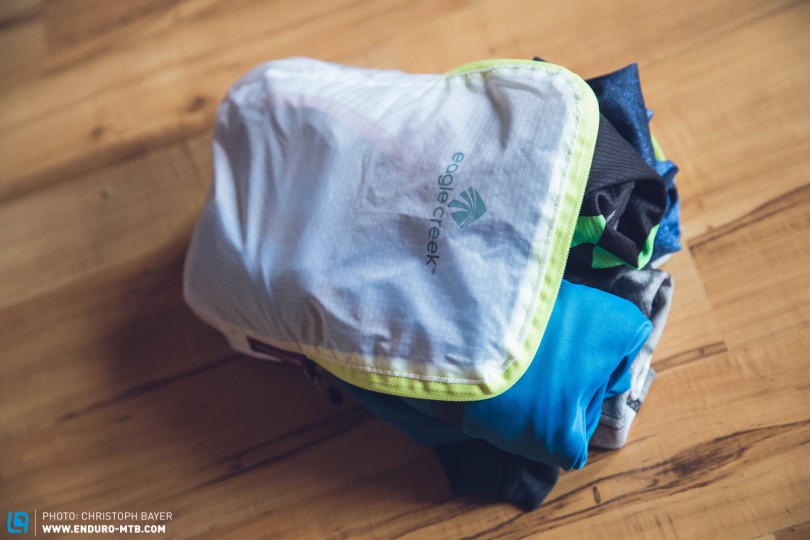
TIP 6: Rolling not folding.
If you’re one of those packers who always needs three people to help close the suitcase (which isn’t even overweight) then you should take a serious look at your packing methods. Try rolling your shorts and jerseys instead of folding them; it’s a veritable space-saving concept. Then try using various-sized packing bags to keep a sense of order, and you’ll save masses of time without having to rummage through the whole suitcase for the matching sock.

TIP 7: Check your bike
Before packing your bike, it’s a good idea to give it a serious run-over to check it’s all working. Check all the screws and the gearing, calibrate the brakes (bleed if necessary), check the spoke tension, and service the suspension. This should guarantee maximum fun and functionality once you land.
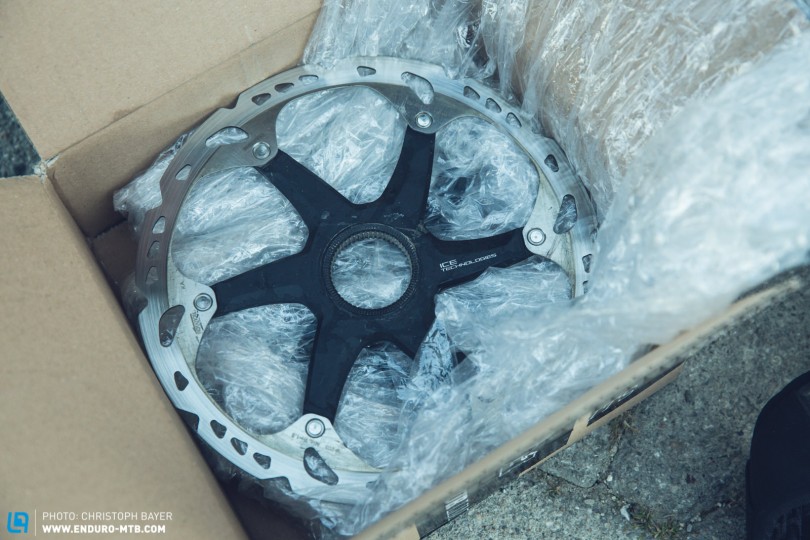
TIP 8: Remove the disc brake rotors and the rear derailleur
Any rider’s heart must break when they see how aggressively the luggage is handled by the airport staff. This makes packing your bike even more important. Nothing is more frustrating that realizing that a disc brake rotor has got dented or than the rear derailleur has been torn off during transit. Consequently we’d recommend removing any fragile parts before you travel, and keep them well wrapped in the bike bag.
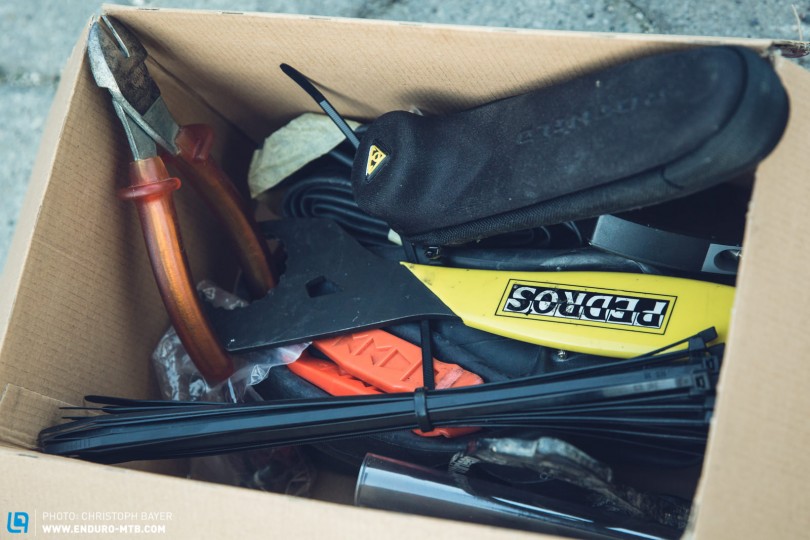
TIP 9: Pack your tools and track pump
Once you’ve landed and reached your accommodation then it’s just a case of opening the bike bag and screwing it all back together. Are you really going to do that with a multi-tool and hand pump? Take the most important tools with you in the bike bag – but discuss this with your mates first so that you don’t all bring the same tools. This should save weight and money.
TIP 10: Don’t forget any spares
Realising that you’ve got a mechanical on some far-flung island can be troublesome. As it can be a long and tiresome process to try and get the right replacement parts, we’d recommend taking the most important spares with you on holiday. Crucial parts to take with you:
- Derailleur hanger
- Gear cables
- Gear cable outer
- Derailleur
- Spare spokes
- Spare tyres
- Tubes
- Brake pads/Disc brake rotors
What have we forgotten? Feel free to add comments!
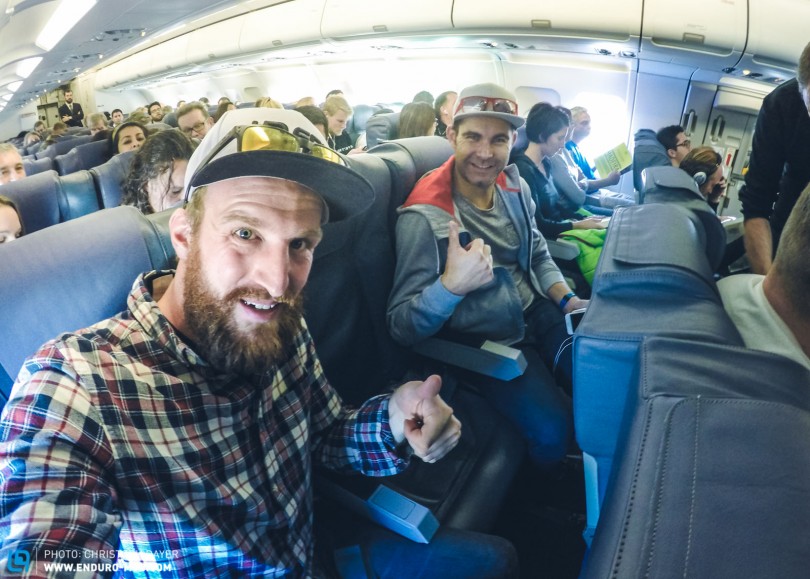
Text & Photos: Christoph Bayer
Did you enjoy this article? If so, we would be stoked if you decide to support us with a monthly contribution. By becoming a supporter of ENDURO, you will help secure a sustainable future for high-quality mountain bike journalism. Click here to learn more.