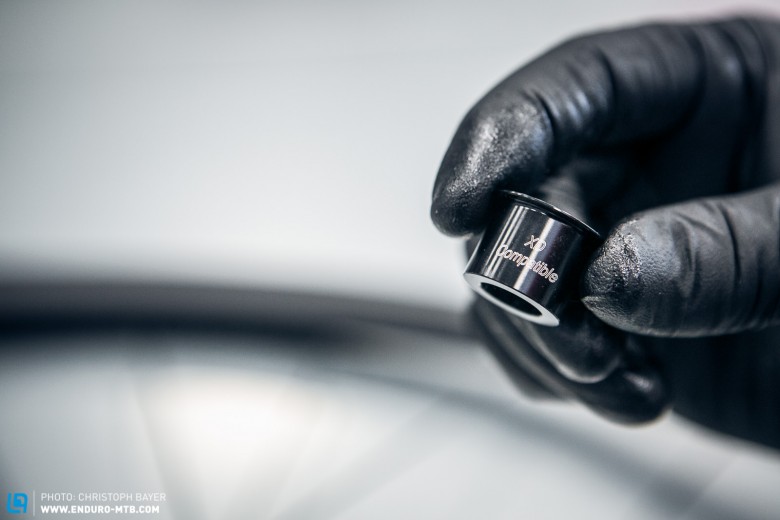
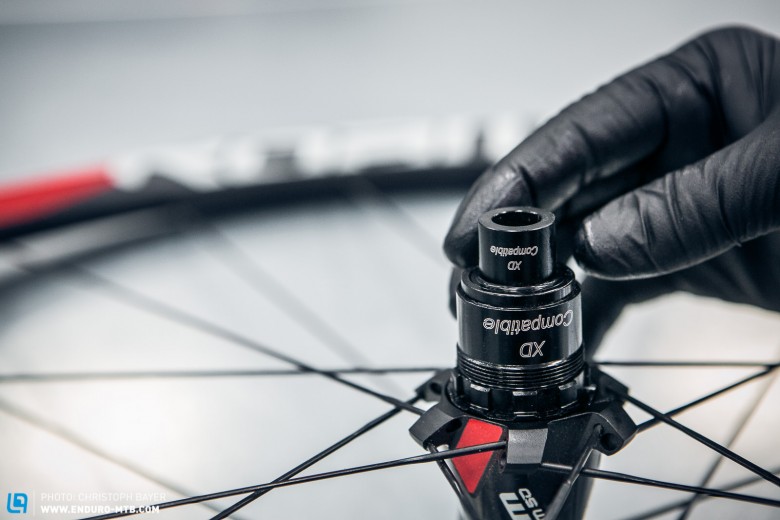
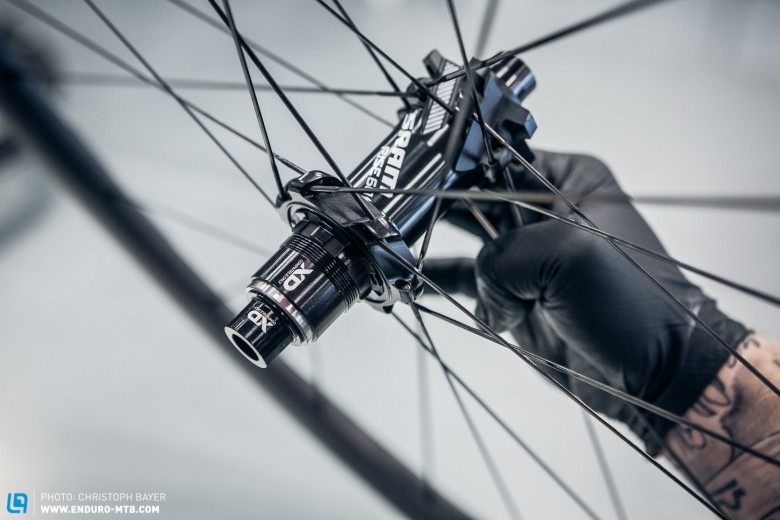
Until a few years ago there was no real reason to remove your free hub, unless you needed to do maintenance on your bearings – but with the introduction of SRAM’s 1×11 groupset, riders might now need to put on a specific free hub to fit the 11-speed cassette. Today we’ll show you how to fit the SRAM and DT Swiss free hubs.
First up, the good news: changing to a different free hub is essentially pretty simple. However, certain hub manufacturers often go for different systems. Using the new SRAM Double Time free hub, we’ll show you have the classic pawl design works as well as the DT Swiss Ratchet System.
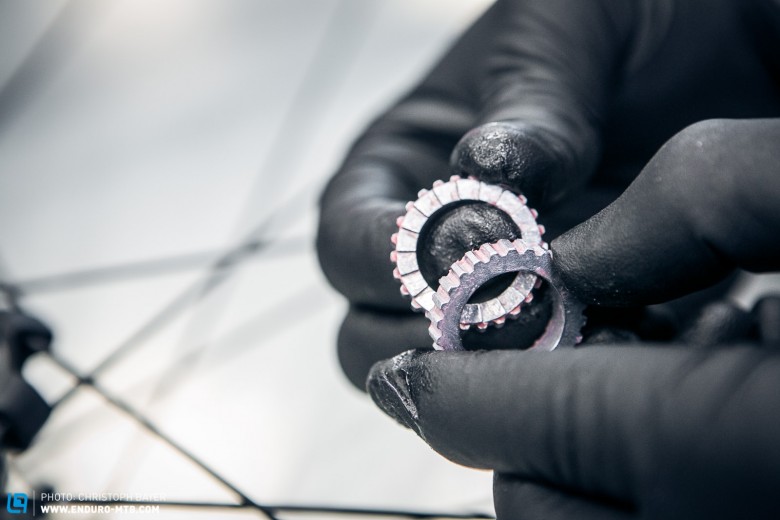
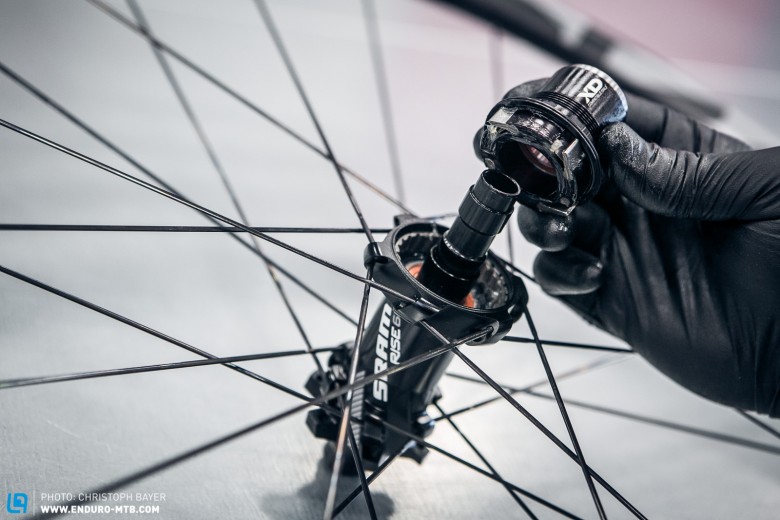
Changing the free hub on the DT Swiss Ratchet System
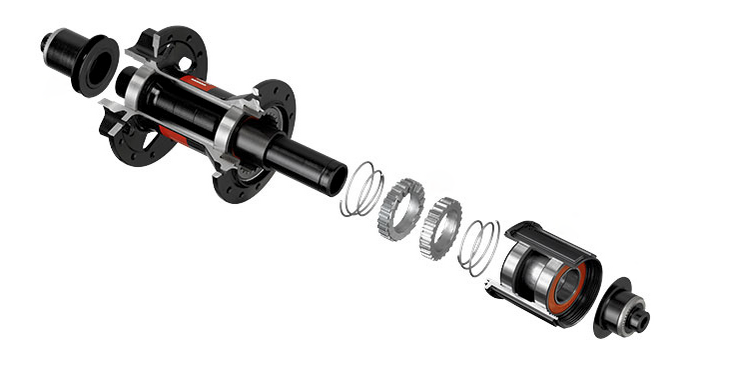
The DT Swiss Ratchet System is made up of two ratchet plates that are interlinked by multiple teeth within the free hub body. They’re press-fitted together by two springs. When you’re changing one of these it’s crucial to ensure that the springs are put back on in the correct direction and that the position of the ratchet plates is right.
Level
easy
Tools
None
How To
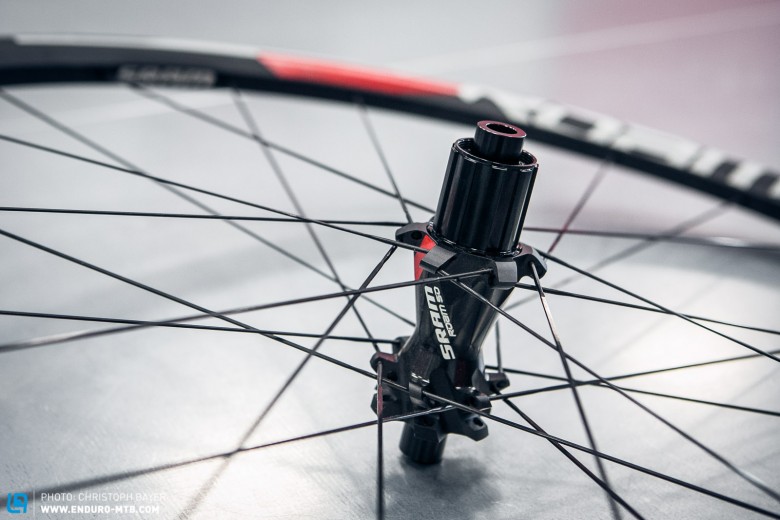
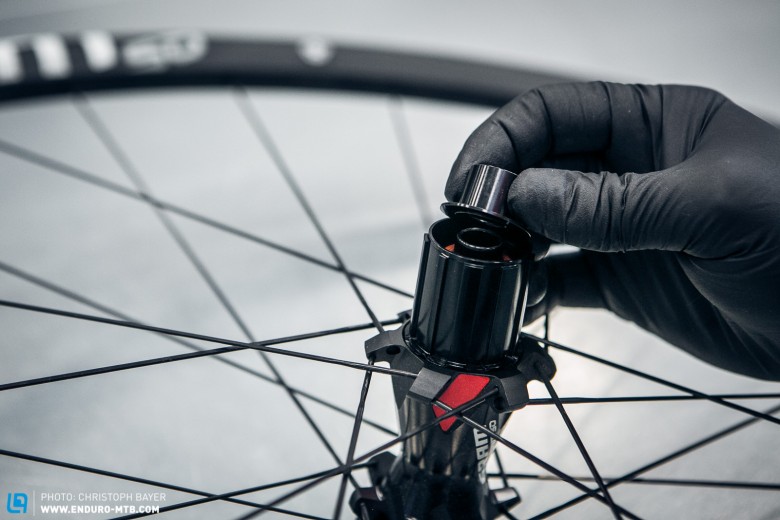
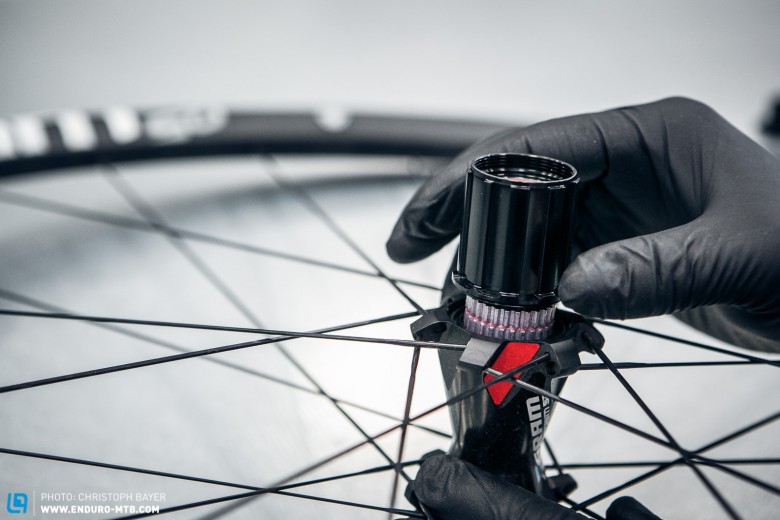
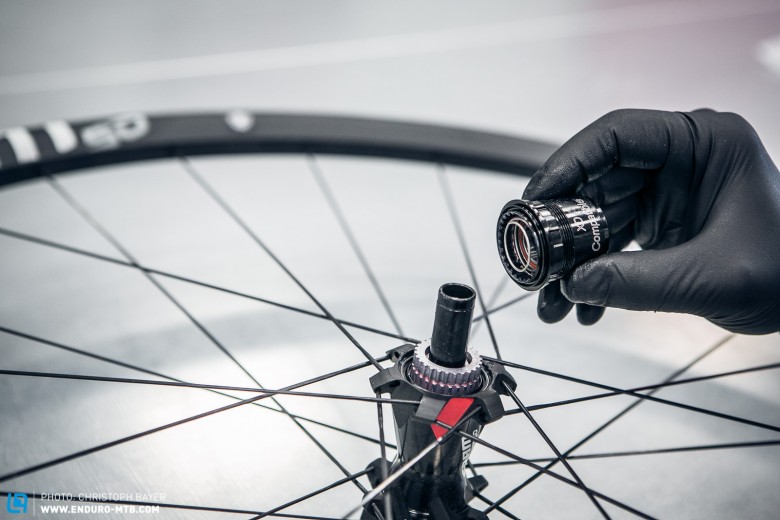

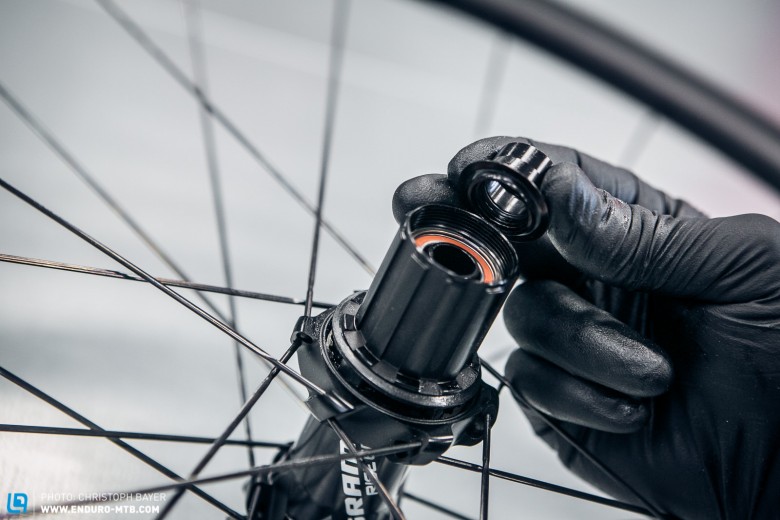
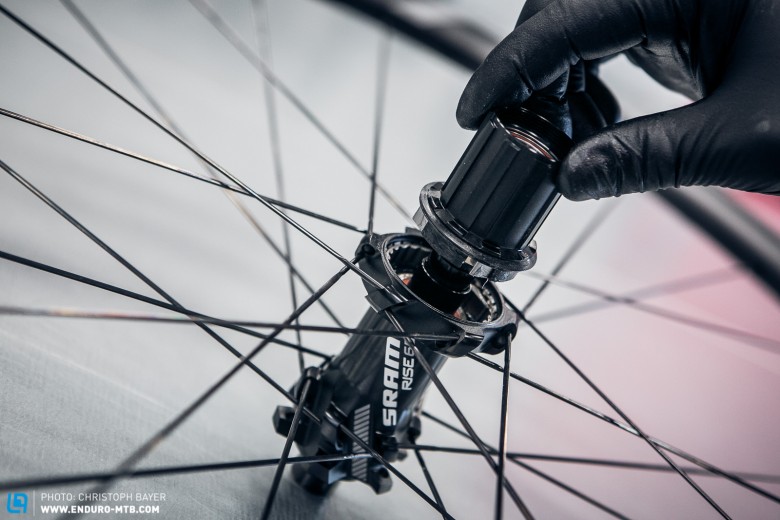
Mounting a free hub body with a pawl-design.
While the first SRAM wheel models came complete with the DT Swiss Ratchet System, the new versions are built with SRAM’s own ‘Double Time’ pawl system. Changing a free hub body is easily done here too.
Level
easy
Tools
None
How To


Words & Photos: Christoph Bayer
Did you enjoy this article? If so, we would be stoked if you decide to support us with a monthly contribution. By becoming a supporter of ENDURO, you will help secure a sustainable future for high-quality mountain bike journalism. Click here to learn more.