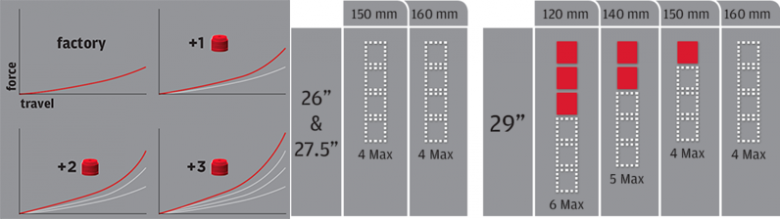
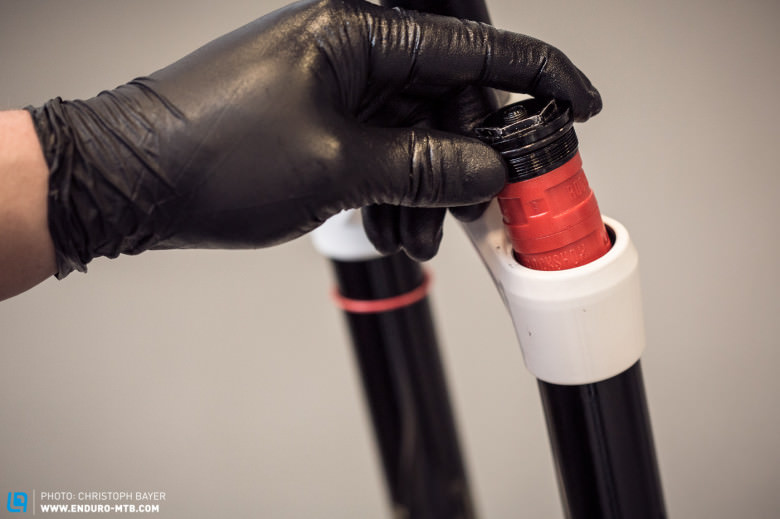
The RockShox Pike is currently indisputably one of the best, if not THE best enduro fork on the market! This was also our findings in our fork group test from Issue # 009 of Enduro magazine. More and more bikes are now being sold with the fork fitted as standard, and many more riders are adding the Pike to their own bikes. However, to get the best out of the fork it needs to be set up to work in harmony with the rear end. The Pike comes with an adjustable air chamber, allowing the volume to be changed making the fork either more linear (increased volume) or more progressive (reduced volume). We will now explain how to adjust your fork to find the best setup for your bike!
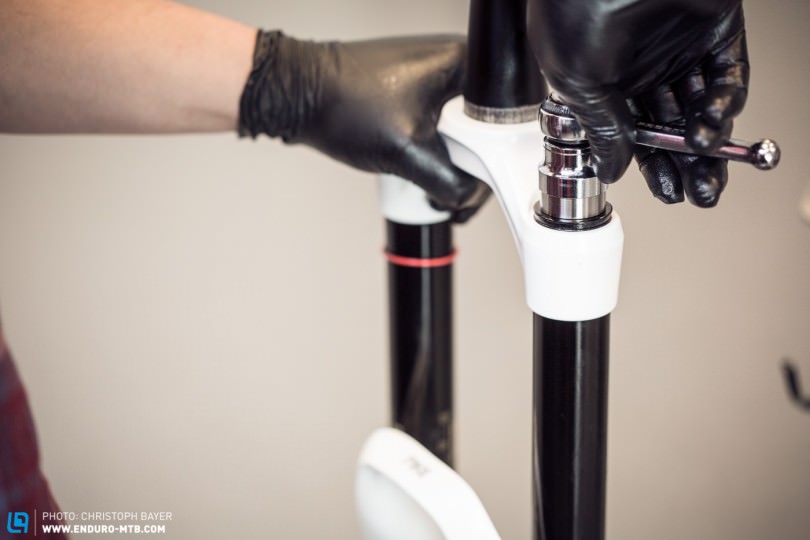
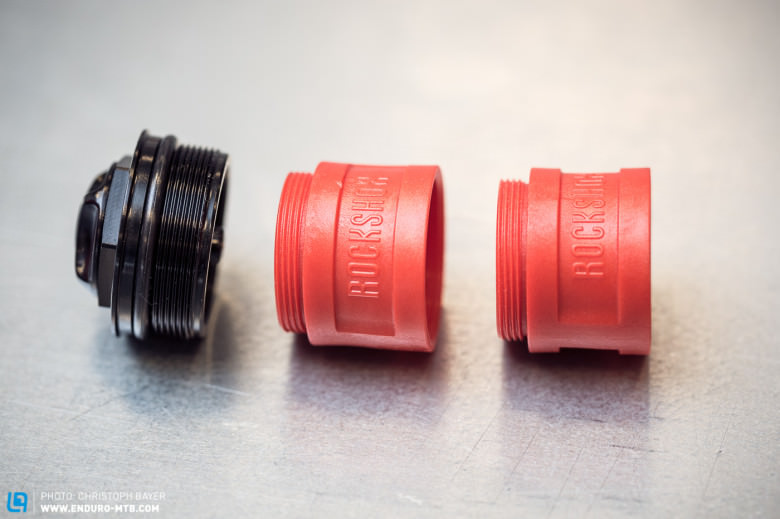
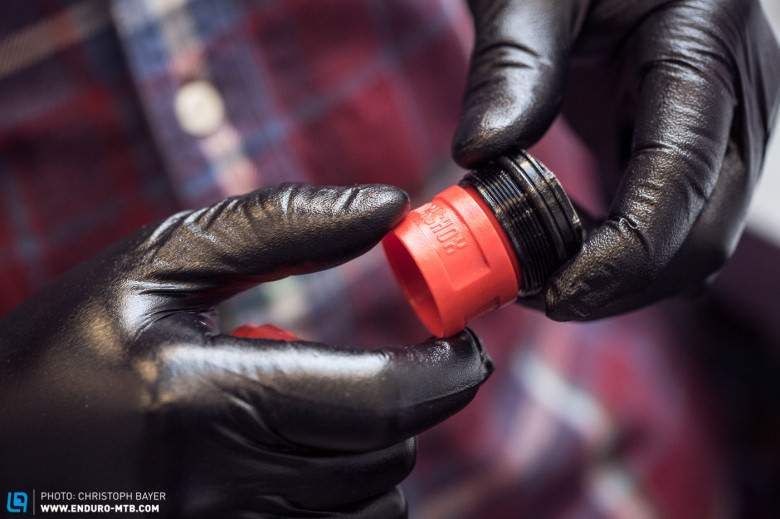
RockShox offers the rider a very easy way to adjust the characteristic of the new Pike. Supplying the fork with plastic pre-made, screw in spacers – called “Tokens”, that can be screwed into the top cap of the air chamber. We will now walk you through this process.
Application of the tokens is to the fork model, here you can find an overview of how many you can install and how this affects the characteristics:
Level
easy
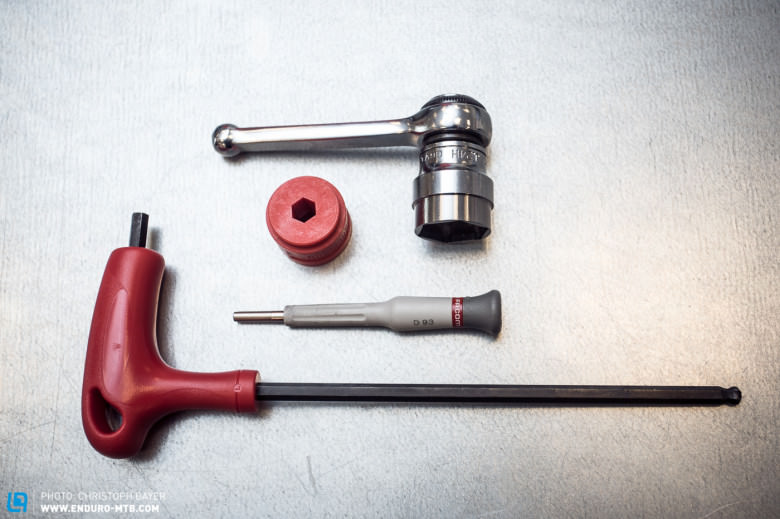
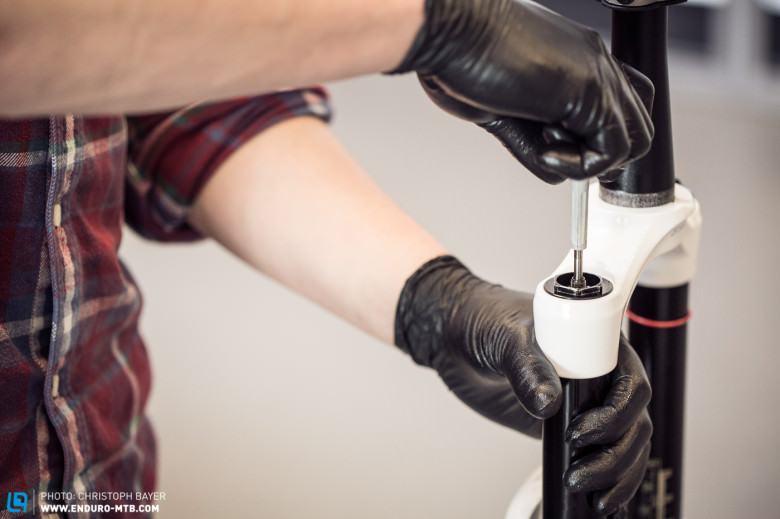
Tools
- 24mm socket plus ratchet, ideally a torque wrench
- valve screwdriver
- possibly 6mm Allen Key
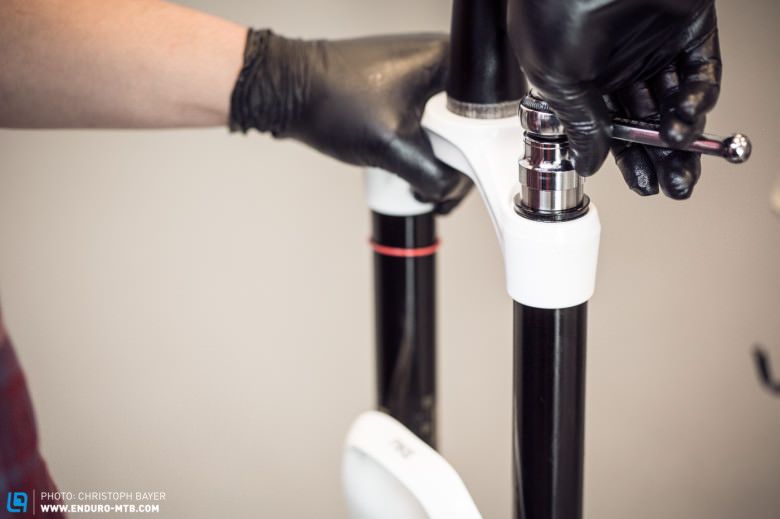
How to:
Words: Christoph Bayer / Trevor Worsey Picutres: Christoph Bayer
Did you enjoy this article? If so, we would be stoked if you decide to support us with a monthly contribution. By becoming a supporter of ENDURO, you will help secure a sustainable future for high-quality mountain bike journalism. Click here to learn more.