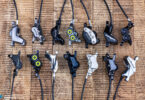
The humble old pedal is often overlooked but it’s one of the most important contact points on the bike. I can already hear you ‘pffff installing pedals? Please!’ Yes, it’s pretty simple but there are a few tricks and tips you might just be missing to make your life even easier:

Once you found the perfect pedal in our group test, it’s time to mount them to your bike. You’d be surprised at the amount of people who fall foul of the reverse thread on the non drive side pedal, ending up over tightening the pedal, almost seizing it on, and in the worst case scenario even stripping the thread.

What you need to remove and install pedals

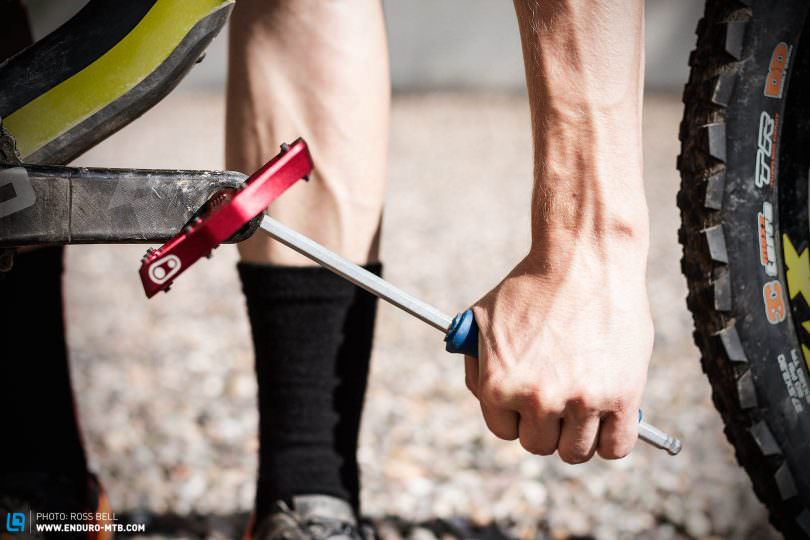
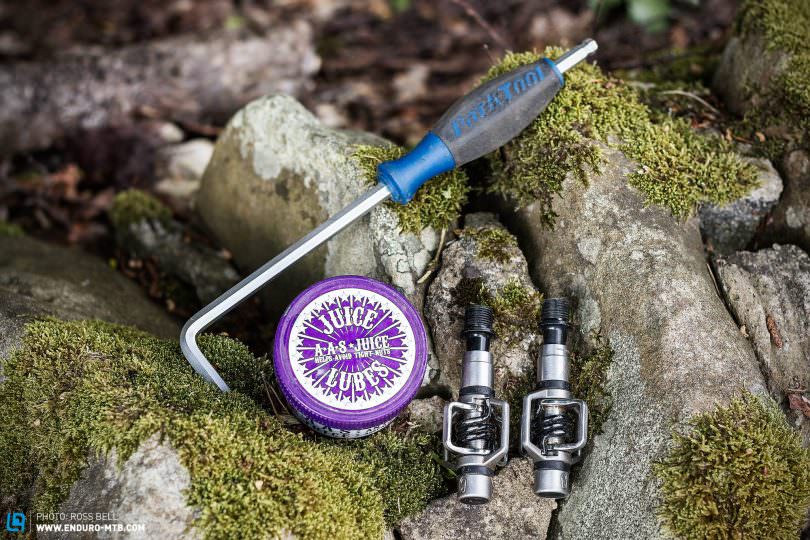
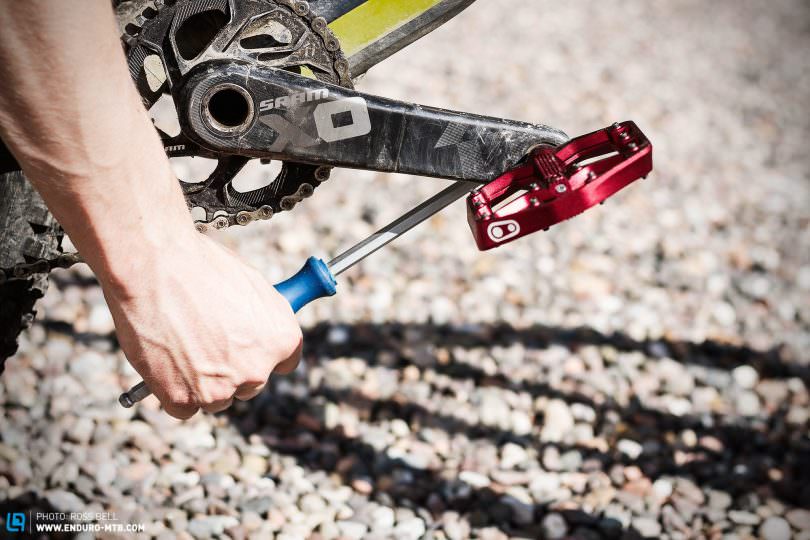
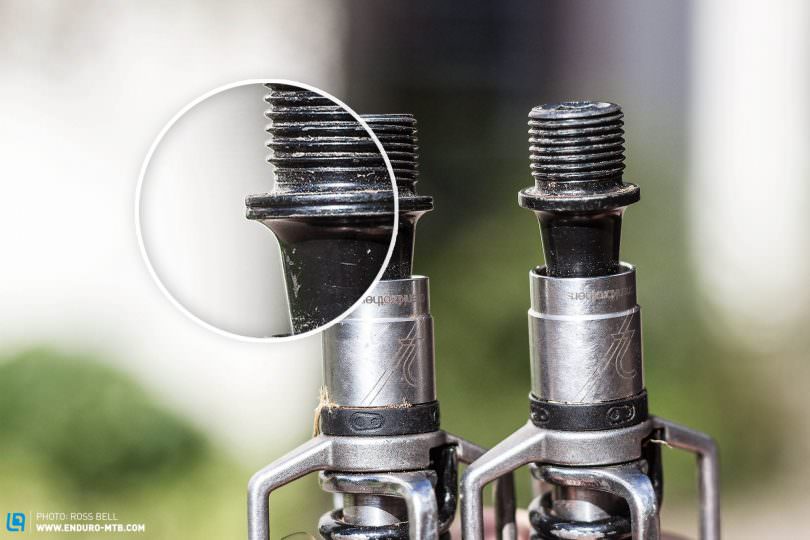
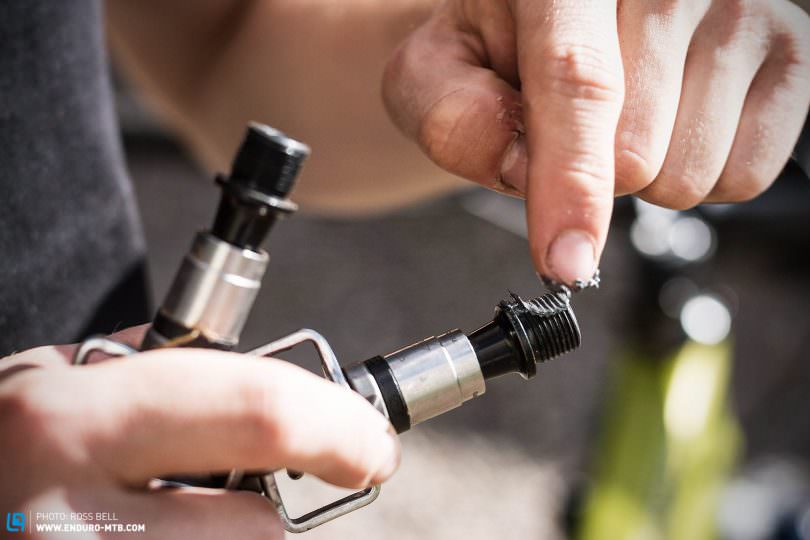
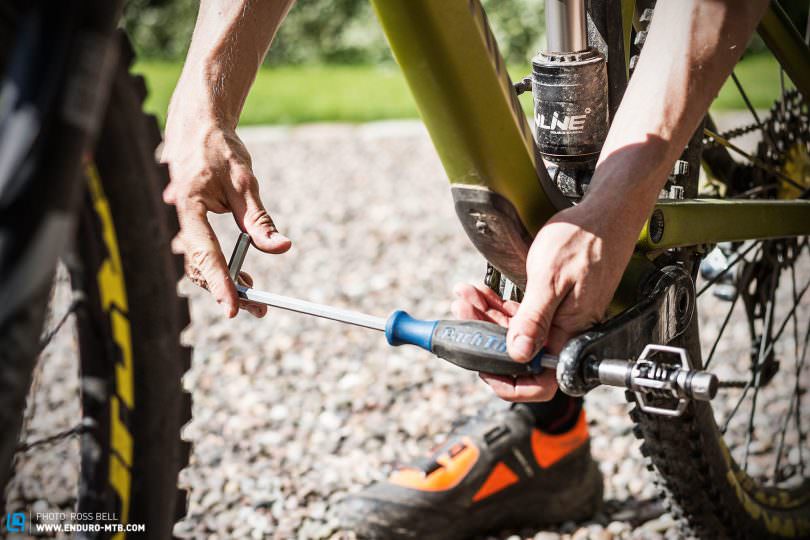
Most pedals these days need a 6 or 8 mm allen key rather than the traditional pedal spanner, it’s worth having a pot of anti sieze grease too, so when it comes to the time to remove them they come off without any hassle.

There is nothing complicated to removing and installing pedals, but sometimes the odd problem can surface.

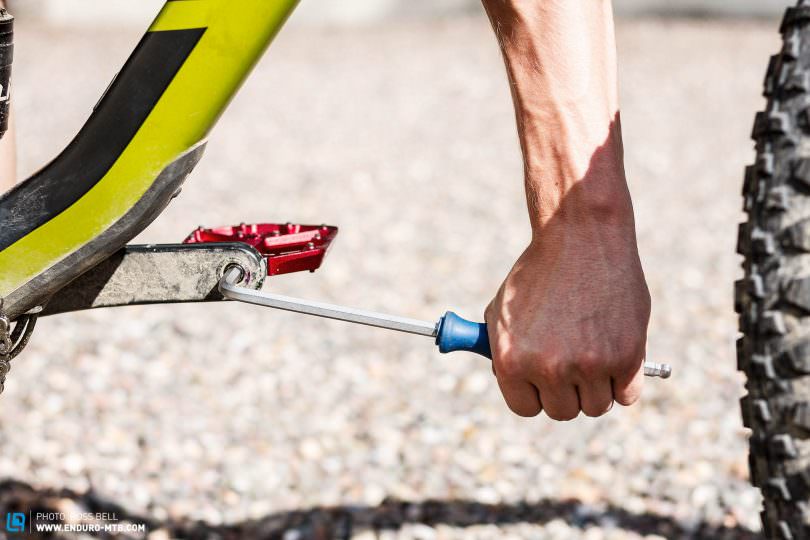
How to remove pedals

The key thing to remember when removing and installing pedals is that the two pedals have threads rotating in different directions; the non-drive side or left crank has a REVERSE thread, whilst the drive-side or right crank is a standard thread which works with the old saying ‘righty tighty, lefty loosey!’

Placing the bike on the ground will help you to get more leverage than if it was on a bike stand. Start with the drive side, rotate the cranks so they are roughly level or at the ‘3 O’Clock’ position, insert the allen key and push DOWN or ANTI-CLOCKWISE. Placing your other hand on top of the crank will help you put more pressure through the allen key.
For the non drive side, you want to spin the crank level and bring it to the front, when facing the crank you want to turn the allen key CLOCKWISE. This is the same directions if using a pedal wrench, the easiest way to remember the directions is to imagine if you are pedalling backwards with the tool, this is the way you want to turn it.

Pedals won’t budge and you’re 100% sure you are rotating the tool in the right direction? Time to dig out a longer tool for better leverage and a penetrating lubricant spray such as GT85 or WD40, but sometimes even this isn’t enough. In the past when all cranks were aluminum you had the option to use a heat torch to heat the cranks, the crank arm arm and pedal axle are made of different metals meaning they expand at different rates, and in theory should free up the axle rotation. Nowadays with the introduction of carbon, its best to save any expensive mistakes and slip the bike into your local bike shop for them to look at.

How to install pedals

Now look at the pedals, often there is a ‘L’ or ‘R’ mark indicating which crank it is to be threaded to. If not there should be a groove cut out one of the pedals at the flange at the end of the thread (left pedal in photo), this indicates the LEFT or non drive side pedal.
Grab the anti-sieze grease and apply it to the threads to make your life a little easier next time you go to take the pedals off.
Facing the drive side crank, pick the correct pedal by looking at the marking (R mark or no groove) and begin to screw in CLOCKWISE by hand, this will prevent you from cross threading / stripping the crank by forcing it in with a tool.

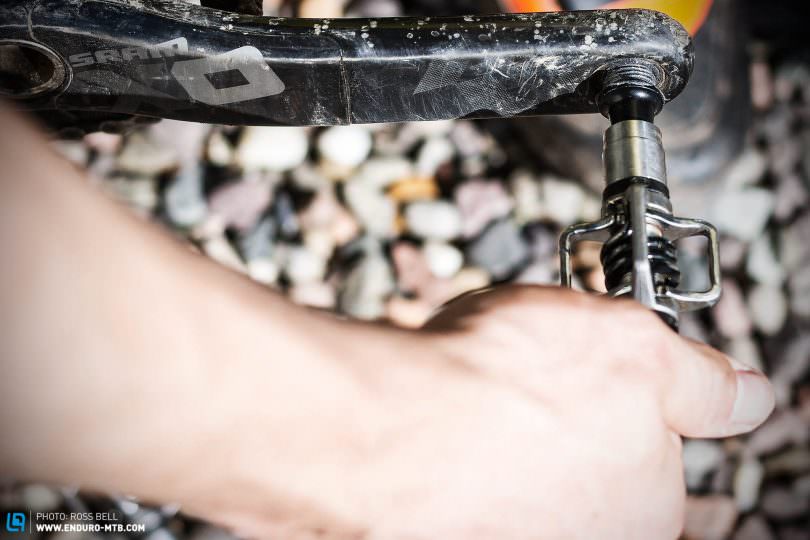
To speed up the process, grip the pedal axle and rotate the cranks backwards, this will quickly spin the pedal onto the crank. However, you will still need to tighten the pedal with the tool after.

Now for the non drive side, again facing the crank you should screw the pedal in by hand ANTI-CLOCKWISE, if you have a torque wrench use your manufacturer’s guidelines, if not tighten with your allen key / wrench by pushing down with one hand with give it a moderate cinch up, don’t go crazy and push with all your strength, remember the pedals have to come off again! Check after the first ride to ensure they are still tight.
Job done! Have a quick pedal and bounce around to check everything is good to go before hitting the trails.

Did you enjoy this article? If so, we would be stoked if you decide to support us with a monthly contribution. By becoming a supporter of ENDURO, you will help secure a sustainable future for high-quality mountain bike journalism. Click here to learn more.

Words & Photos: