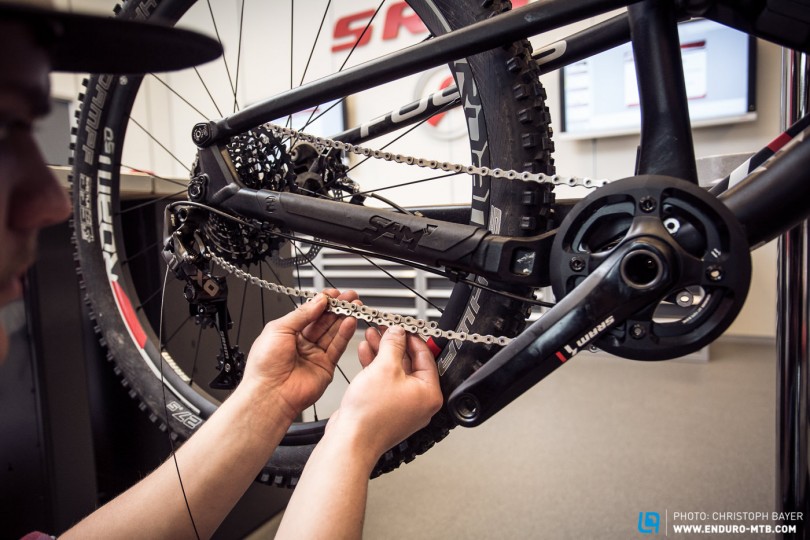
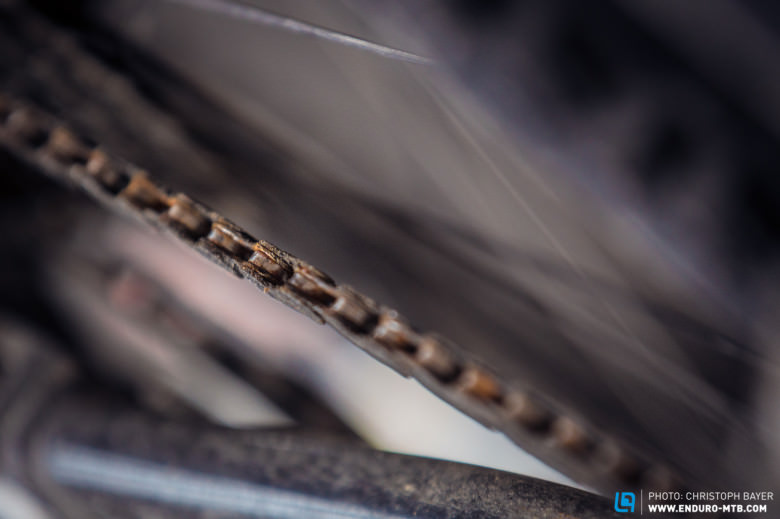
The chain is a vital part of your drive train, however it is often neglected. Every watt of power that you produce has to be converted into thrust, and it is the job of the humble chain to transfer all this energy to the rear wheel. This constant abuse combined with external weather factors, grime, dust and mud, lead to wear, manifesting itself as an elongation of the chain. We tell you here how to replace a worn chain and cut the new one to the exact length.
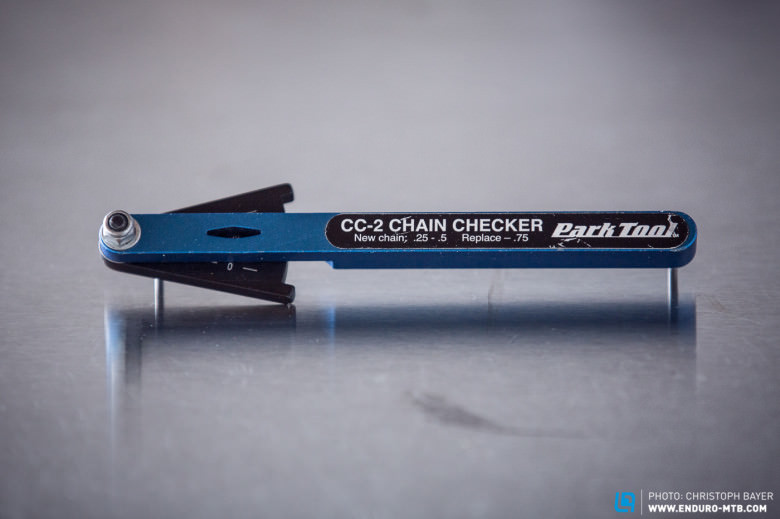
Regular chain maintenance is essential, especially with the cost of the latest one piece cassettes. If you let your chain get too worn, it stretches and increases the wear on the remaining drivetrain components such as cassette and chainrings, if unchecked this creates a significantly more expensive repair bill. To prevent this, it is important to check the length of the chain regularly and replace the chain in a timely manner.
Level
Easy
Tools
- Chain Tool
- Magic Link Remover or Pliers
- Power Lock pliers or needle nose pliers
How to
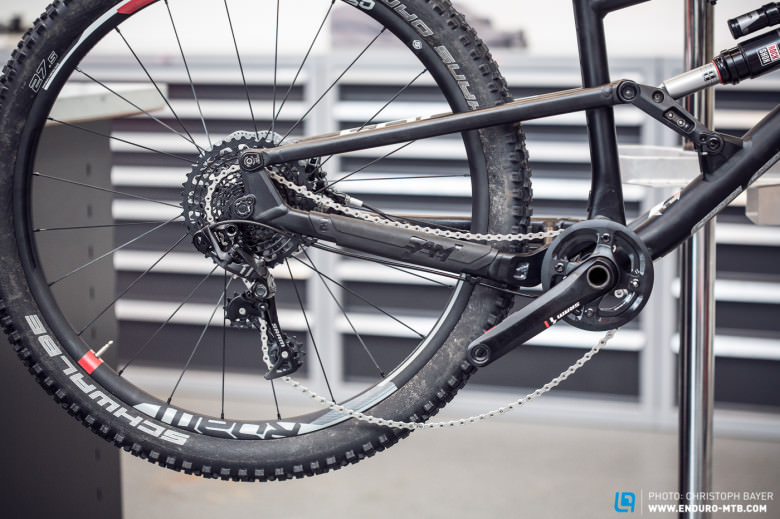
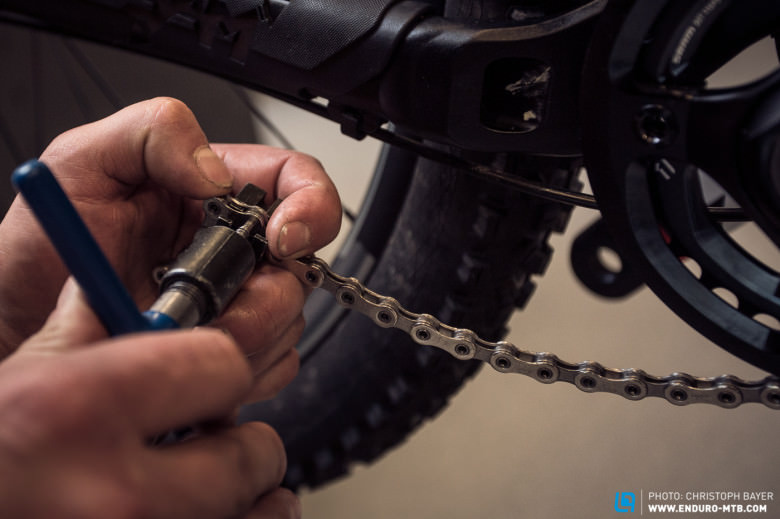
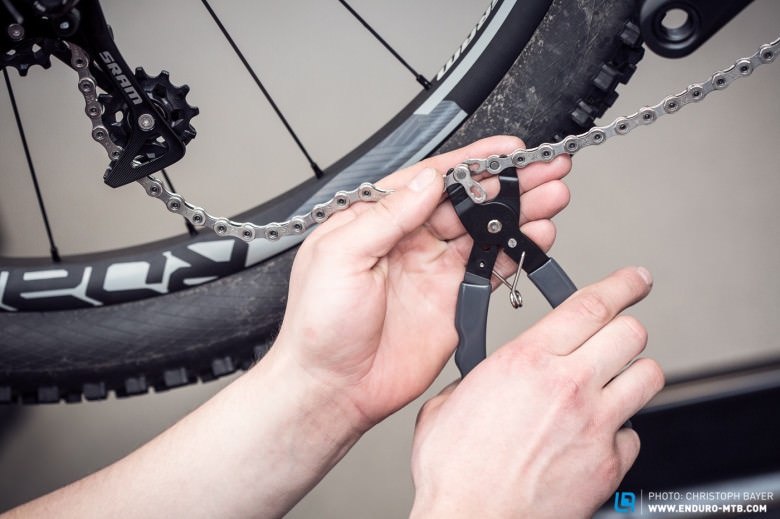
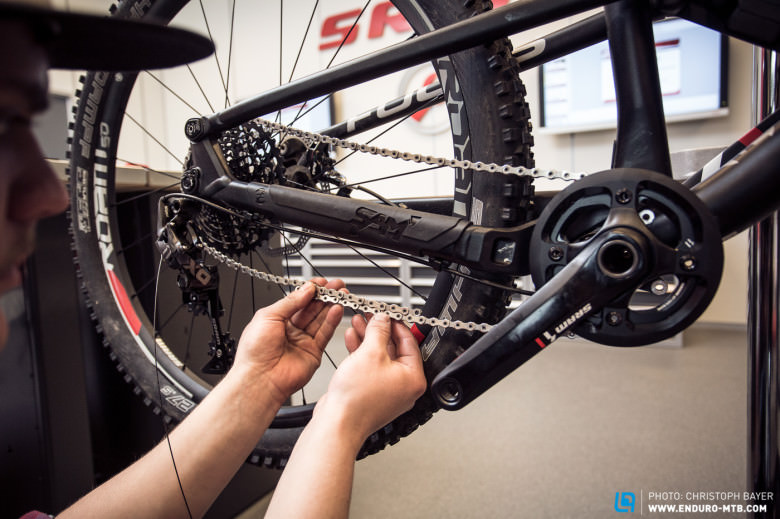
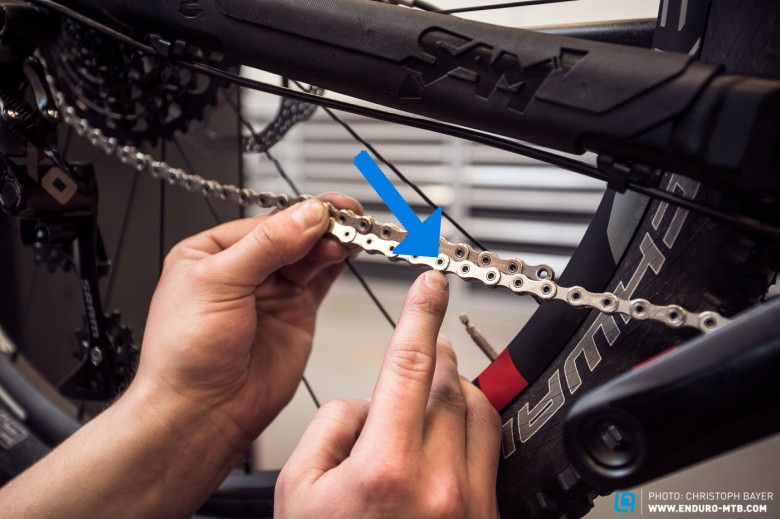
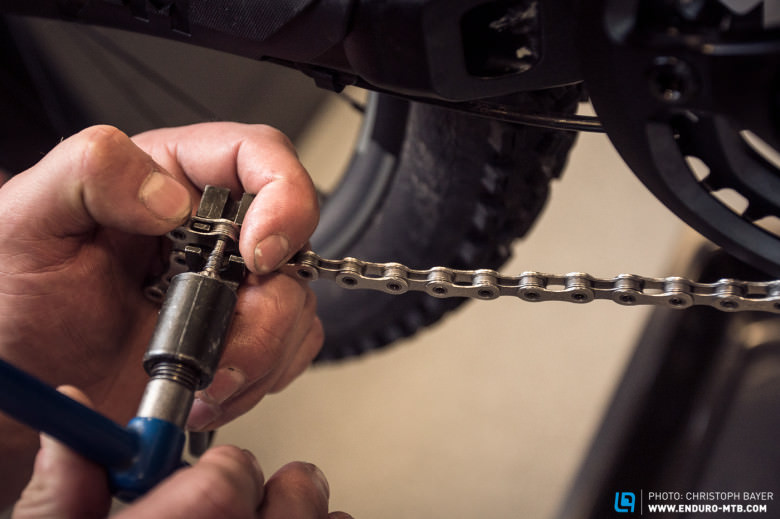
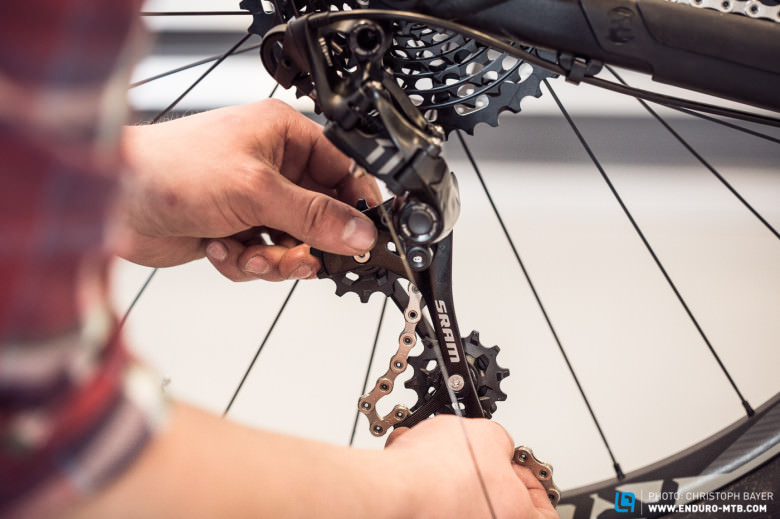
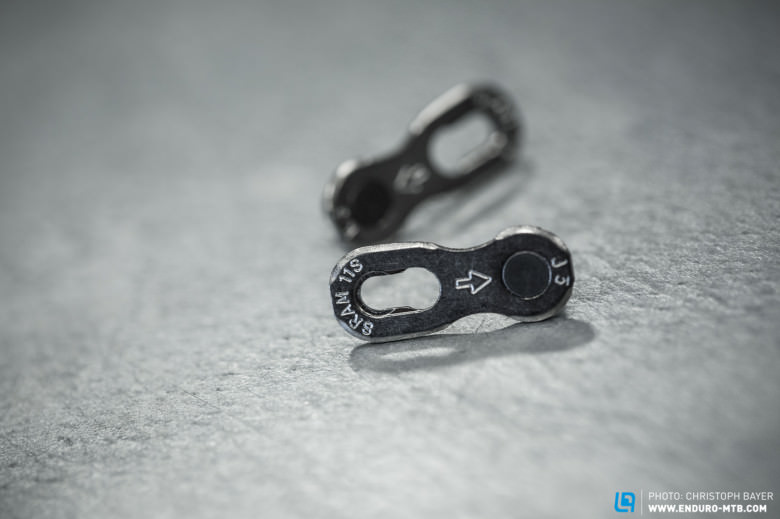
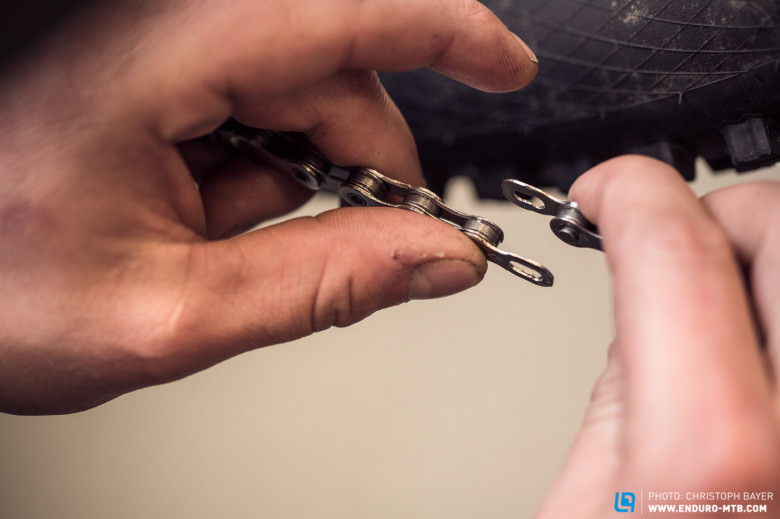
The final step is to ensure that the chain has enough length to work with the suspension action of your bike. There are some frame suspension designs (single pivots especially) that when they reach full compression, result in some chain growth (increased distance between the cassette and chainring). To ensure that your chain is the correct length, shift the chain onto the largest cassette sprocket and the largest chain ring, then fully deflate the rear shock spring, and push the bike gently down to bottom-out the rear suspension. If you watch the chain you will see there will be some small level of chain growth which is compensated for by the spring in the rear derailleur. You should be able to cycle the suspension through ALL its travel without the chain becoming too tight! If the chain becomes rigid BEFORE the suspension reaches the extreme of its travel you will have to add some links or you will risk damage to your bike and gears on big hits!
Tips & Tricks:
- SRAM chains and Shimano chains usually have a direction.
- Check the orientation before mounting the Power Link.
- 10- and 11-speed Power Links are single use items.
Picutres: Christoph Bayer Words: Christoph Bayer / Trevor Worsey
Did you enjoy this article? If so, we would be stoked if you decide to support us with a monthly contribution. By becoming a supporter of ENDURO, you will help secure a sustainable future for high-quality mountain bike journalism. Click here to learn more.


