The winter has been a long one, muddy trails and grime have left our bikes feeling neglected and creaky. The source of dreaded mystery cracking noises can be hard to identify, but often they come from broken bearings in the bottom bracket. These bearings have a hard life, sitting in an exposed position they are subjected to the worst of the weather, and for a regular rider are often destroyed within a cycling season. In this service guide we tell you how to exchange a GXP Bottom Bracket including bearings and how to mount the crank again afterwards.
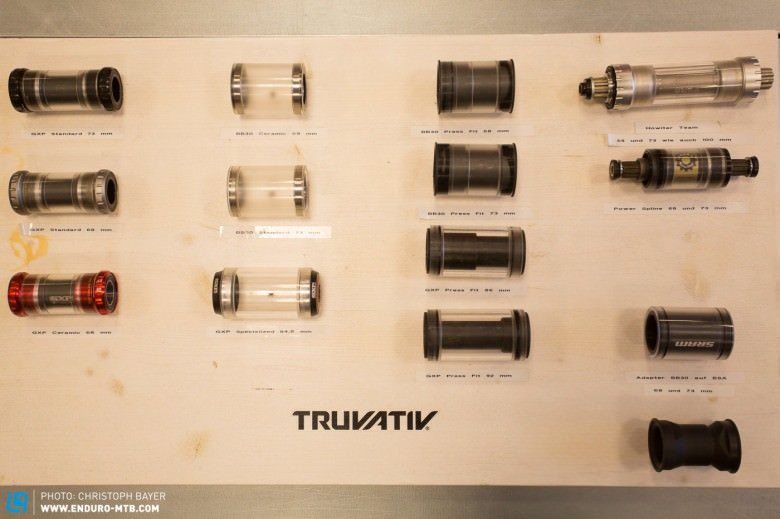
With the variety of bottom bracket standards on the market it is not possible to explain every detail. Therefore, in this guide we will focus on the exchange of a GXP bottom bracket.
Level:
easy
Tools:
BB-Wrench Tool
torque wrench
Allen wrench
How to:
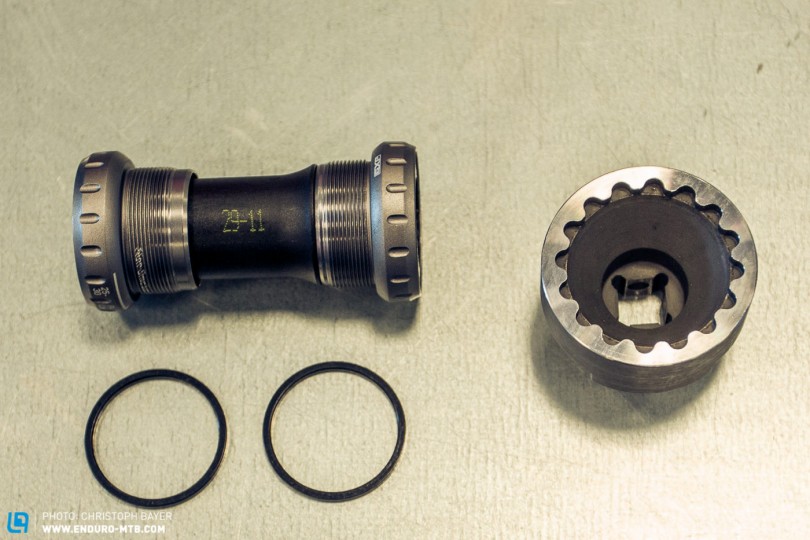
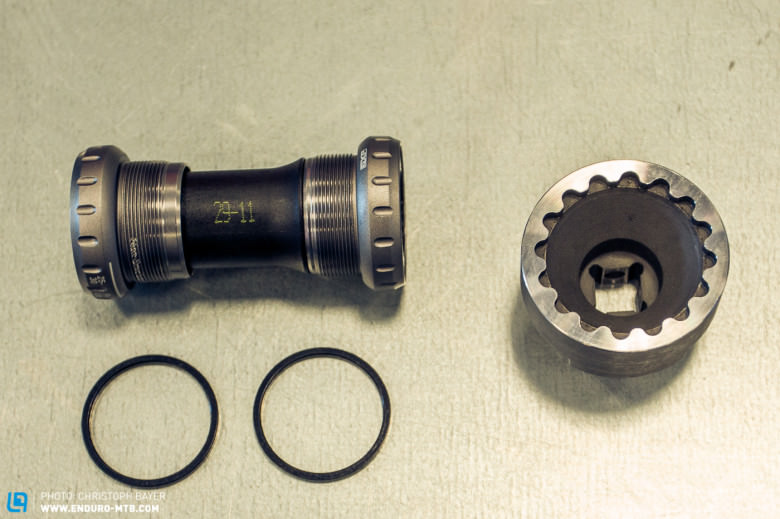
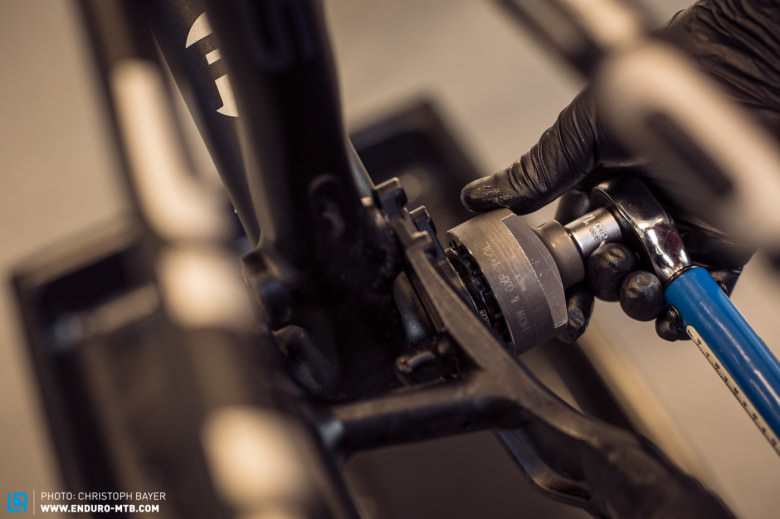
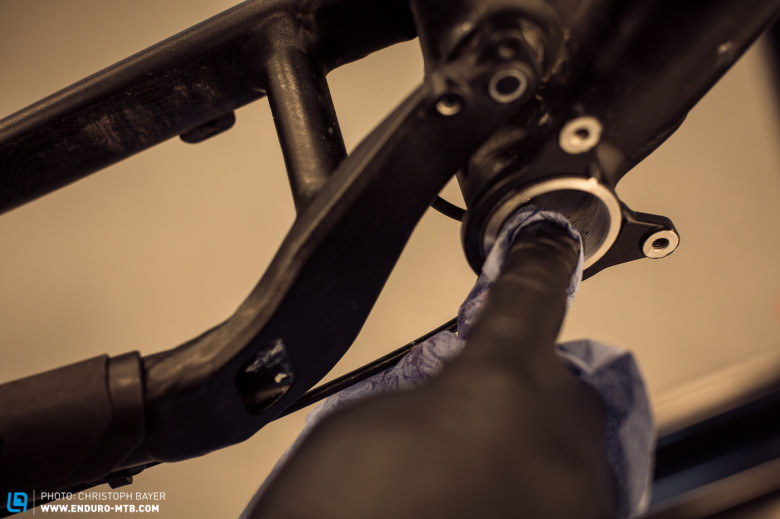
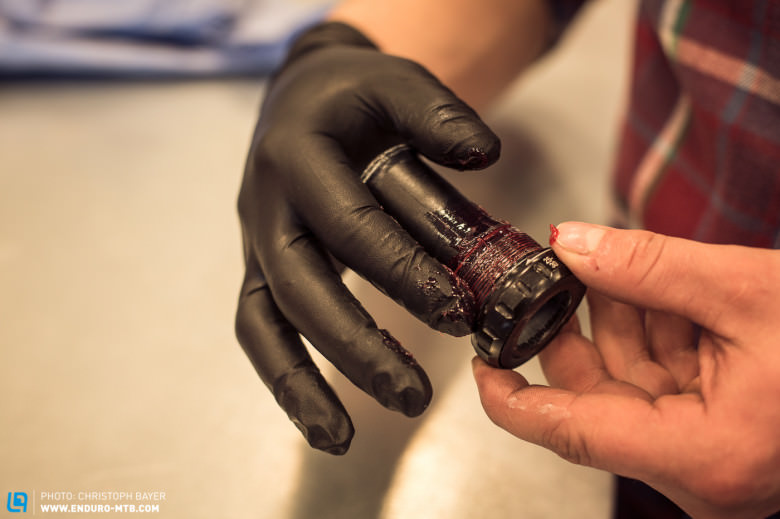
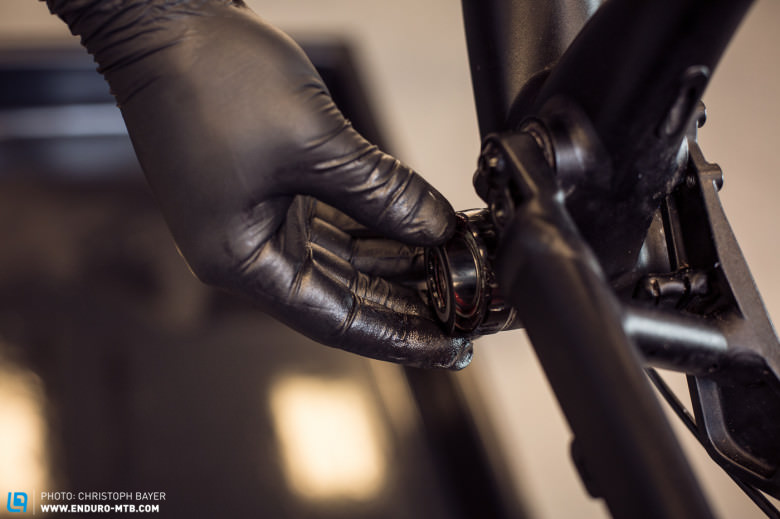
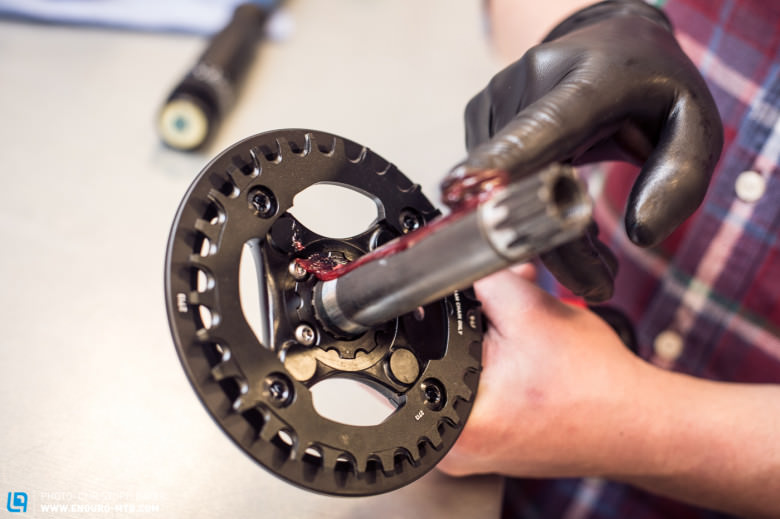
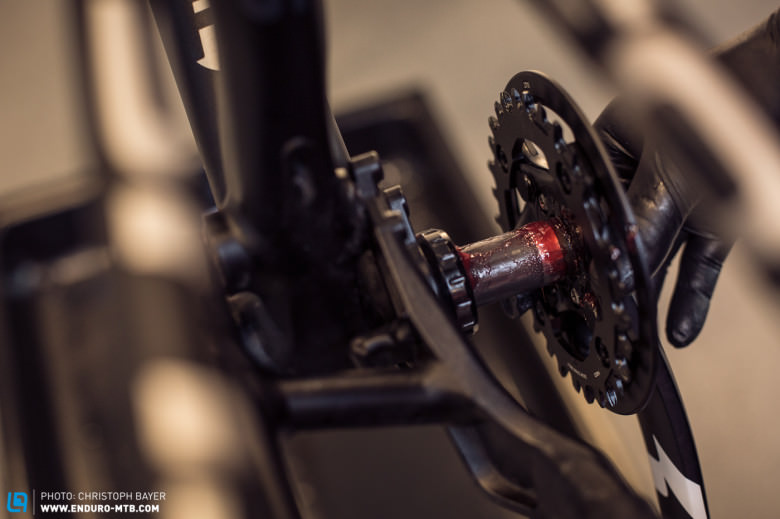
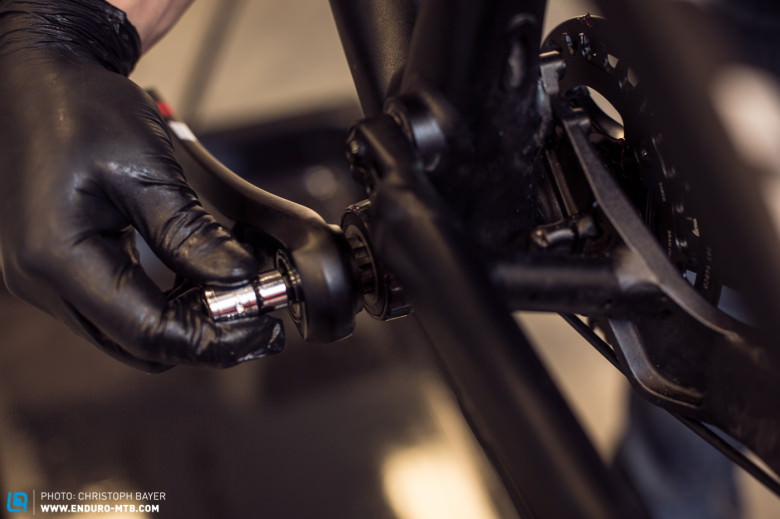
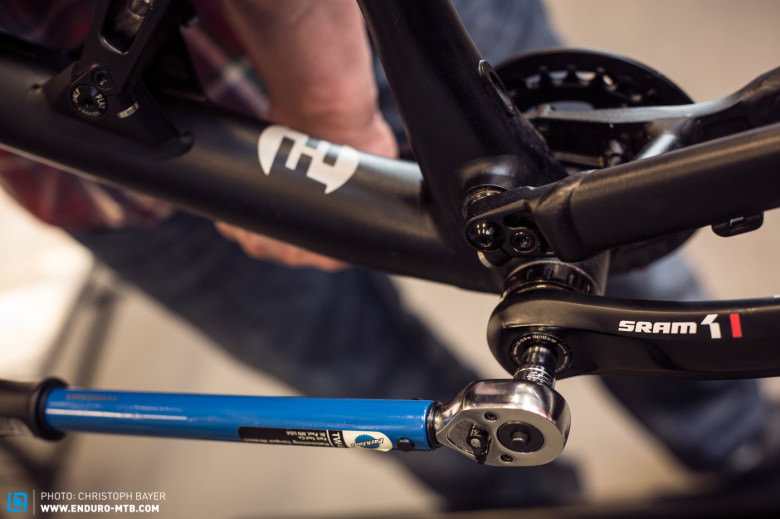
Each GXP bottom bracket comes with two spacers. For SRAM the following rule applies: 68mm bottom brackets need one spacer left and right, 73mm bottom brackets don’t need any spacers.After disassembly of the crank, the bottom bracket can be removed using the appropriate tool. Care should be taken as there is a right (non-drive side unscrews anti-clockwize) and left handed thread (drive side unscrews clockwize).Now, the thread should be cleaned in the frame.Before installing the new bearing shell they should be well greased.Now this can be screwed in. The arrows on the bearing shell provide the direction. The torque should be 34.0 to 41.0 Nm.To protect against dirt the supplied dust cover gets installed next, also some grease is recommended when fitting.The axle of the Crank is supplied with neat package grease.The crank side of the axle gets pushed through the bearings.Now, the left crank arm can be mounted. We recommend first applying the nut by hand and once it is on the thread correctly, carefully drive it home with a ratchet.The crank get’s locked firmly with a torque of 48.0 Nm.
Tips and Tricks:
Pay attention to the right-and left-hand thread!
Hollowtech 2 cranks are not compatible with GXP bearings.
Ceramic bearings must be regreased every 50h in dry conditions and right after a ride when it is wet – we recommend buying regular BBs.
Always check the chainring screws if you have a suspicious cracking noise.
Picutres: Christoph Bayer Words: Christoph Bayer / Trevor Worsey
Did you enjoy this article? If so, we would be stoked if you decide to support us with a monthly contribution. By becoming a supporter of ENDURO, you will help secure a sustainable future for high-quality mountain bike journalism. Click here to learn more.