As the link between the handlesbars and our core, our arms take a pretty decent thrashing when out riding so it’s crucial to pay some TLC to your shoulders during training. Here are three mobilization techniques and five staple exercises to insert into any workout.
Climbing, downhilling, jumping, taking a drop, or shredding a corner, our shoulders play a fundamental role and as a joint they’re subjected to masses of power rushing through them on a regular basis. But are they up to the job? Can they hack the hard work over a sustained period of riding? That’s exactly why it’s necessary to strengthen and mobilize them. The following exercises should ideally be carried out twice a week, and if any pain arises then it’s wise to take it easy and check in with a qualified doctor.
Mobilisation
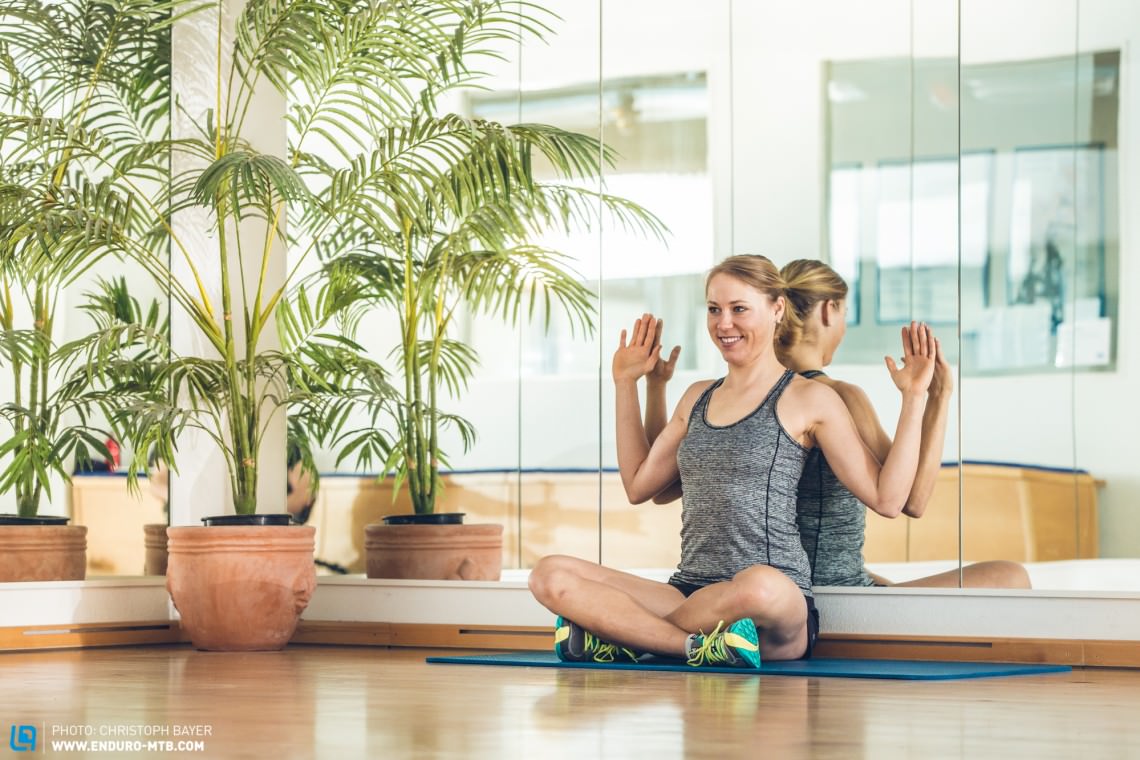
Arm slides on the wall
How to:
Sit upright with your back pressed lightly against the wall. Place the backs of your hand flat against the wall and move them up and down while keeping your arms and hands flat.
Important:
Keep your shoulder blades flat against the wall throughout the exercises.
Reps: 8–20 reps

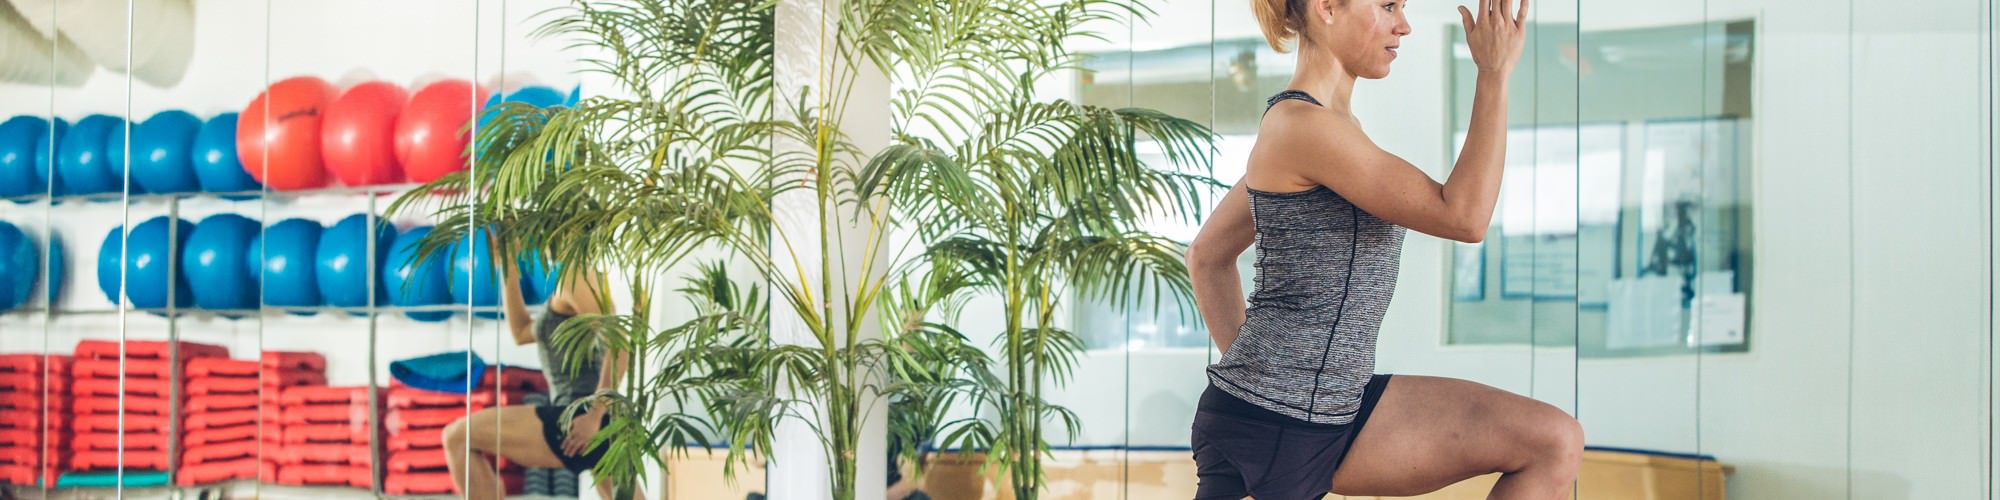
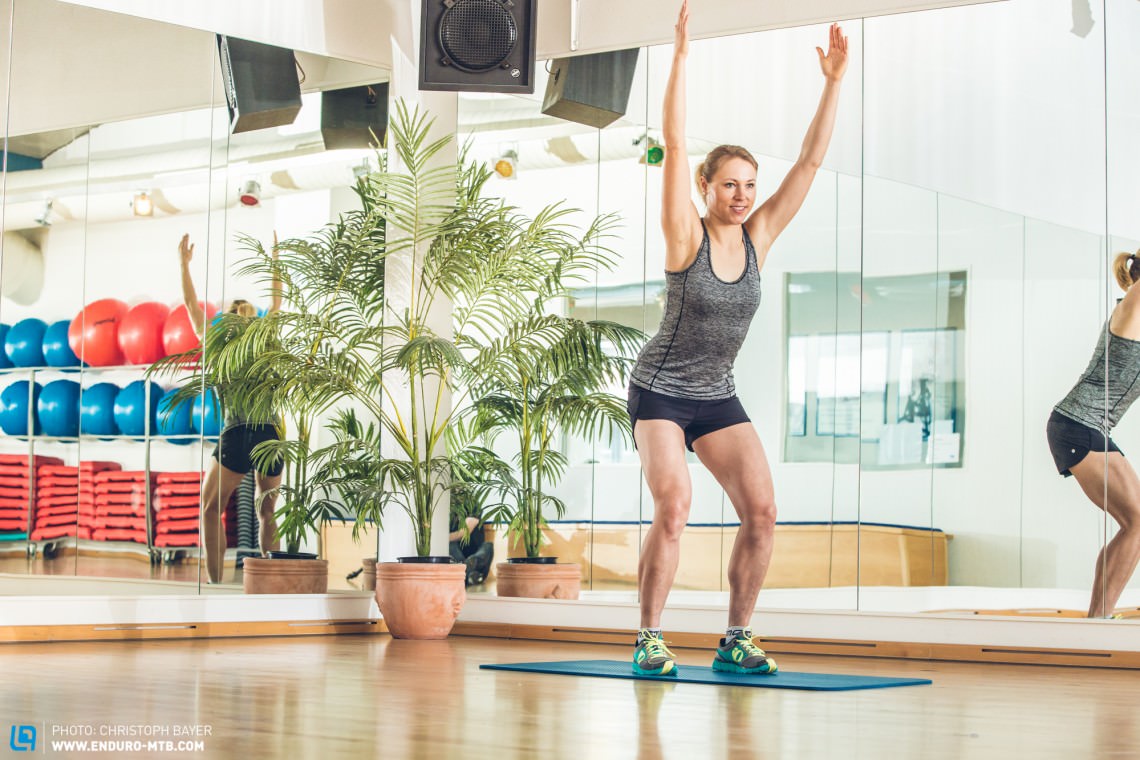
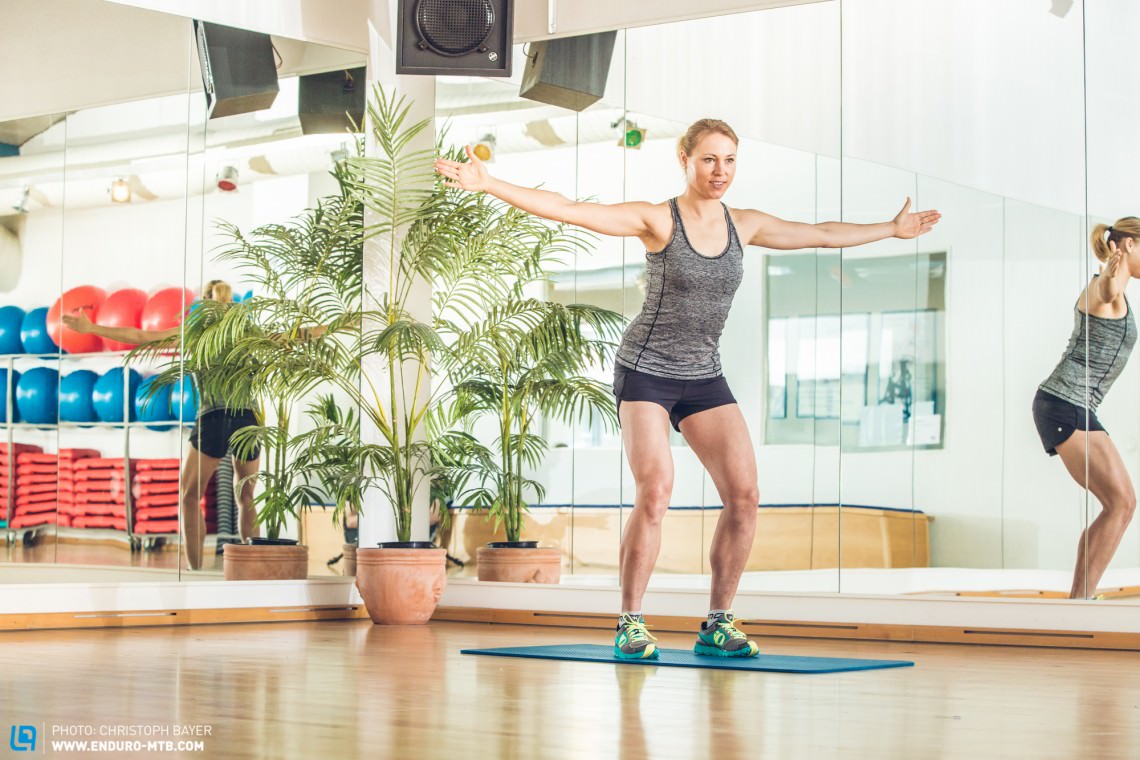
Y’s – Hands up
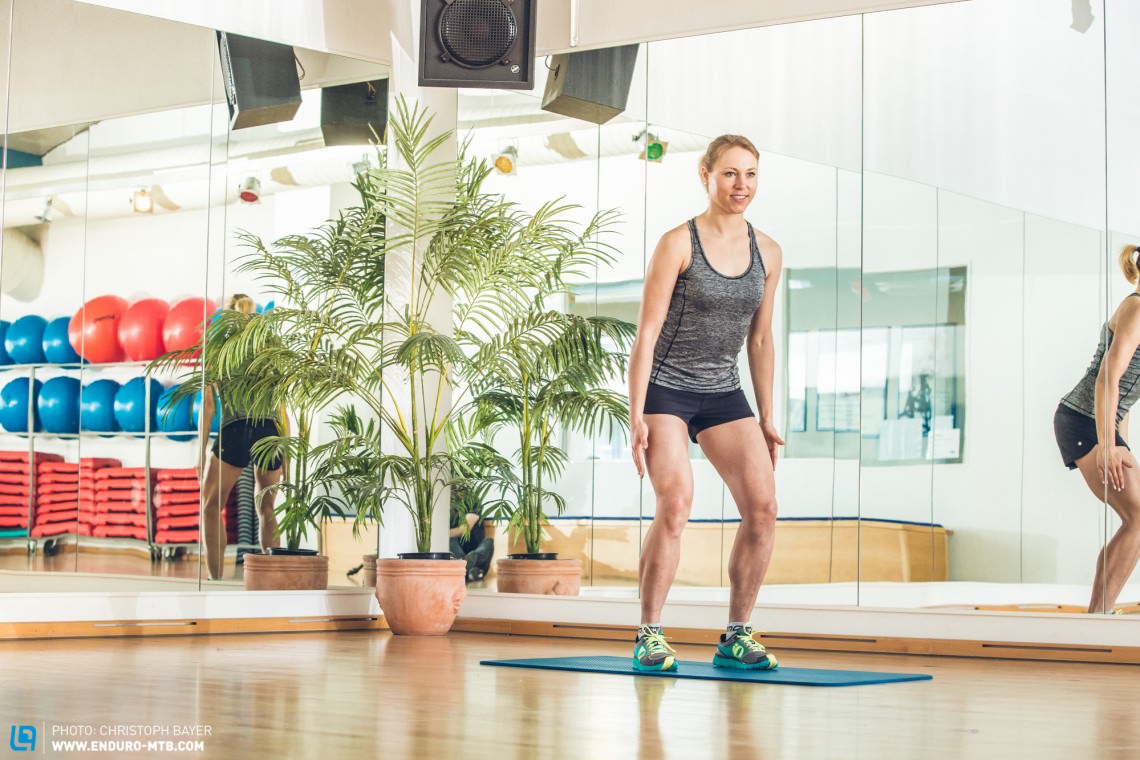
Get ready and hold this position: legs at hips’ width apart, bent slightly at the knee, upper body tipped gently forward, shoulder blades pulled back. Stretch your arms out in front of you, raise them up over your head to form a Y then lower them back down. Your shoulder blades will rise at the same time before returning back towards the centre of your back.
Important:
This movement happens from your shoulder blades.
Reps: 5-10
Follow these Y exercises directly with the T’s and W’s (coming up). Repeat the same amount of reps for Y, T and W.
It might not feel tough at the beginning, but these repeated reps are going to have an impact.
Take it up a level to boost your grip strength: Hold a tennis ball firmly in each hand while you do these movements.
Take it up a level for more power: Try carrying out the movements with weights in your hands. If you don’t have any dumbbells lying around, bottles of 500ml, 1l or 1.5l double as the perfect increments in weight.
T’s – hands at the sides
Get ready and hold this position: legs at hips’ width apart, bent slightly at the knee, upper body leaning gently forwards, shoulder blades pulled back inwards towards your spine. Arms stretched out towards both sides and held at a 90° to your torso to form a T. Thumbs pointing towards the ceiling.
Important: Keep your shoulder blades back and low during the exercises.

W’s – arms above your head
Get ready and hold this position: legs at hips’ width apart, bent slightly at the knee, upper body leaning gently forwards, shoulder blades pulled back inwards towards your spine. Arms away from your body and bent at the elbow with an angle of 90° between your upper and lower arm. Now hinge your forearms to form a W with your palms facing out.

Strength exercises
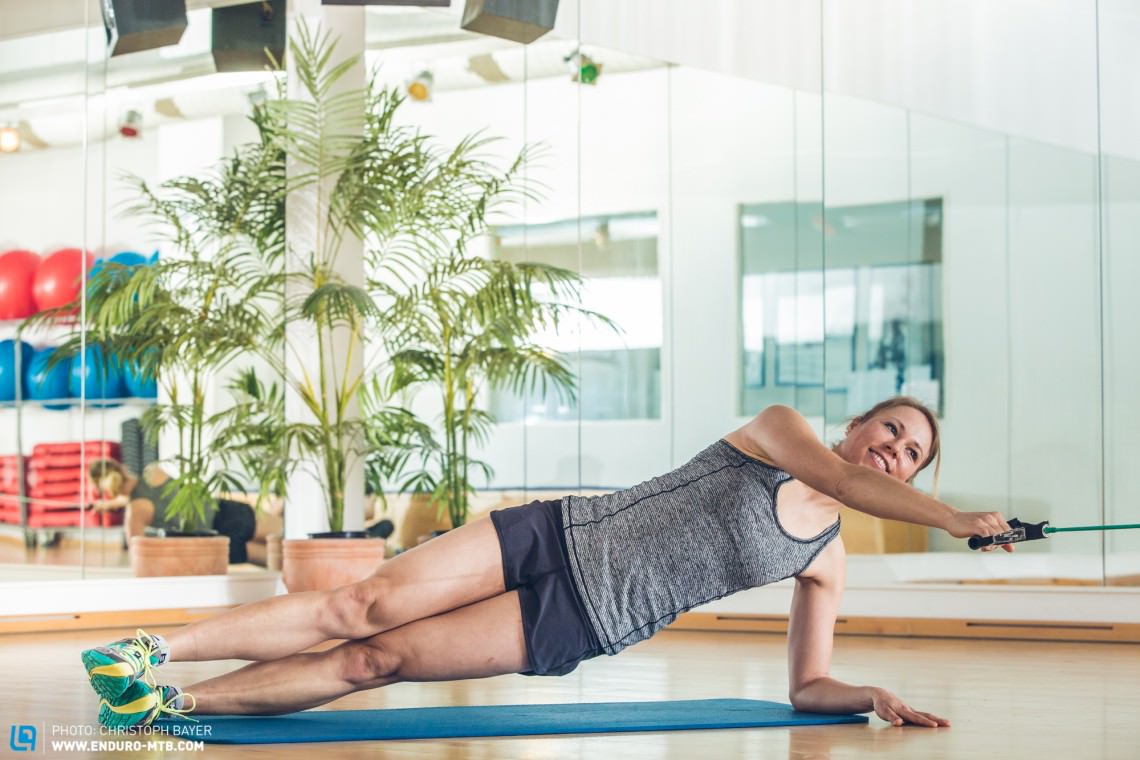
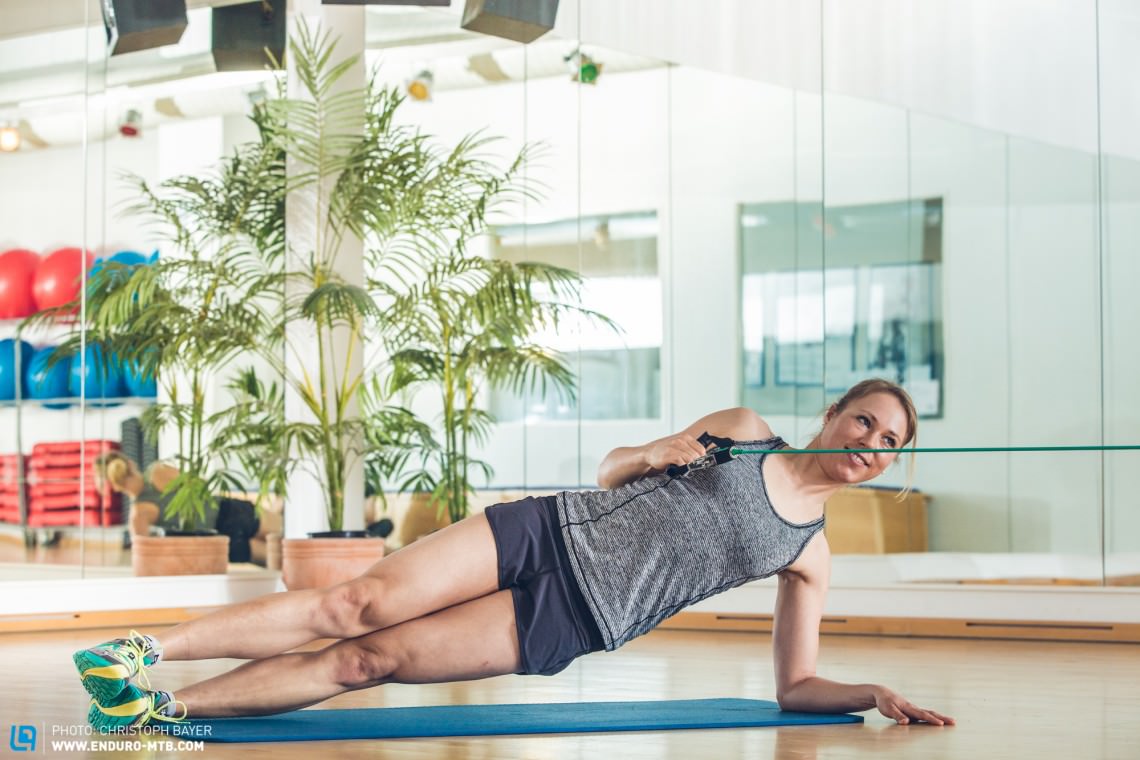
Side plank rowing with a resistance band
This exercise is intended for those capable of holding a side plank for at least 30 seconds.
Take up a position that’s far enough away to ensure the resistance band is tight. Get into a side plank with your head, back and legs forming one straight line. Hold the position and pull the band with your arm back towards your chest and squeeze your shoulder blades together. Then re-stretch your arm back out in front of you.
Reps: 3 sets of 10–20 reps.
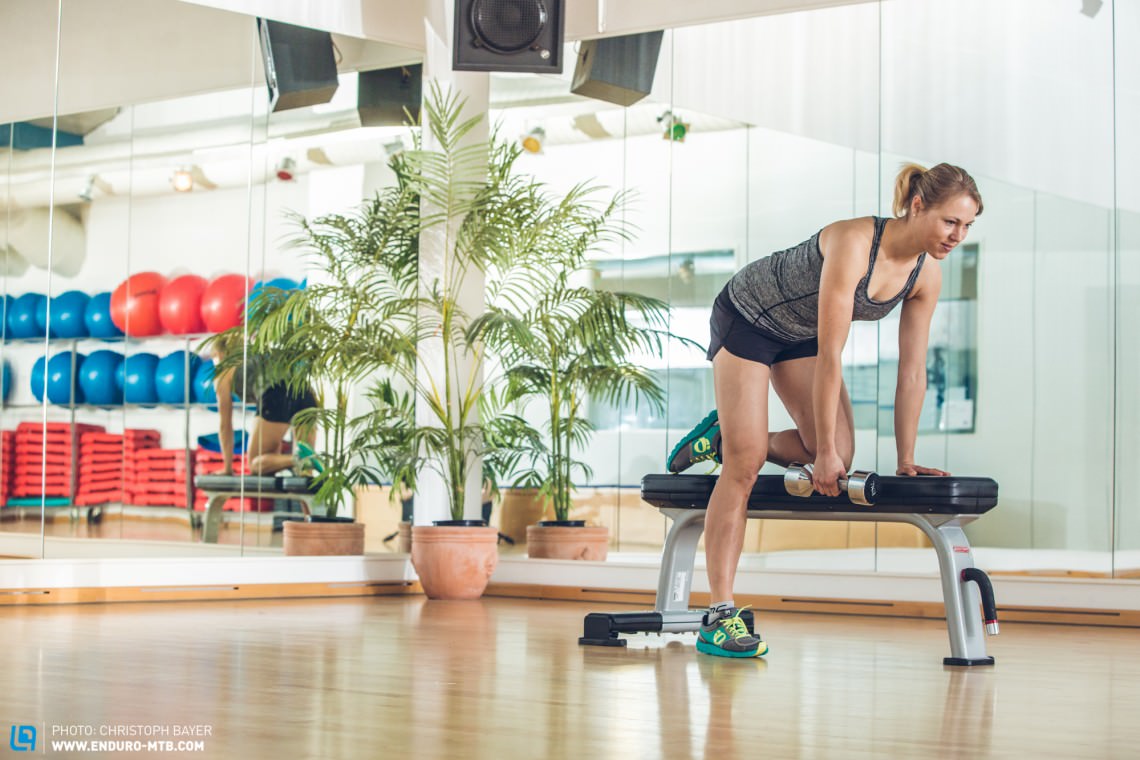
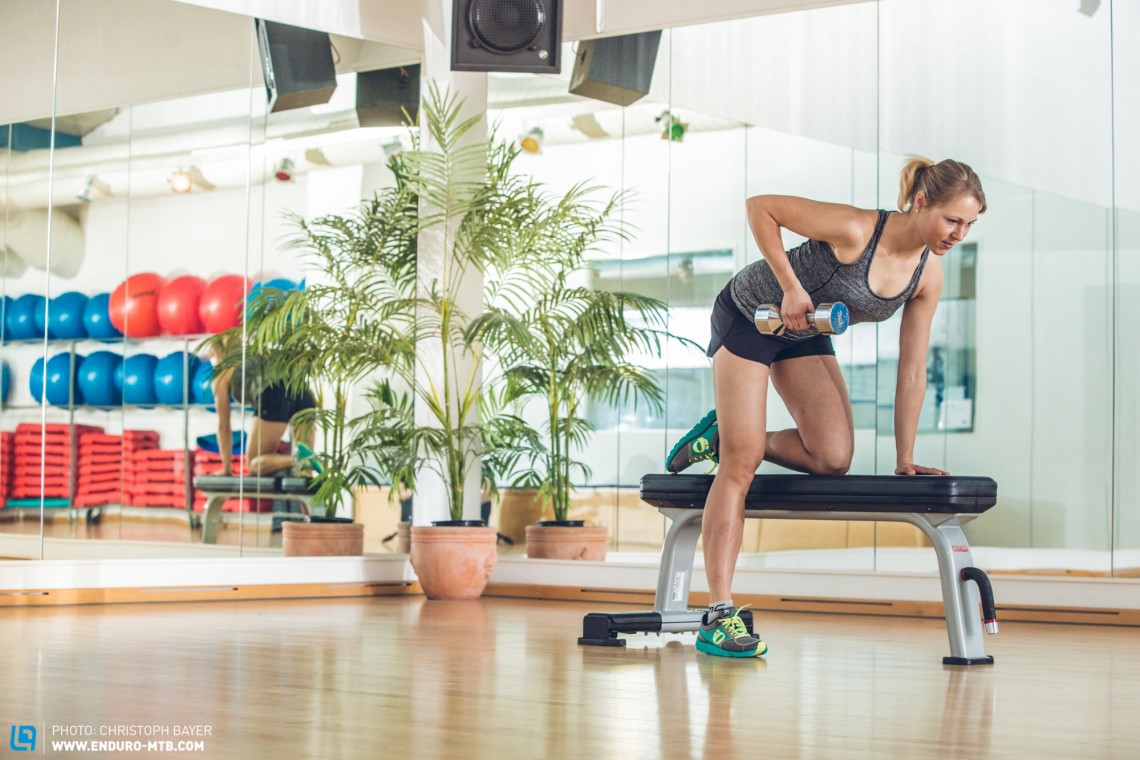
One-legged rowing on a bench using weights
Kneel with one leg on a bench, using the hand from the same side for support. Take the weight in your free hand and pull it up towards your stomach before lowering your arm and repeating the exercise.
Reps: 3 sets of 15–20 reps
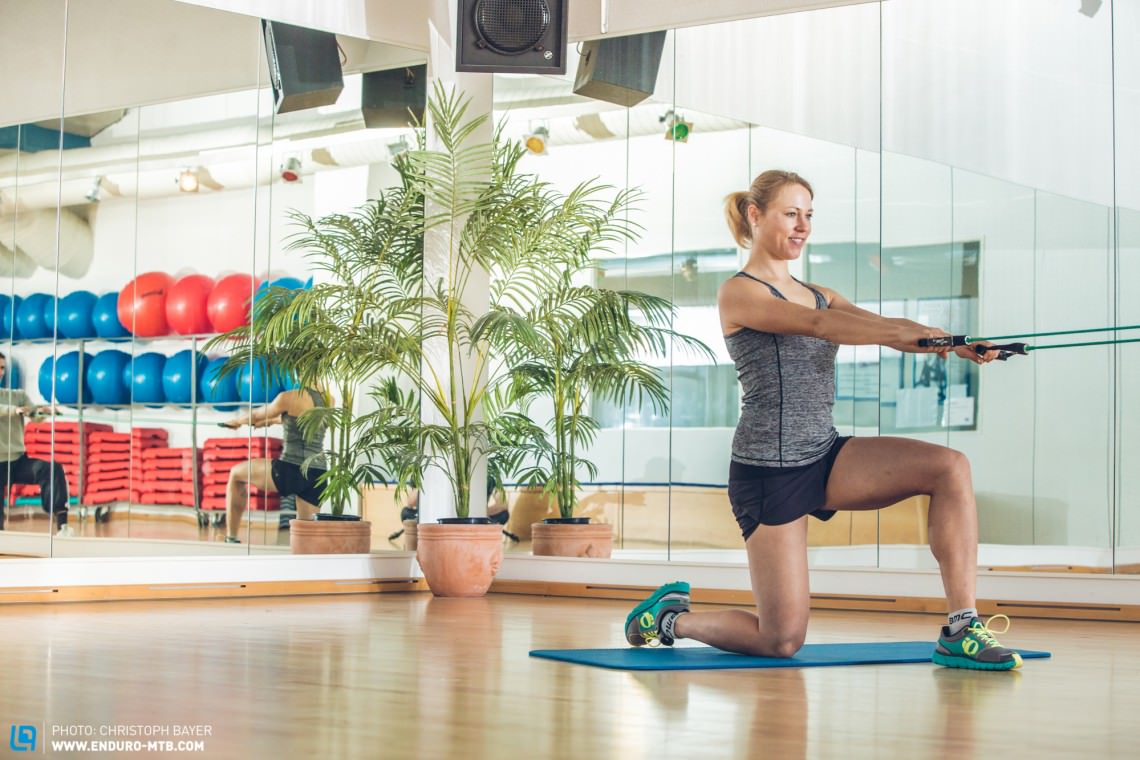
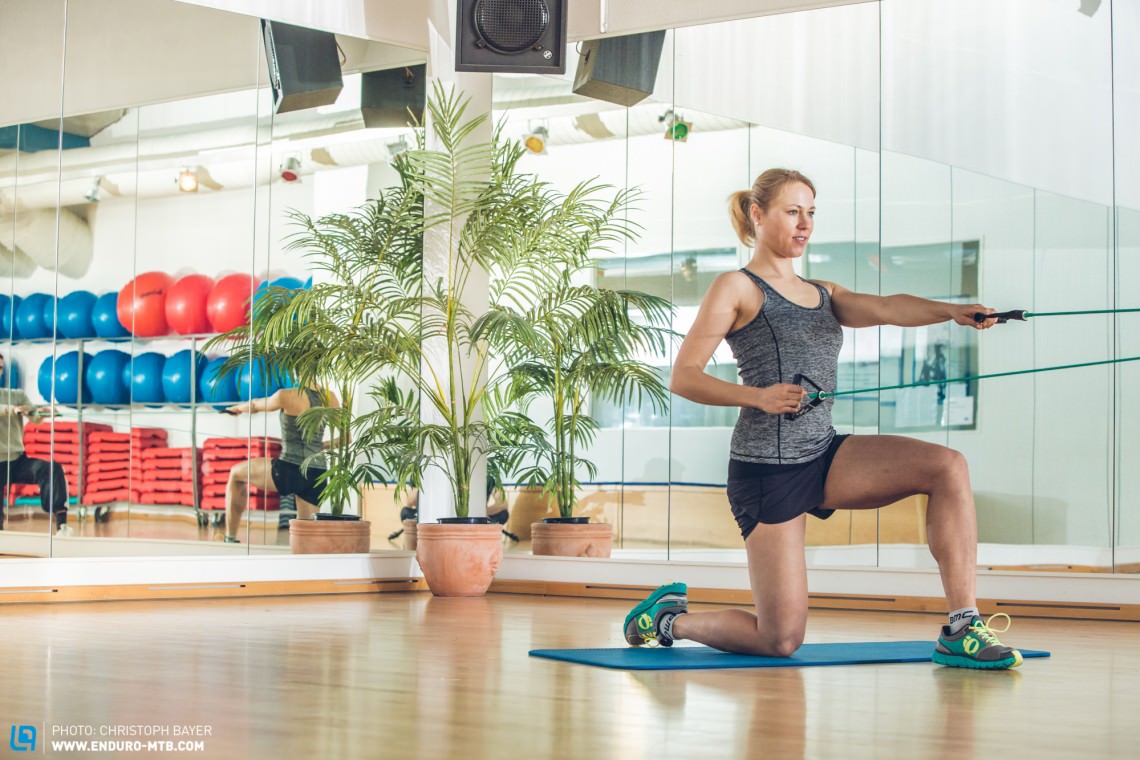
Alternate one-armed rowing with a resistance band
Lunge on one knee with your legs at hips’ width apart. Use your glutes, stomach and back muscles for support. Pull back with one arm on the resistance band as the other arm reaches forward. Bring your elbows back behind you as you pull on the band. Your shoulder blades should be squeezed back and low during this exercise. Swap sides.
Important: Do one lots of reps on one knee, then swap knees for the following set.
Reps: 3 sets of 15–20 reps.
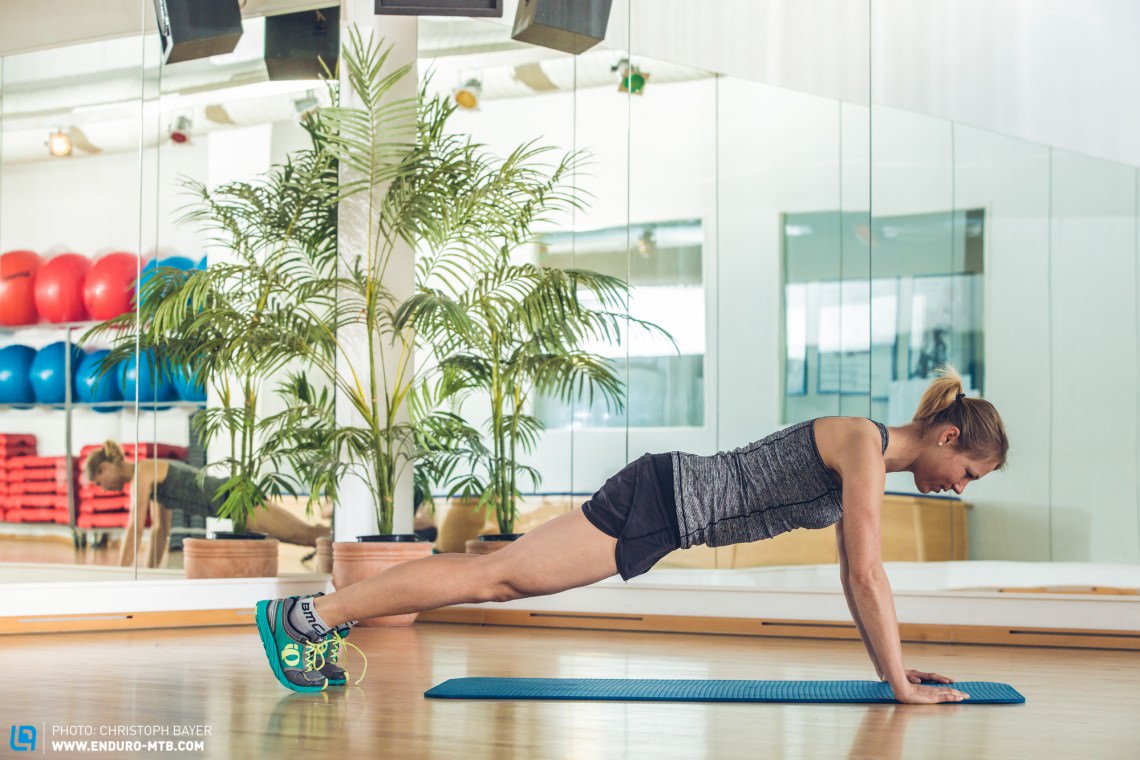
Variations on a plank
Support yourself in a plank with your hands slightly wider than shoulder width apart. Feet on your toes. Legs, upper body and head should be as straight as possible with your core tensed for support. Now lower and raise your body by bending your arms
Important: Don’t let your stomach sink, keep your whole body tensed.
Expert tip: Breathe out as your body returns to the higher position.
Reps: 3 sets of 10–15 reps
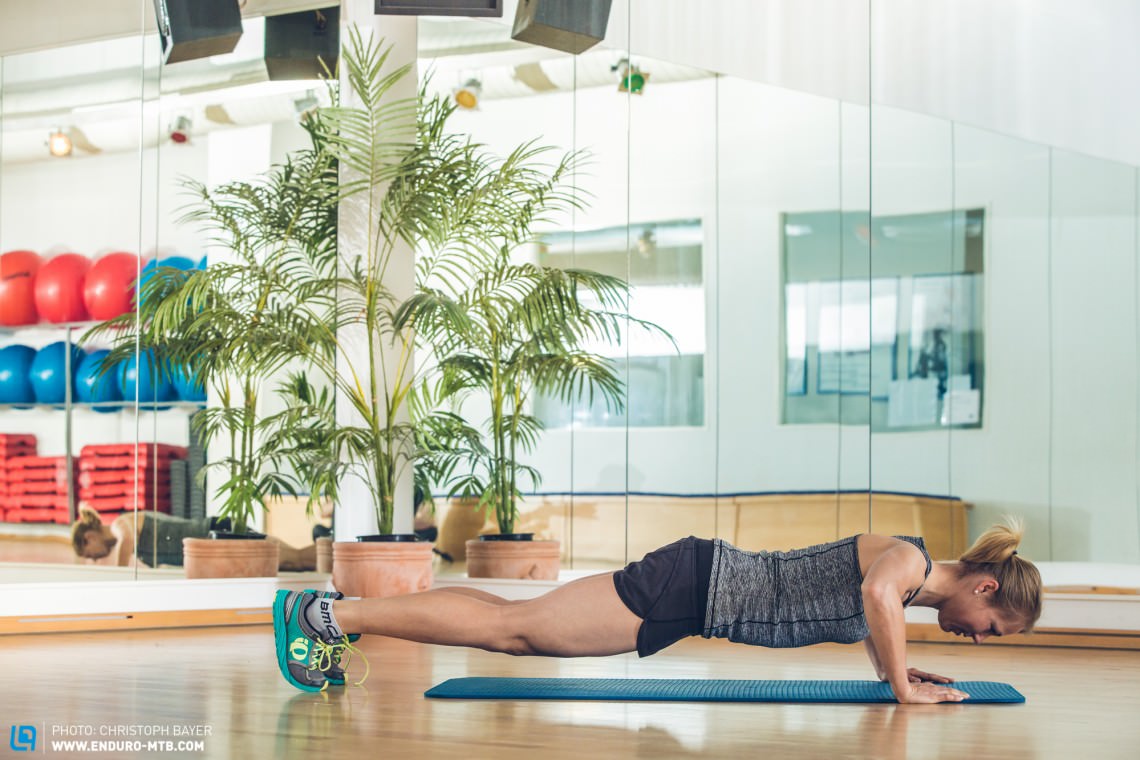

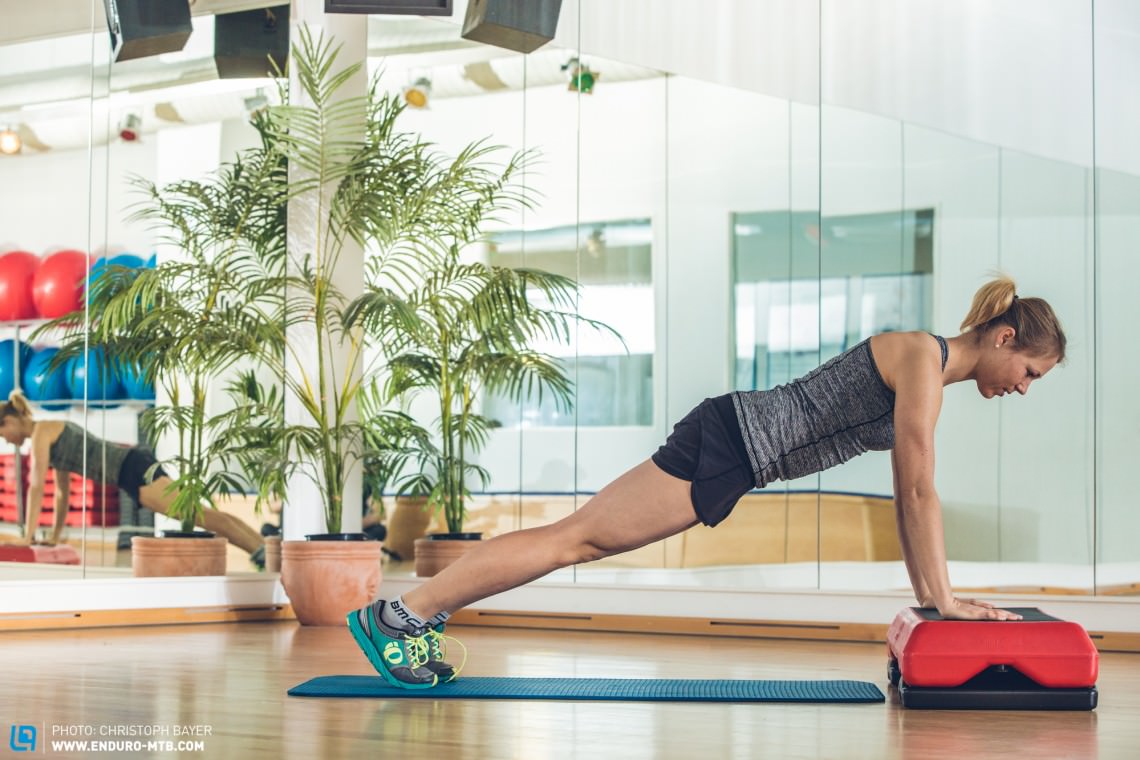
Option 1 (easier): Place your hands in a higher position, such as on a step in front of you.
Option 2 (harder): Place your feet on a higher level, such as a step behind you.
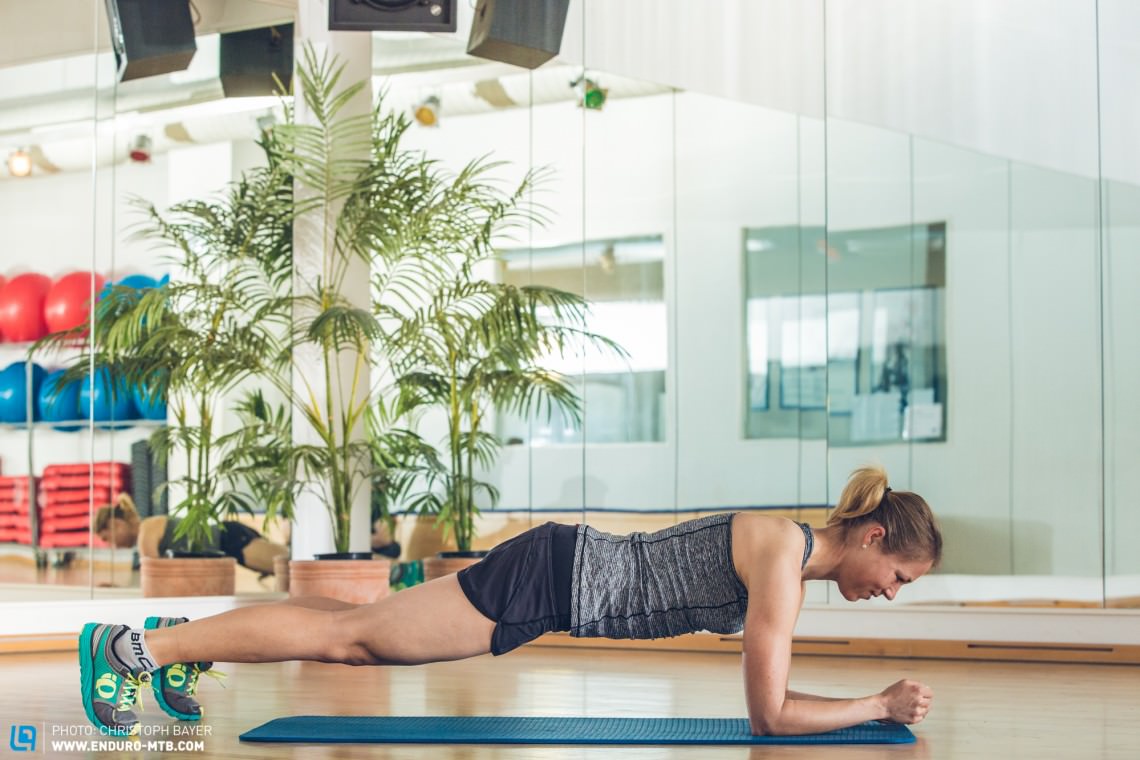
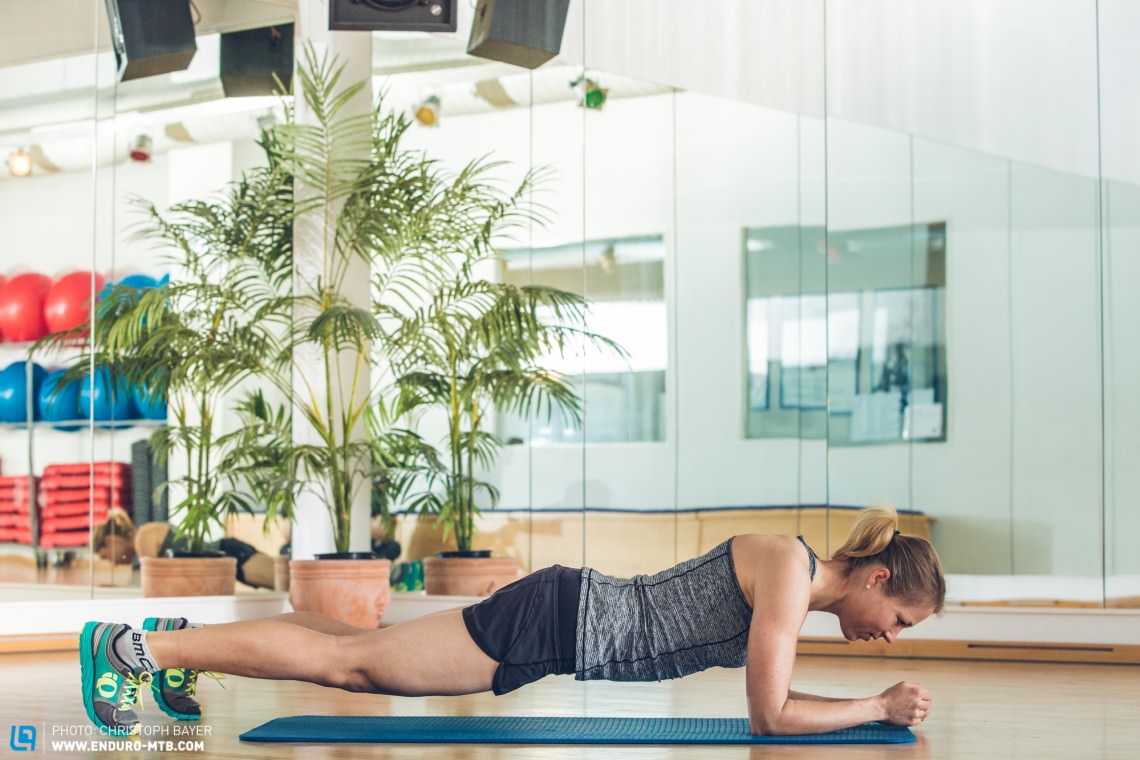
Elbow push-ups
Resting on your lower arms and propped up on your toes. Make sure your lower arms are directly below your shoulders and your core is activated. Bring your shoulder blades as far apart as possible then squeeze them back together.
Important: The lowering motion happens from your shoulder blades.
Reps: 3 sets of 6–12 reps
For more information on Kerstin Kögler and her coach Johannes Egelseer head to their official websites.
We’ve compiled tons more great workout tips in our Ride-Fit section..
Words: Kerstin Kögler/Christoph Bayer Photos: Christoph Bayer
Did you enjoy this article? If so, we would be stoked if you decide to support us with a monthly contribution. By becoming a supporter of ENDURO, you will help secure a sustainable future for high-quality mountain bike journalism. Click here to learn more.