We love the Öhlins RXF range of forks. The RXF34 was our favourite fork in last year’s group test, and we are currently enjoying the RXF36. However, when it comes to servicing there are very few resources online. Here we show you how to perform a simple 50-hour lower leg service.
Do your RXF forks wheeze and crunch down the hill, sounding as if they have been filled with sand? If so, it’s time to service the lowers. Refreshing the suspension fluid and regreasing the dust seals will breath new life into your forks, bringing them back to their former glory. Many people feel that delving into their suspension involves black magic, witchcraft, and at least one chicken sacrifice – but a lower service is really rather simple, and will take only 10 minutes.
We love the Öhlins RXF36 forks, they are beasts, but a little attention will keep them running sweet.
Difficulty
Medium
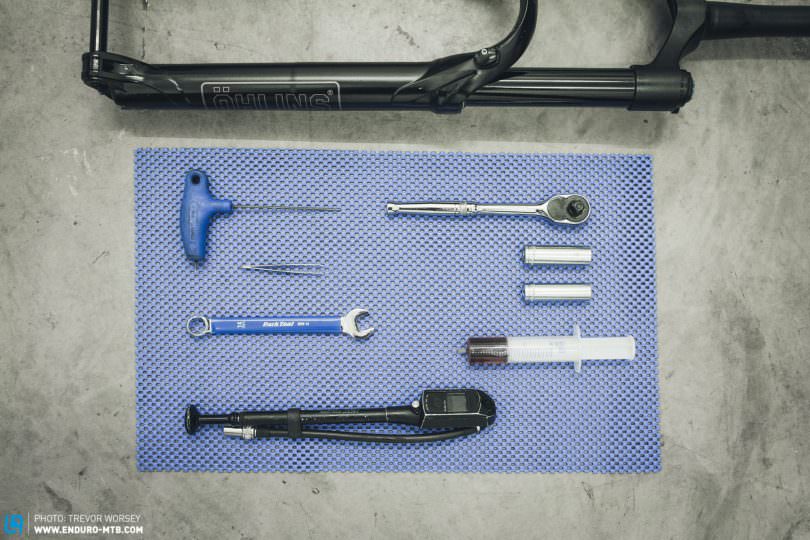
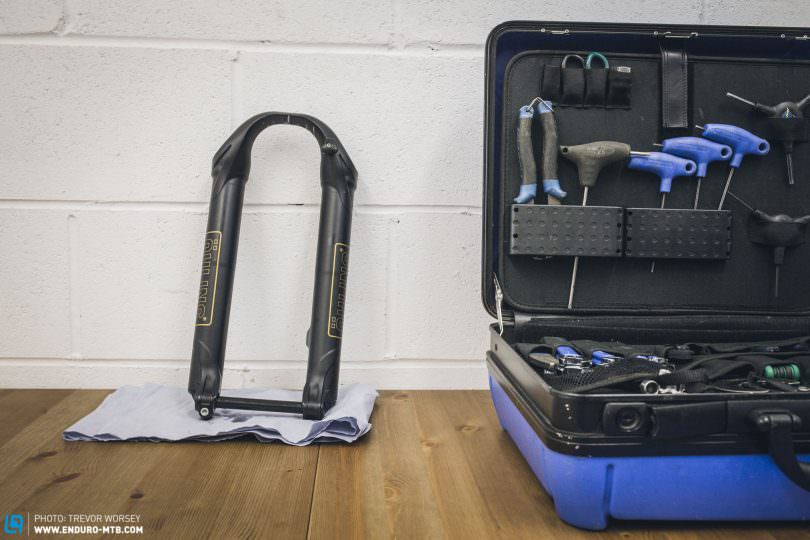
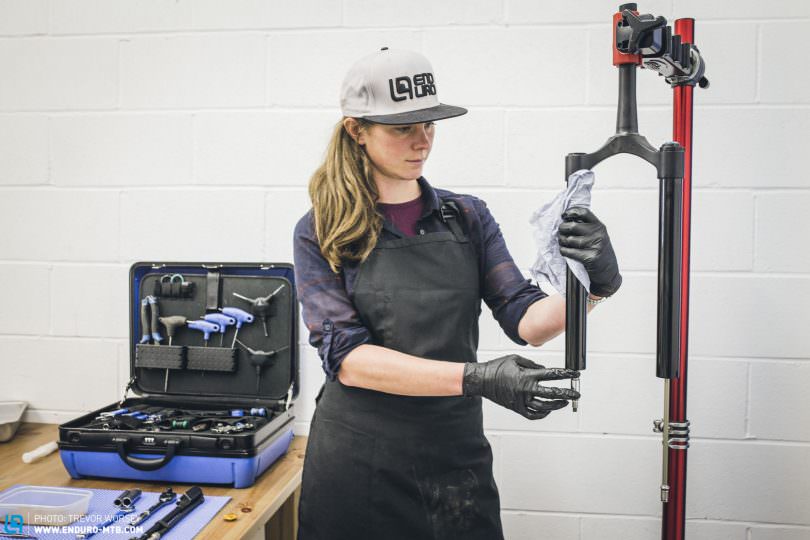
Necessary tools
2mm Hex key
14mm Spanner
Tweezers
12mm socket
14mm socket
Torque wrench
Torco lower leg fluid or similar
Syringe
Instructions on how to service an Öhlins RXF36 fork
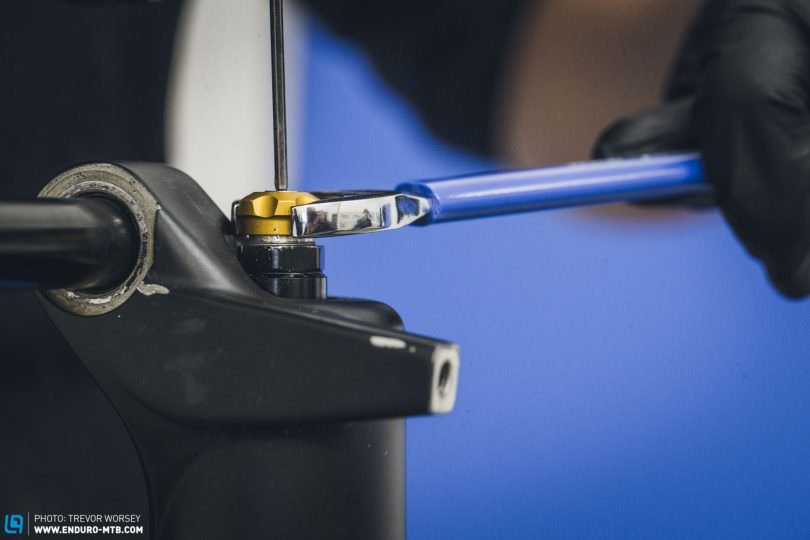
First things first, note down the fork pressure in the Ramp Chamber, Air Chamber and also make a note of the Rebound dial position. This will allow you to return the fork to the optimum settings at the end.
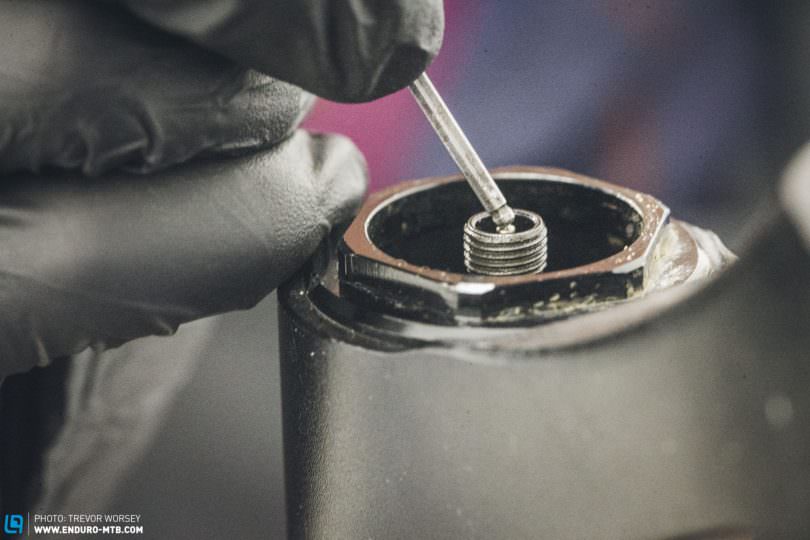
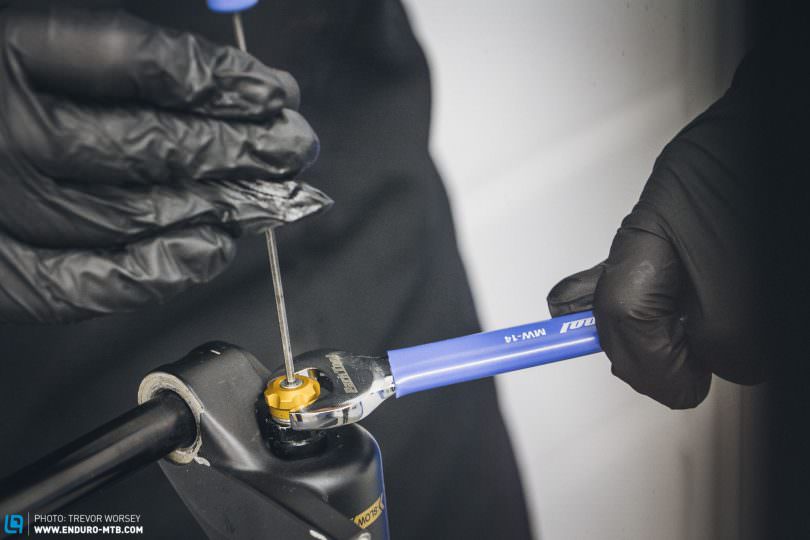
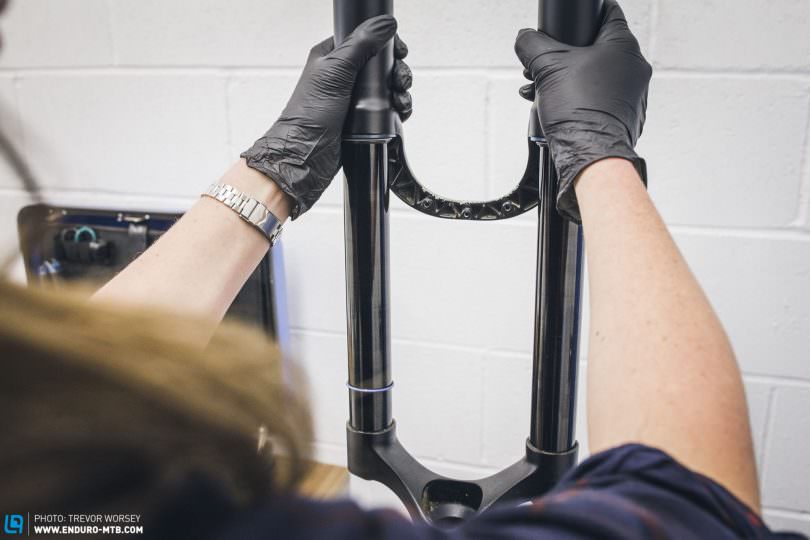
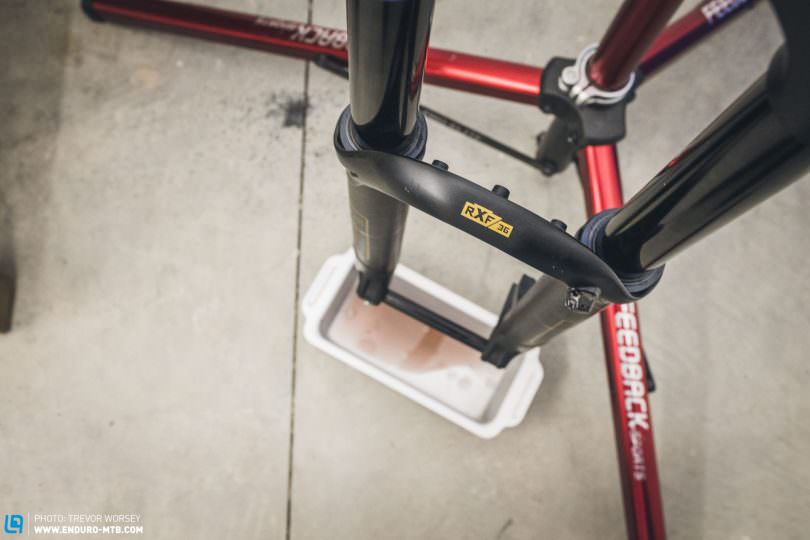
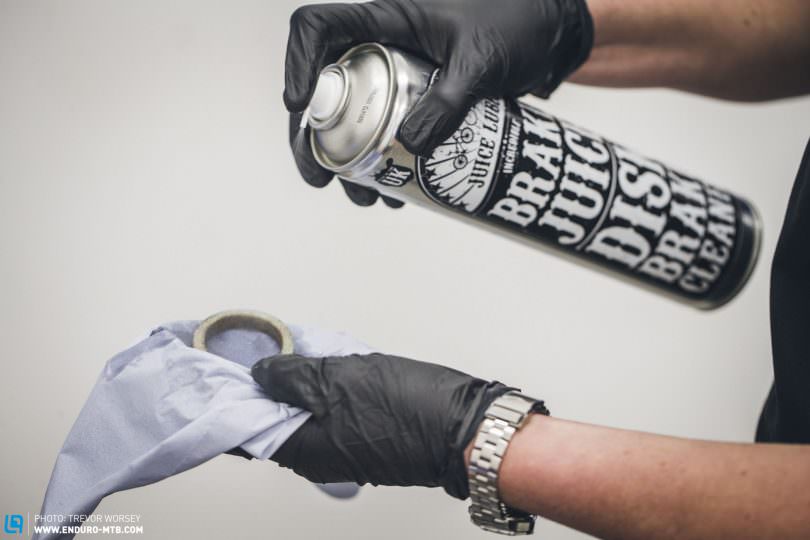
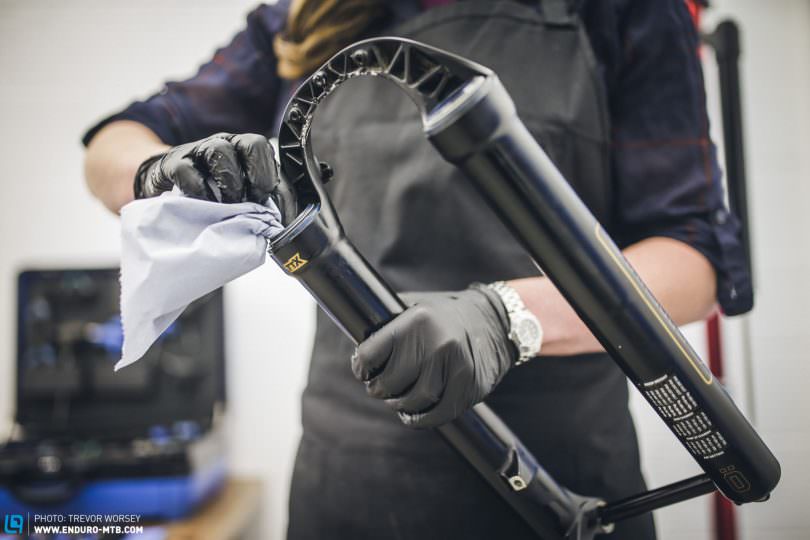
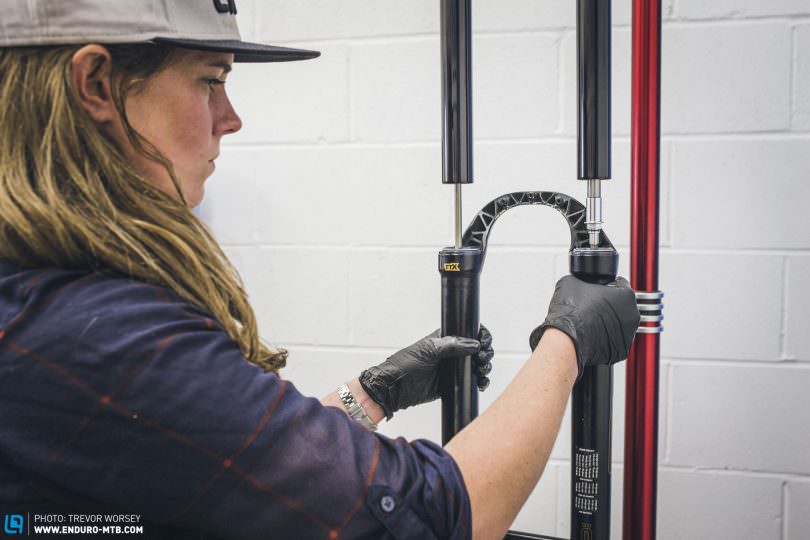
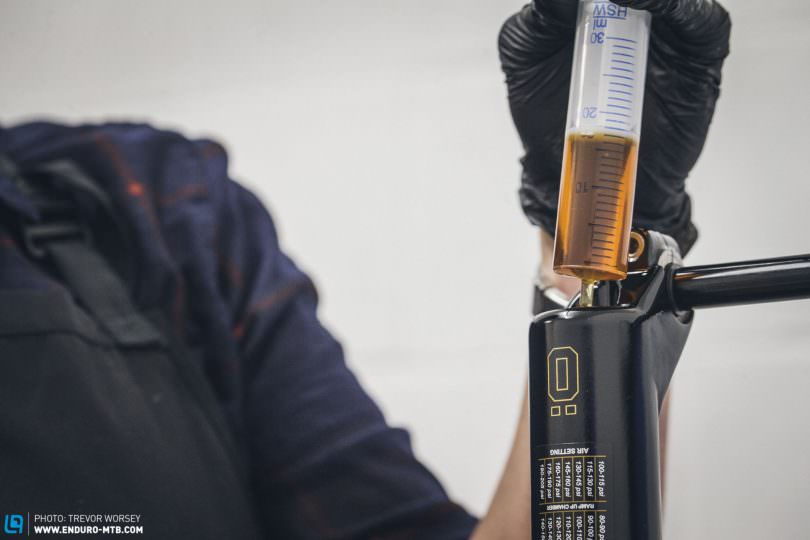
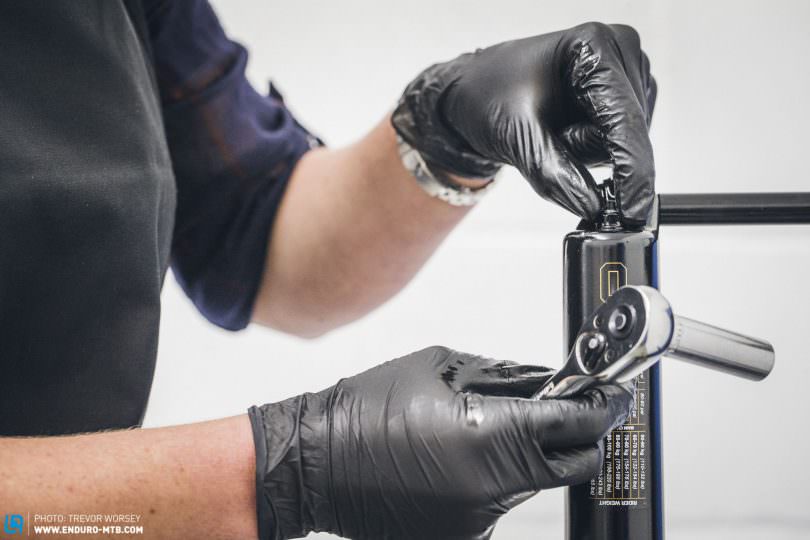
Lower leg servicing is a very simple task, these are the tools you will need.First, release all the pressure from the main fork chamber.Then release all the air pressure from the lower ramp chamber too.Trap the rebound adjuster dial with a 14 mm spanner, then gently wind out the retaining bolt with a 2mm Hex key.Place the 14mm socket over the rebound side nut and remove it fully.Use the 12 mm socket to remove the retaining nut on the air side fully.Slide the lowers up the fork, but not off the end – or else oil will drip.Invert the forks over a drip tray, and allow the old fluid to drain out.Using tweezers, carefully remove the foam ring from inside the fork.Using brake cleaner, clean the old residue off the foam rings and check for damage. If the seals are damaged, they will need to be replaced.Soak the clean foam rings in Torco lower leg fluid or similar.Clean the fork seals to ensure no debris remains, NOTE this is best done with the fork lowers inverted so gunk does not fall into the fork.Clean the inside of the lowers with a spray of brake cleaner and wipe with a rag before letting them drain.Wipe some Torco lower leg fluid or similar around the inner seal surface.Carefully replace the foam seals.Wipe down the fork stanchions with a clean cloth.Carefully slide the lowers back onto the statchions,Add 5ml of Torco lower leg fluid or similar to each side of the air forks (10ml in the coil spring leg) .Refit the air side retaining nut and tighten with the 12 mm socket.Refit the 14 mm retaining nut on the damper side.Hold the rebound dial in place witha 14 mm Spanner while tightening the retaining bolt for the rebound dial with a 2 mm hex wrench.Once everything is fitted, pump the fork back up to the recorded pressures, ramp up chamber first – then enjoy the buttery smooth action.
Did you enjoy this article? If so, we would be stoked if you decide to support us with a monthly contribution. By becoming a supporter of ENDURO, you will help secure a sustainable future for high-quality mountain bike journalism. Click here to learn more.