Even the best bike in the world rides like a washing machine if it isn’t set up properly. That’s why we gave one lucky ENDURO reader the chance to spend a whole weekend with EWS racer Jack Moir and his mechanic Tom to learn more about riding technique and uncover the secrets behind a perfect bike setup. Here’s everything Rob learned on his very special weekend!
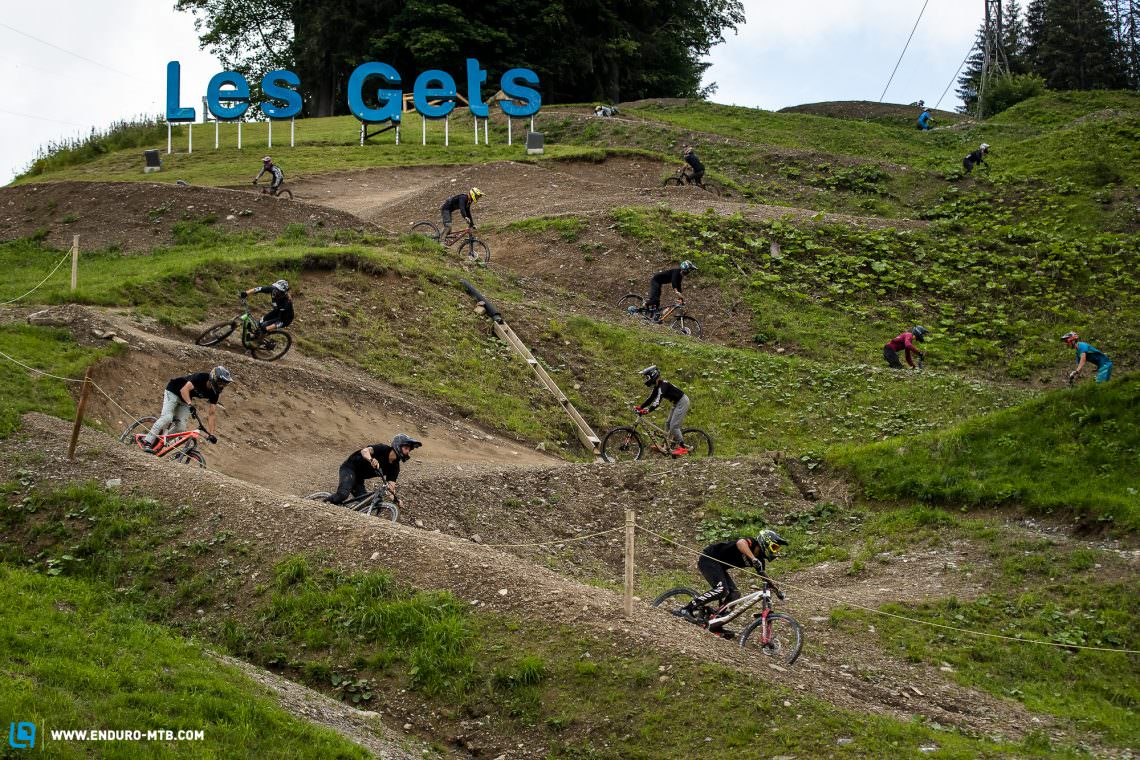
Spending two days shredding Les Gets with the super-chilled world class enduro racer Jack Moir? Getting countless setup tips from the pros and letting Jack’s mechanic Tom Lowis and ENDURO chief of testing Felix dial in your bike? Improving your riding technique and having lots of fun in the process? Sounds like a dream right? Turns out, that’s exactly what happened to one lucky ENDURO reader. With our setup bootcamp we wanted to prove that the right bike setup can make all the difference, even if you’re not a pro.
If you invest some time in finding the right bike setup, you’ll be rewarded in many ways. A dialled bike performs better, is more fun to ride and inspires more confidence. And it gets even better: finding the right bike setup doesn’t necessarily involve spending lots of money: just by dialing in your suspension and finding the optimal brake lever and cleat position, you can dramatically improve your overall riding experience. This is particularly important if you decide to buy your new bike from a mail-order brand like Canyon, which deliver their bikes directly to your door, leaving you with the challenging task of assembling and fine tuning the bike by yourself. That being said, even conventional bike shops will deliver a new bike with nothing more than a base setting and let customers fine-tune their setup.
Even the best bike is just as good as its setup. This applies both to pros and mere mortals.
Needless to say, most of us don’t have a world-class racer or mechanic at hand, which is why we’re going to guide you through the process of finding your optimal setup. And the best part is, most upgrades can be easily done at home!
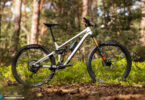
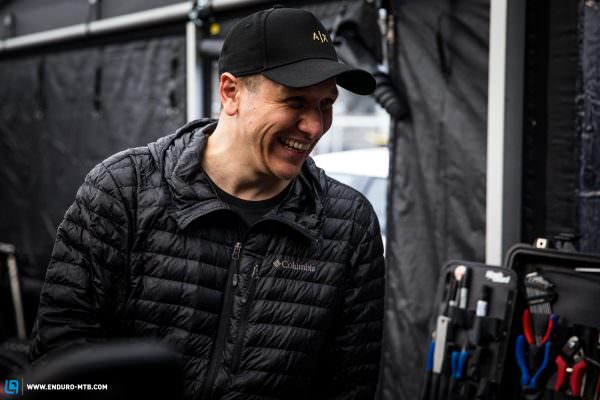
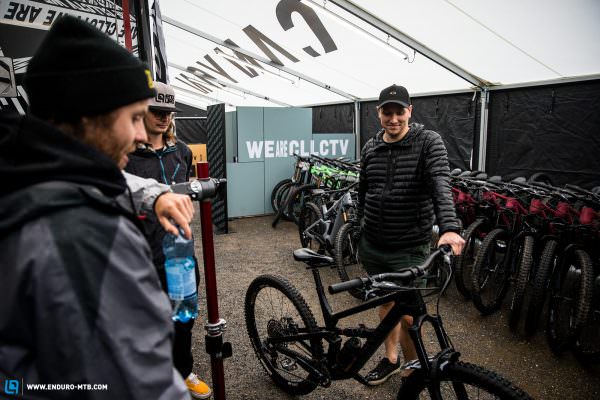
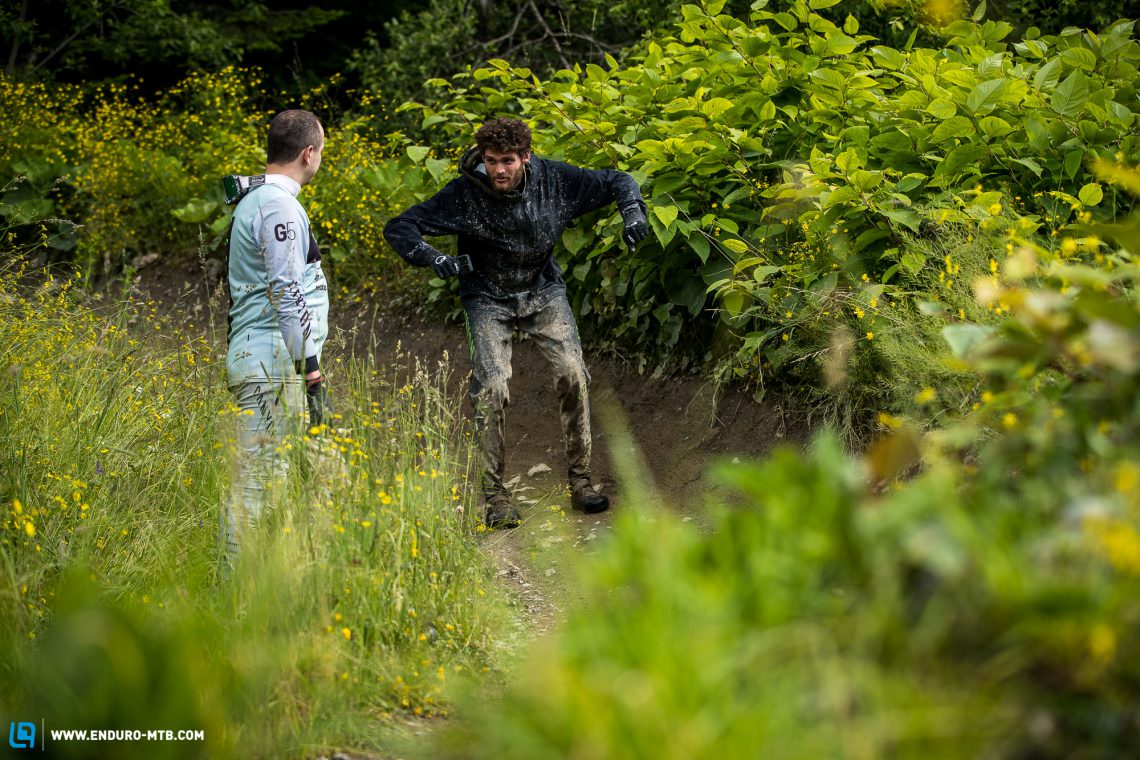
Our aspiring pro and his bike
Within a few days, over 200 ENDURO readers who own a Canyon bike entered our bootcamp competition. Awesome, we can always count on our wonderful community! 🤘 In the end, Rob from Belgium proved to be the perfect candidate, meeting all the prerequisites of our competition and impressing everyone with his contagious enthusiasm. Rob’s been riding his Canyon Spectral 29 since December but hasn’t found his optimal setup yet, despite trying out different settings, which makes him the perfect candidate for our setup boot camp! It was important to us not to invite a semi professional rider, because we wanted to prove that anyone can benefit from a suitable setup. Or maybe it all came down to the candle he lit to bring light to his wishes? Who knows, but needless to say, the vibes were great right from the start!
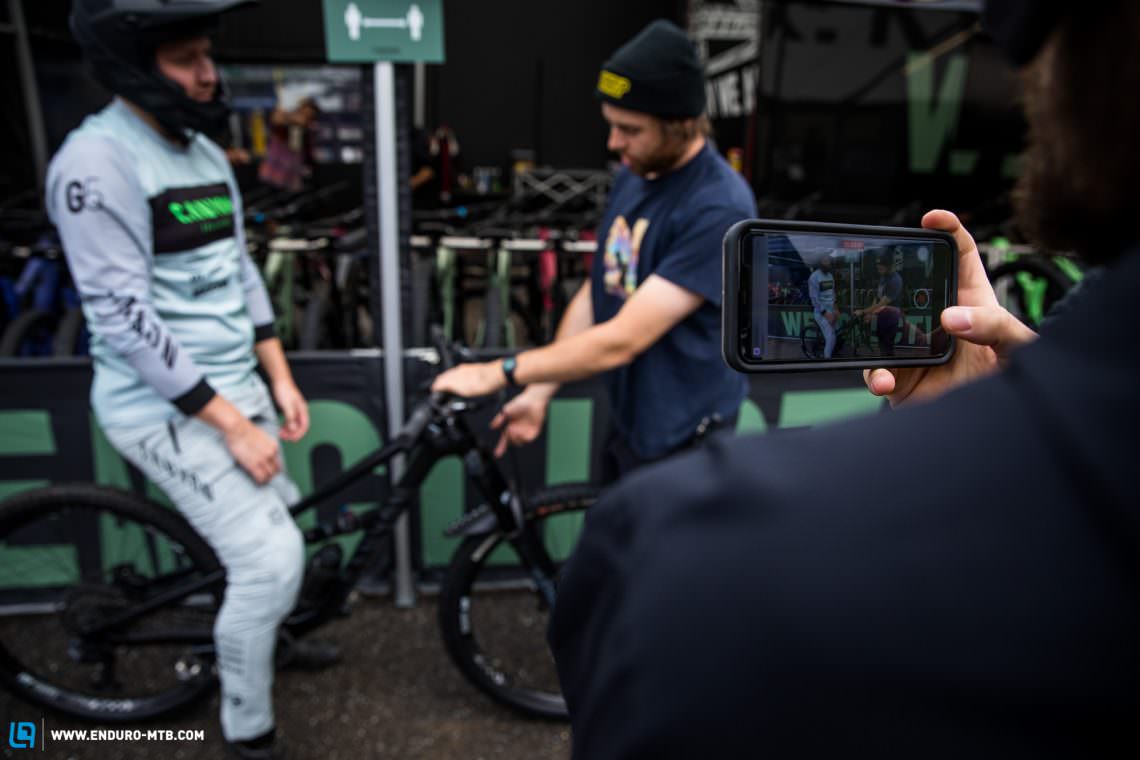
First check-up
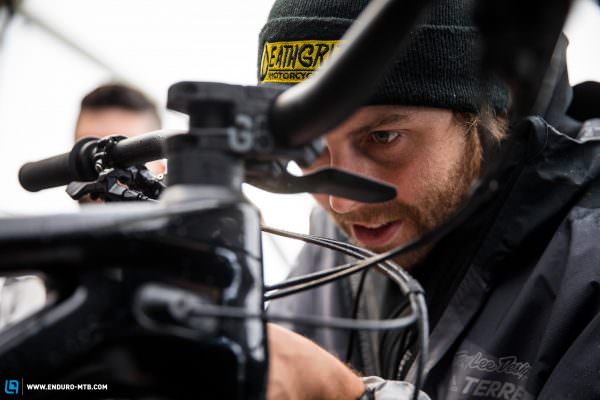
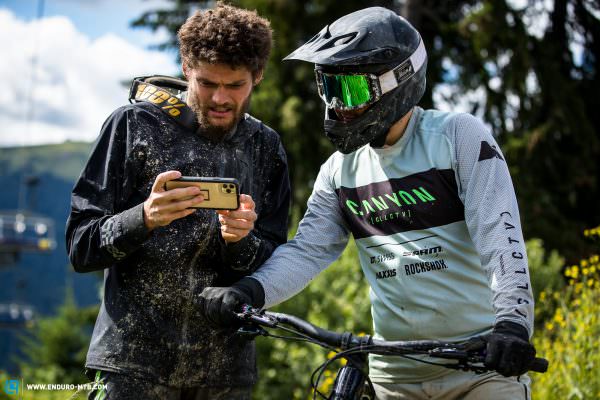
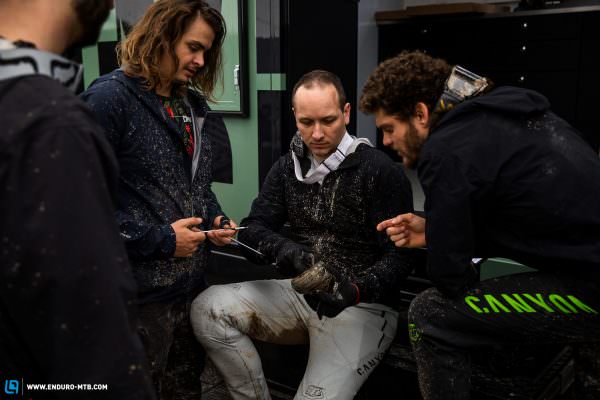
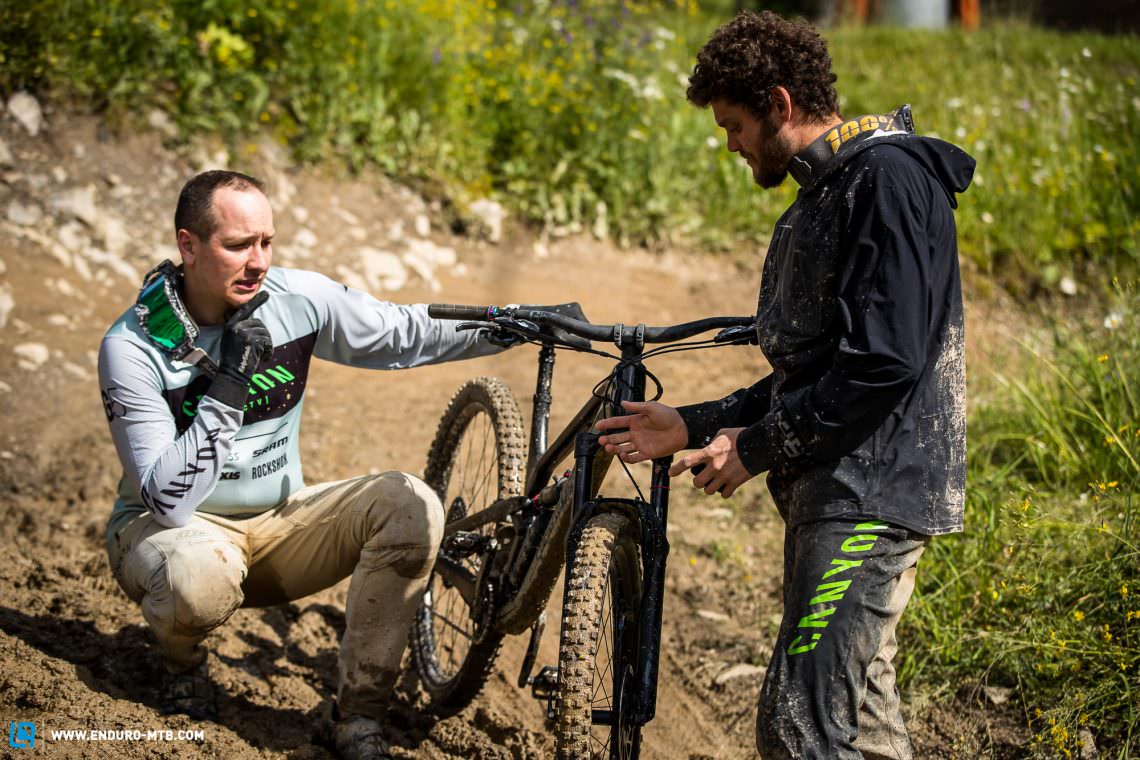
When we arrived in Les Gets Thursday afternoon, we didn’t want to waste too much time and get straight to it – after all, we were on a mission! Braving through foul weather and deep puddles, we headed for the Canyon CLLCTV truck, where mechanic Tom took a close look at Rob’s bike. The aim of the first check-up was to fix minor problems without altering the basic character of the bike too much. We wanted Rob to ride one more lap with his old setup the following morning, before altering the settings. This would help him understand and compare the differences between the old and new settings.
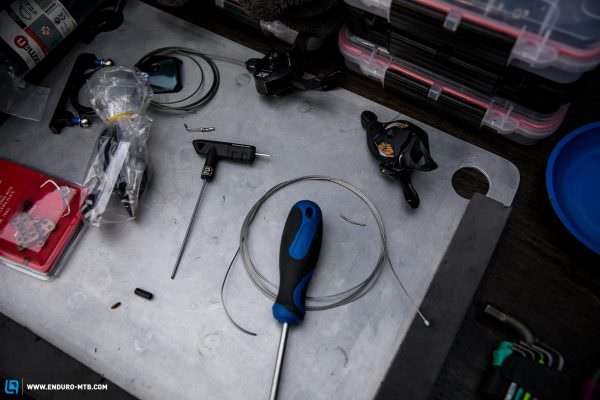
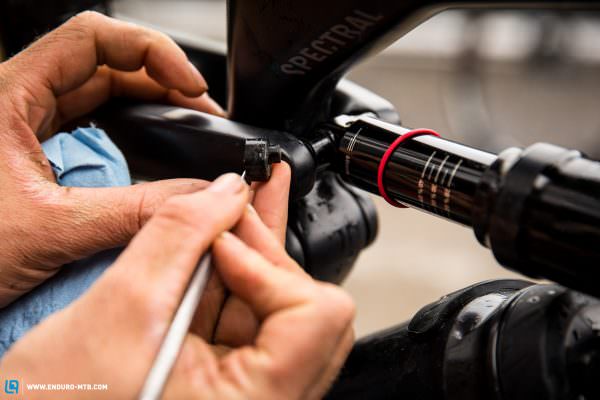
What’s the right cable length?
Tommy started off the first inspection with the cables. Since it’s easier for manufacturers to use same length cables across all sizes, they’re often too long on small bikes. That was the case with Rob’s Canyon Spectral. Ideally, the cables should run in as straight a line as possible without bowing out excessively, as this could cause them to get caught on trail features such as tree branches and fences. If your cables need shortening, avoid cutting them too much to prevent them from ripping should the bars turn all the way in during a crash. At ENDURO, we advocate the path of the golden middle, which translates into “neither too long nor too short.” First off, check the cable length at the maximum steering angle by turning the bars 90 degrees in either direction.
Make sure the cables run in as straight a line as possible to prevent unnecessary strain.
Once the cables were sorted, Tommy indexed Rob’s gears and straightened his handlebars, because they were slightly twisted. Together with the initial suspension setup, this should all be done with the first bike assembly, but since the gears and handlebars are under constant stress, it’s a good habit to check your gears and align the stem from time to time.
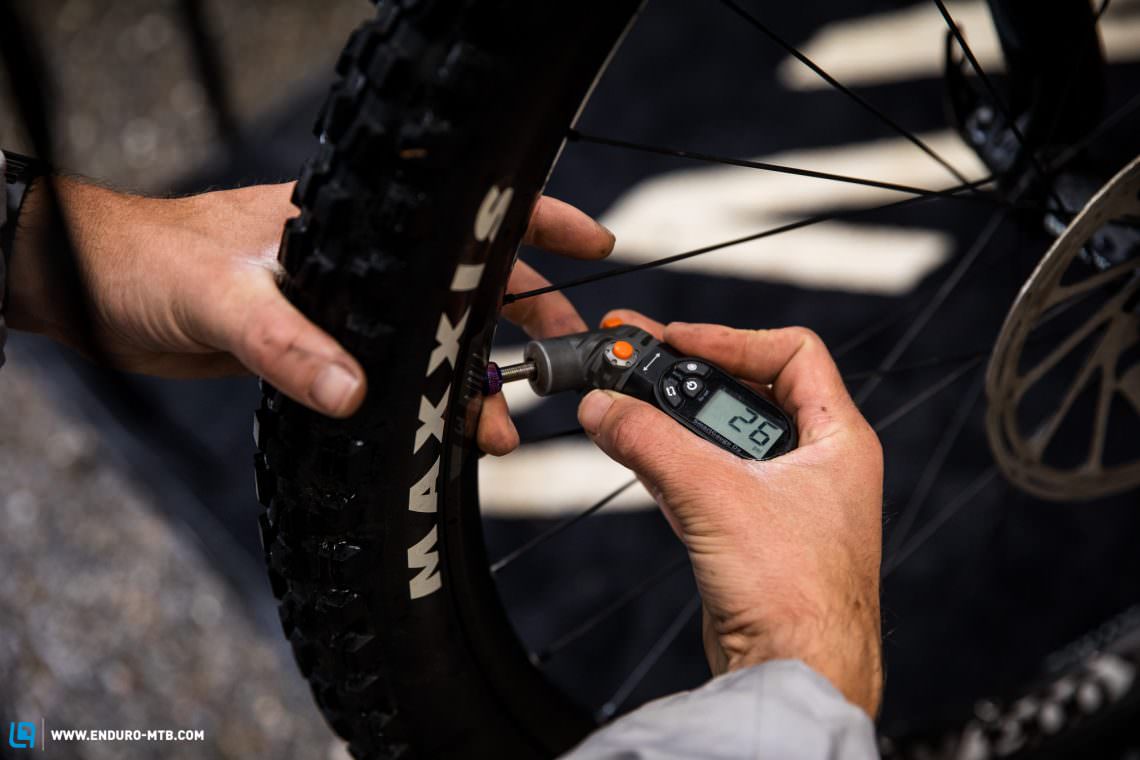
How do you measure your tire pressure correctly?
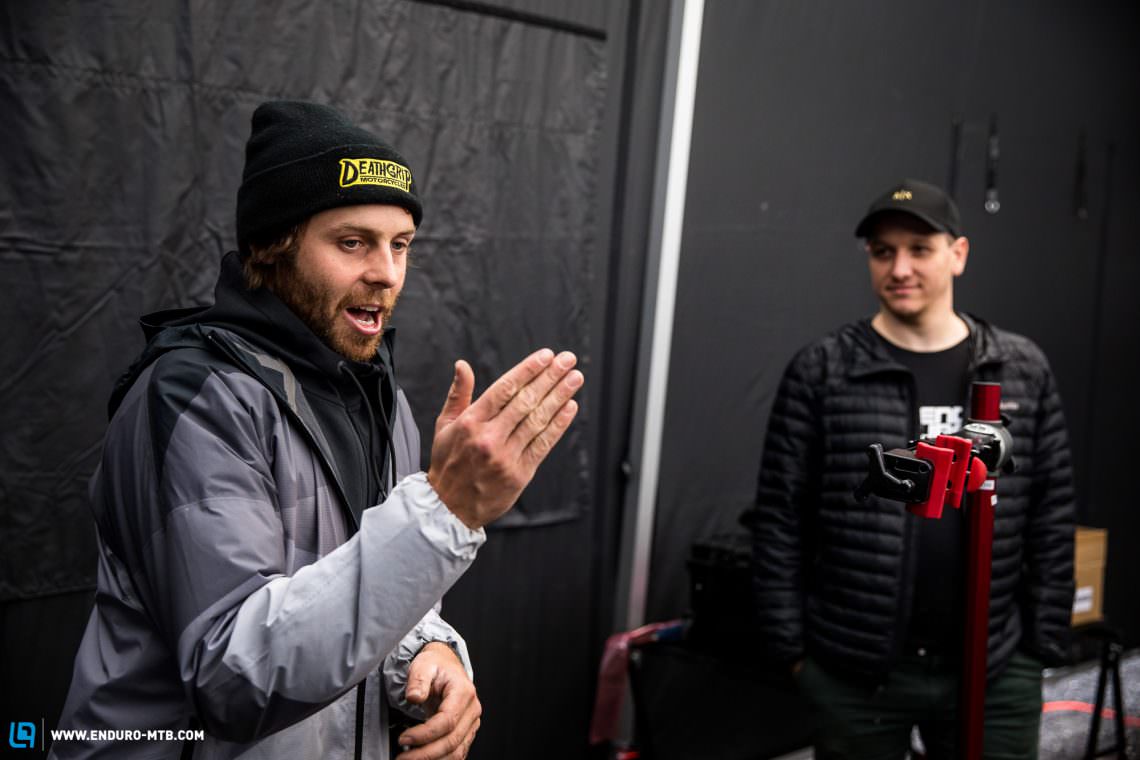
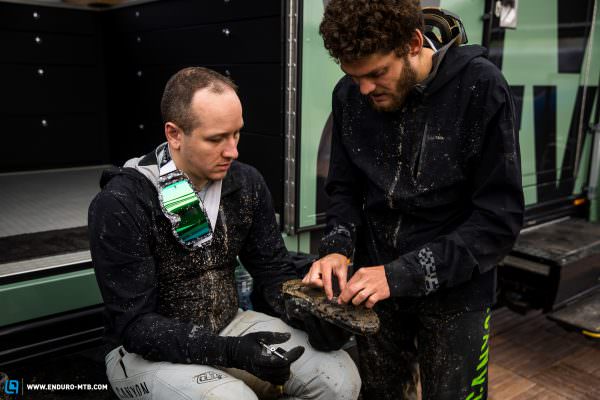
As Jack Moir’s trusted mechanic and former right-hand of legends like Bernard Kerr and Eddie Masters, Tommy has a few tricks up his sleeve. On top of that, he’s also a top bloke and was more than happy to share a few of his secrets with us! First off, he strongly recommends using a high-quality pressure gauge to check the pressure of your tires and suspension, because the built-in gauge of most pumps is unreliable. However, deviations can also occur with high-quality gauges, which is why Tommy recommends always using the same device for consistent readings. If you can, buy a digital pressure gauge and always carry it with you, especially if you travel a lot and always have to use different pumps.
From the life of a professional mechanic
The second finding of the day was polarizing: Tommy doesn’t use a torque wrench and tightens all bolts and screws by feel. 😱 Of course, this contradicts all common recommendations, but on the other hand he’s experienced enough to do it that way. But you’re not Tommy, so we recommend using a torque wrench, especially with carbon frames and components. Good news for all current and future Canyon riders: the German bike manufacturer delivers its bikes with a basic but very functional torque wrench. Excellent!
While talking about his routines and habits, Tommy admitted that, despite the fact that he’s spent many years wrenching for top riders, he still gets a little paranoid about Jack’s bike and has to check every single bolt multiple times before sending him into the race! He doesn’t want to leave anything to chance, making sure everything stays where it should be. So far, his approach has worked for him and we’re sure it will stay this way.
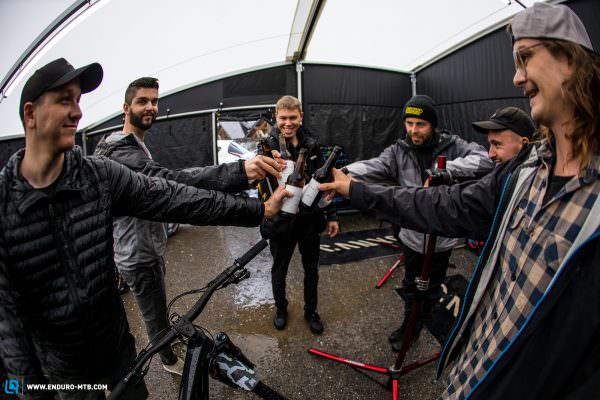
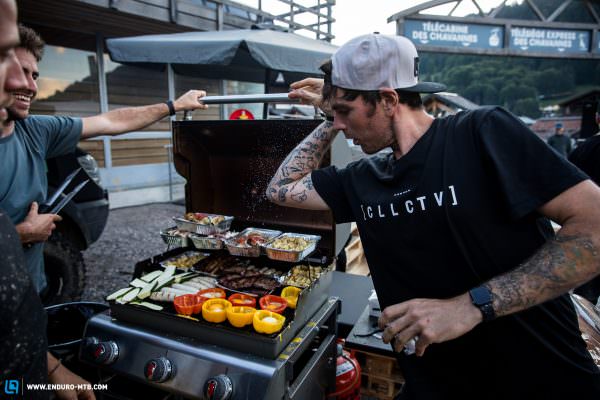
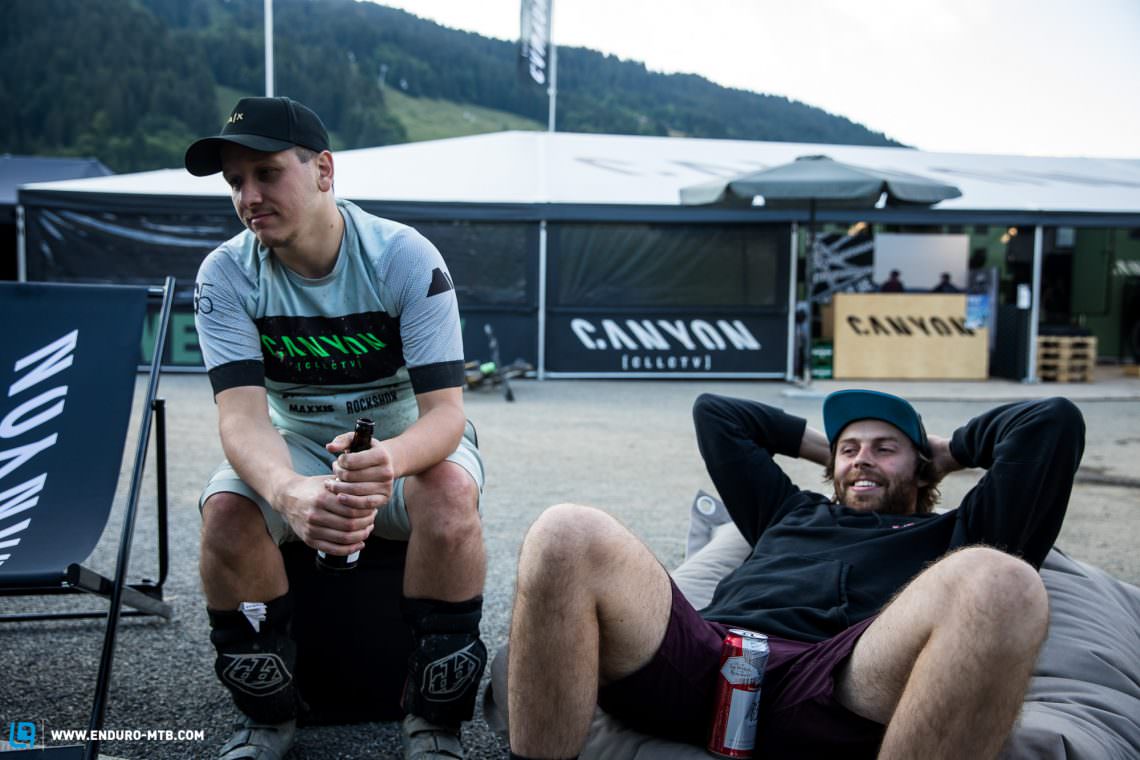
Cheers!
Last but not least, we dressed Rob in an original Canyon CLLCTV team kit to crank his pro experience right up to eleven. Jack’s comment: “He looks more pro than me!” Yup! Everything was ready for the first laps the following morning.
Setup camp day 1
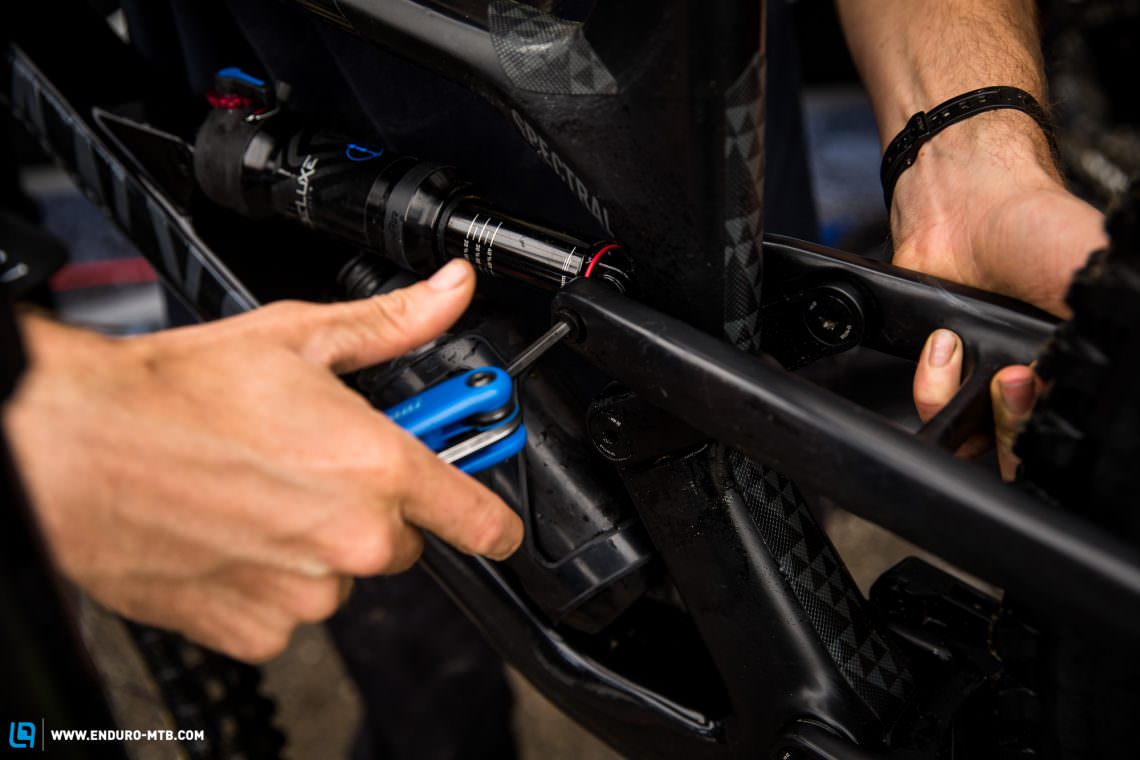
With the basic setup taken care of on the previous evening, we only had to sort out a couple more things before our first descent. First off, we zip-tied a CLLCTV mudguard to Rob’s bike. The weather was horrible and Rob urgently needed one! Secondly, but just as important, we checked the SAG on the fork and shock.
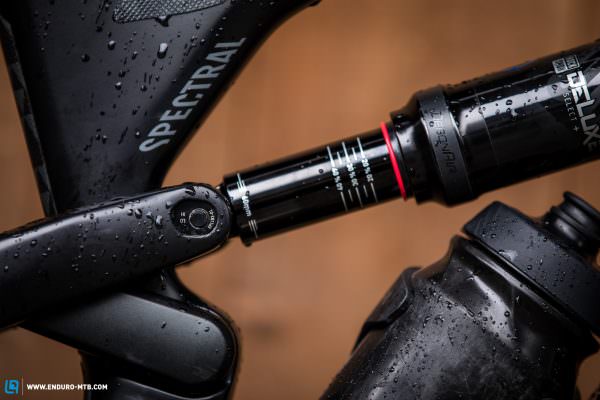
How do you work out the correct suspension sag?
A thorough suspension setup should be part of any basic setup. Determining the correct sag is the starting point for everything else. With 32% sag at the rear and approx. 20% at the front, Rob’s setup looked pretty good already, so we decided not to change anything just yet. As a base setting, we recommend running 30% SAG on the shock and 20% on the fork. From here, you can check how much travel you use and adjust the sag accordingly. Especially with more progressive suspension designs, running more sag can help you use the available travel more efficiently. We will talk more about progression later on.
While it’s fairly easy to determine the correct sag on the shock, the process is a little more complicated with the fork – even for pros like Jack and Tom! The tiniest weight shift can make a big difference and lead to inconsistent readings. For that reason, you should take the 20% guideline with a pinch of salt. However, most forks have a chart printed on the lower legs with pressure recommendations based on an average rider weight. Once you’ve found a starting point, you can make fine adjustments by adding or removing air from the air-spring until you find the sweet spot. We do exactly the same at ENDURO!
Finding the right balance between front and rear
For an optimal suspension setup, it’s crucial to find the right balance between the front and rear to make sure both ends use about the same amount of travel. As a rule of thumb, the fork should never feel softer than the shock, as this will cause the front to dive, especially on steep descents. An unbalanced bike just feels wrong, is harder to control and robs you of confidence – and could potentially get you hurt! According to Tom, the safest way to work your way towards an optimal setup is to start off with a harder and faster fork setting, and from there, slowly work your way towards the optimal balance.
Suspension damping setting
When asked about the optimal suspension damping setting, Tommy doesn’t beat around the bush: “Soft and fast!” A soft suspension setting with relatively little compression ensures that the full travel is used efficiently while a fast rebound allows the fork and shock to recover from fast consecutive hits, preventing them from sinking into their travel. This phenomenon is called “packing”, which is something Tom and Jack want to avoid at all costs. Of course, the “Soft and fast!” dictum only serves as a rough orientation, while the optimal suspension setting is nothing but a great compromise. According to Tommy “It goes from bad to good to bad” – but then that’s true for everything else around the bike. In other words, balance is key! However, exploring the extremes can be helpful in the search for the ideal setting, as it allows you to narrow down your options and work towards the sweet spot gradually. Bear in mind, though, there is no such thing as THE ultimate setup, only the ideal setup for a certain situation.
While it’s crucial to find the right balance, it’s also a good first step to explore the extremes in the search for the optimal setup.
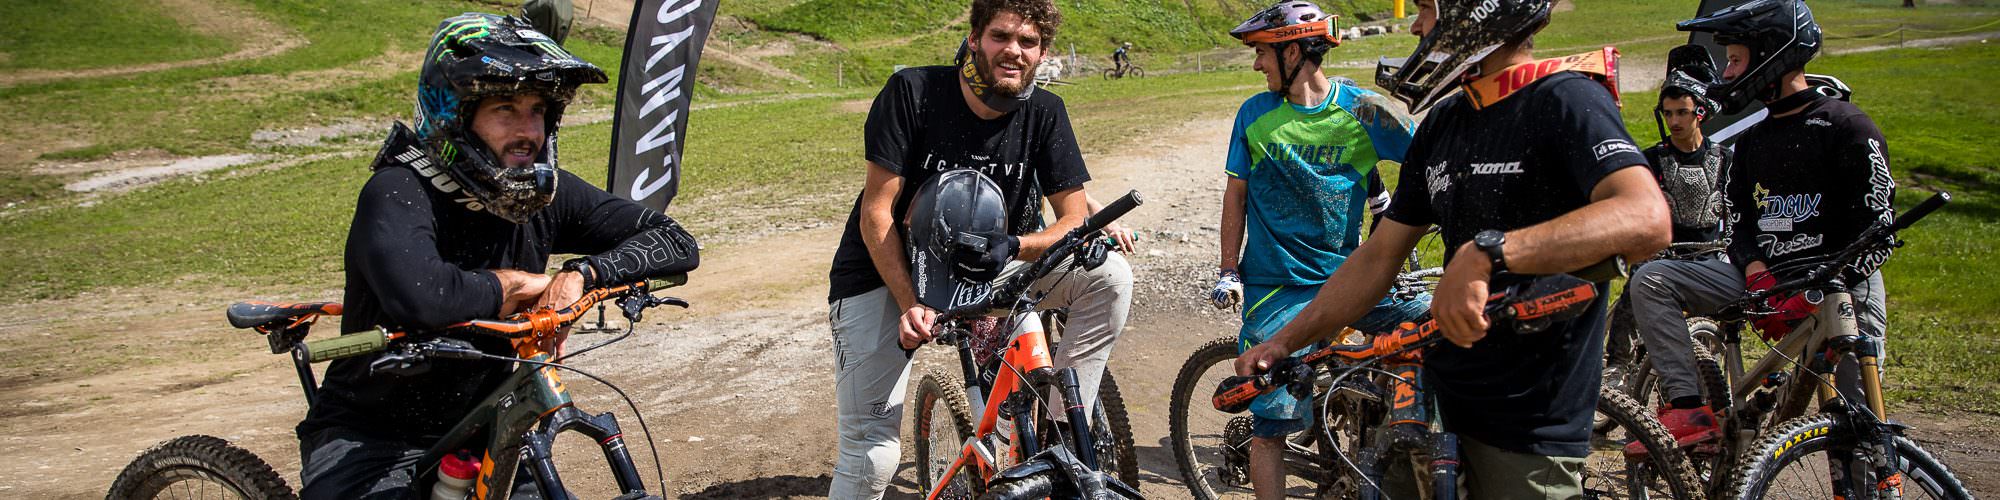
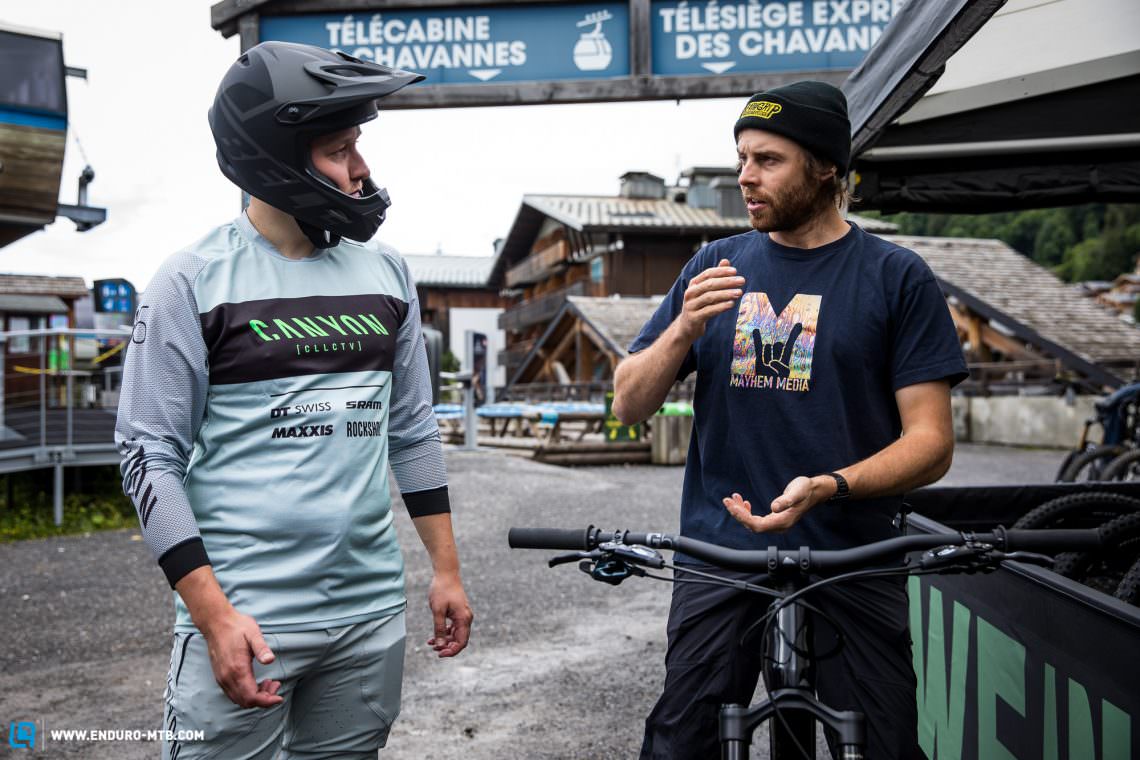
Riding tips from Jack
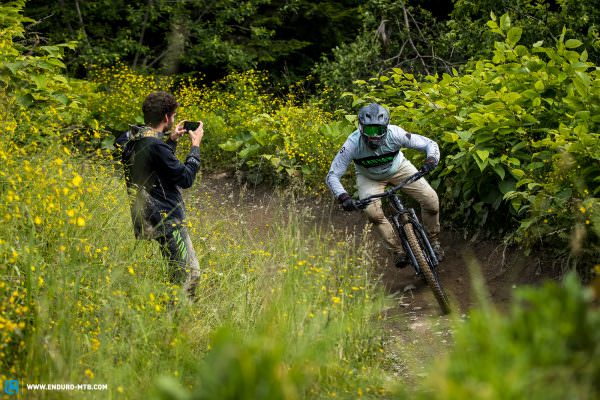
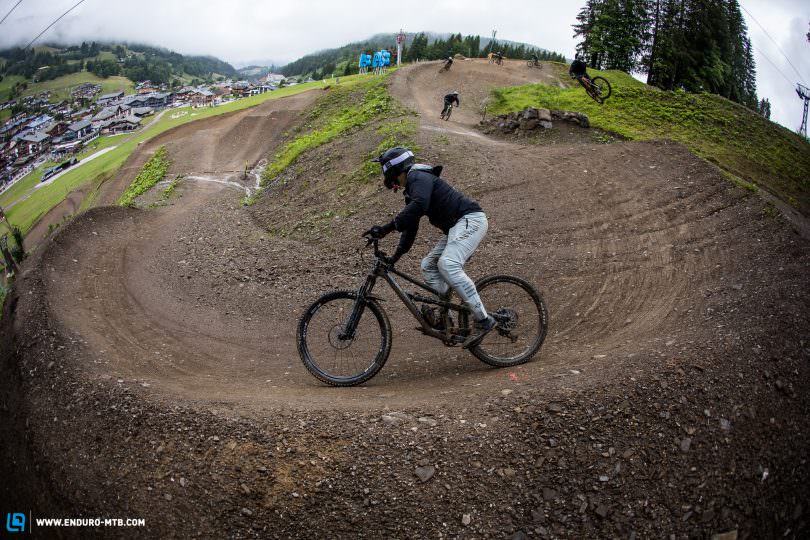
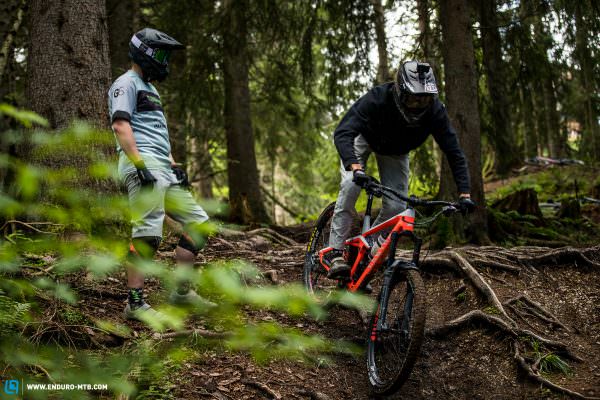
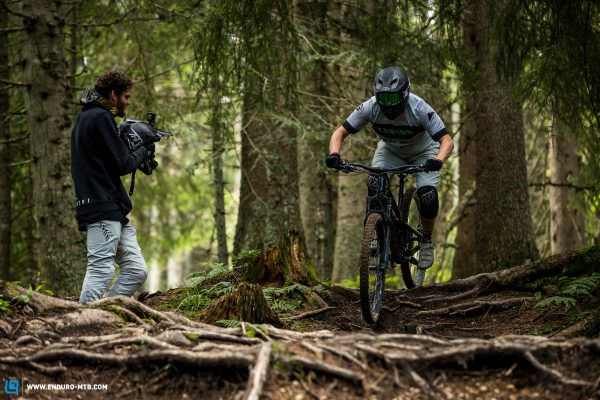
After giving Jack’s bike a quick check, we finally hit the first descent of the day. The aim was to give Rob a few riding tips and allow him to familiarise himself with the track before fiddling around with the settings.
Bend your arms and legs = ride more consistently
Jack’s first tip: bend your arms and legs more. This ensures a lower center of gravity, gives you more stability on the bike and allows you to use your limbs as a natural suspension element. However, it’s also important not to bend your arms and legs too much and still have some margin in both directions. This makes it easier to follow the trail when negotiating obstacles and prepares you to absorb small drops and compressions, ensuring more traction and making you ride more consistently. Essentially you can think of it as your head drawing as straight a line as possible while the bike underneath you follows the shape of the terrain.
Speaking of consistency, Jack believes that that’s exactly what makes a fast rider. Riding consistently is better than riding at the limit the whole time, as it allows you to manage your mental and physical reserves more efficiently and thus prevents you from making mistakes. On long, exhausting EWS stages this can make all the difference and Jack’s latest results prove him right!
Consistency is the key to success. Use your arms and legs to soak up the the irregularities of the trail and ride more smoothly. You should aim at drawing as straight a line as possible with your head while letting the bike underneath you follow the contours of the ground.
Ride with foresight – literally as well as symbolically!
EWhen it comes to riding technique, there’s one point we can’t stress enough: you should always look a few metres ahead. This allows you to scan the trail for obstacles and adjust your line accordingly. Once again, consistency is key. There’s no point in blasting through a section at full pelt if you don’t prepare for what’s coming next, losing all of your speed. Anticipation is key, both in a figurative and literal sense, and allows you to see the trail as a whole rather than a succession of isolated sections.
Check!
When turning, your eyes should focus on the corner’s exit. As if by magic, this will automatically put you in the right riding position. In addition, you should actively lean your bike into the corner to generate more traction using the shoulder knobs of your tires.
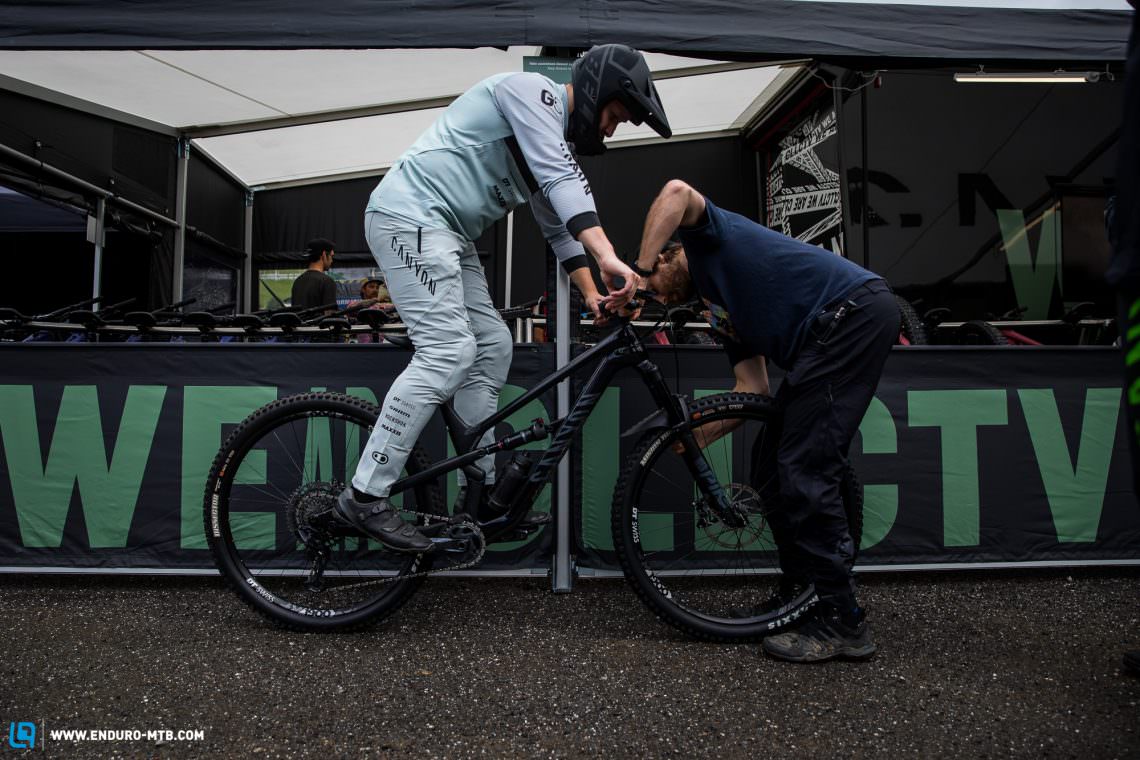
How do I find the correct cleat position?
On his first lap, Rob felt tension building up in his calves. To understand why this happened, we took a closer look at the position of his cleats. These were placed too far forwards in the cleat box, so we moved them further back to reduce the strain on his calves. This small change did the trick and Rob had significantly fewer problems in the following laps. Needless to say, the same principle applies to platform pedals: pay attention where you place your foot on the pedal to prevent pain and discomfort.
Once again, it’s important to find a compromise that works for you. Whilst moving the cleats backwards relieves the strain on your calves, it’s important to give your ankles enough freedom of movement to act as a natural suspension element. Even uphill, a little extra room will help you generate more power with your calves. For long bike park sessions, we recommend a more central, calf-friendly cleat position. As always, follow your instinct and play around with different settings until you find the position that works best for you and your riding style!
A more central cleat position relieves the strain on your calves. That being said, you should always make sure that your ankles have enough freedom of movement.
First upgrades
The tires
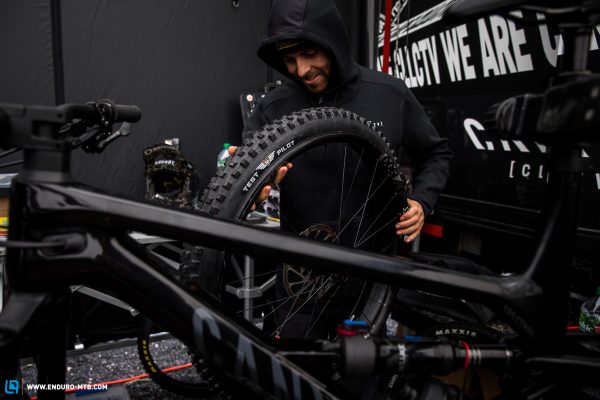
After the second lap, it was time to start changing parts on Rob’s bike. Given the dreadful weather conditions, we unanimously agreed on the first upgrade: Rob badly needed some mud tires with a more robust casing! Needless to say, he was chuffed at the idea of swapping his old rubber for a set of brand-new MAXXIS Test Pilot prototype tires, which are usually reserved for pro riders. Nice one! As the only point of contact with the ground, the tires have a huge impact on the handling of the bike, making it crucial to pick the right type of tire.
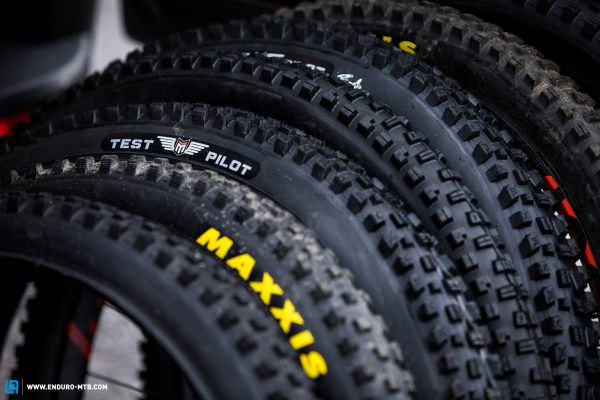
Beneath the mysterious Test Pilot camouflage hides an aggressive MAXXIS Shorty with DH casing and super soft rubber compound. Mud tires like the Shorty are the optimal choice for soaked bike park laps, with the aggressive profile providing excellent grip on muddy terrain and the open tread pattern with large gaps between the knobs ensuring good self-cleaning properties. Add a soft rubber compound that allows the tire to adapt better to the conditions of the trail, and you’ll have a real grip monster on your side. A tire with a robust DH casing is less prone to punctures and improves the overall stability of the bike, because it’s heavier (think inertia!) and doesn’t deform as easily. One more advantage: you can run lower tire pressures and thus improve traction, because the tire can adapt to the ground better, deforming around roots and rocks rather than bouncing over them.
A more robust and heavier casing provides more stability and enables lower air pressures, resulting in more traction.
Rob immediately noticed a huge improvement in traction and stability and, as a result, felt noticeably safer on his bike. However, when you’re not out smashing laps at the bike park, this type of tire is generally too heavy and sluggish, which is why we replaced them with Rob’s original tires at the end of our boot camp session. However, Rob was still allowed to take the prototype tires home – what a souvenir!
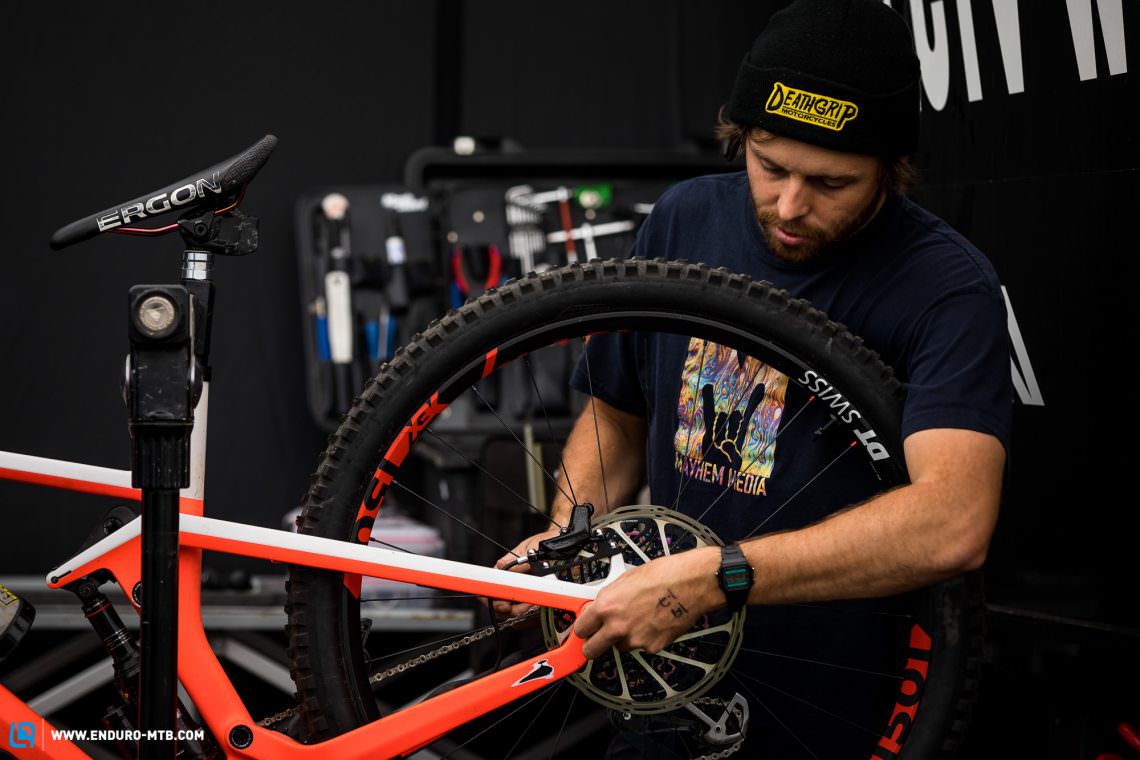
The brakes – rotors, pads and a good ol’ bleed
Once Rob got used to the new tires after a few laps, it was time for a thorough brake overhaul. First off, we swapped the 180mm rear rotor for a bigger 200mm disc to match the front brake. Especially on long bike park descents, bigger rotors offer clear advantages: not only does a bigger rotor require a lighter touch, minimising fatigue and arm pump, but also dissipates heat more effectively, preventing fade and thus improving braking performance. Moreover, this increases the longevity of your pads and, for example, prevents them from “glazing”. For most riders, the extra weight shouldn’t be a real issue. For instance, upgrading from a 180 mm SRAM Centerline rotor to a 200 mm version only adds 40 g to your bike. If you decide to upgrade your rotors, make sure your fork and/or frame are officially approved for use with a bigger brake disc.
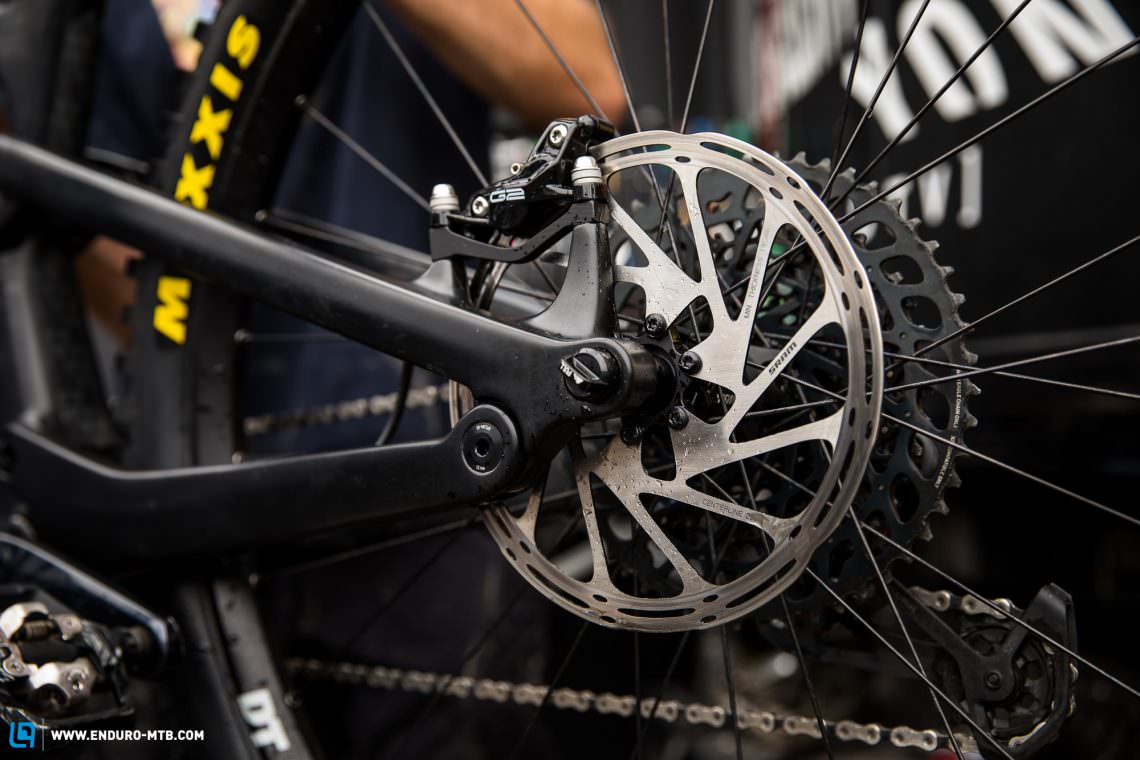
Aside from the marginal weight gain, a larger brake rotor only has advantages – first and foremost, improved heat management. Jack and Tom agree: go big or go home!
Once we’d replaced the rotor, we swapped the standard organic pads with more heat-resistant sintered metallic pads. If you’re wondering why some riders prefer the organic version, there’s more than one reason. If you only ride short descents, you’re better off using organic pads, because they have better initial bite and are easier to modulate at low temperatures. Sintered pads, on the other hand, take longer to heat up but handle the heat a lot better than organic pads, which makes them the perfect choice for long, steep descents. In addition, organic pads are generally quieter and tend to squeak less in wet conditions, while metallic ones have a more defined bite point. Like most things in mountain biking, the choice of brake pad compound is largely down to personal preference. Most pro riders like Jack prefer the sharper and more defined bite point of sintered pads. However, this requires a very sensitive touch, which experienced riders learn to control. If you can live with the aggressive bite point, we recommend using metallic pads, because in our opinion the advantages outweigh the negatives.
Metallic pads have a significantly sharper bite point. While this may not be for everyone, it makes perfect sense for aggressive riders.
Tommy also gave us a very useful tip on how to bed in new pads. You want to do this quickly? Then water is your friend. Get your pads wet and rub them against each other for a short while. Now pour some more water on the rotors and rub the pads against the rotors. That’s express bedding-in for you! Approved by the pros!
Even though it wasn’t urgent, Tommy decided to bleed the brakes to remove excess air from the lines and thus ensure an even more direct bite point. We strongly recommend bleeding your brakes on a regular basis to ensure a more defined and consistent bite point and better modulation. Once you buy the kit and learn how to use it, it’s really not that big of a deal.
With his brakes sorted, Rob immediately noticed how much better they performed and how much sharper the bite point was. So sharp, in fact, that it took him some time to get used to it. Once he adapted to the new setup, Rob was able to relax more on his bike and fully enjoy the ride, because the sharper and more consistent bite point requires less strength and ensures better modulation.
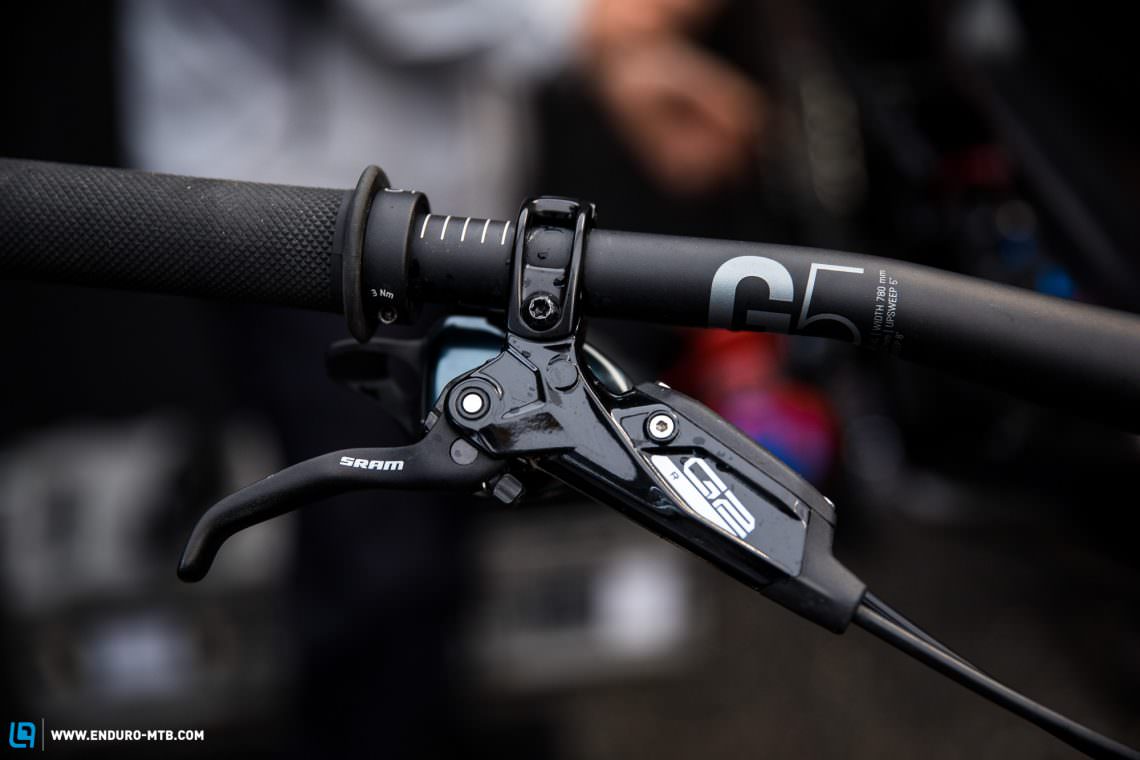
What is the correct brake lever position?
To ensure a flawless brake setup, we also took a closer look at the position of the brake levers. There are two parameters for optimal brake lever adjustment: the position on the bars, which includes the angle of the levers and their distance from the bar ends, and the reach, which is the distance between the lever and the bars. On most modern brakes, the latter can be adjusted using a screw. As a rule of thumb, your forearm, palm and stretched index finger should form a straight line when in the descending position. Once again, brake lever position is a matter of taste, which is why we encourage you to play around with different settings.
Here are some tips to help you find the optimal brake lever position. Once again, compromise is key! If you place the clamp too far inwards on the bars, you’ll have to twist your index finger to reach the lever, which can result in your finger slipping off the lever. If the lever clamp is too close to the grip, your finger will end up right in the middle of the lever, preventing you from achieving the optimal leverage. With the brake levers too low, your wrists will over-extend and pull your whole body far over the front, especially in steep trail sections. However, that doesn’t have to be necessarily a bad thing, especially if you struggle to keep your front wheel planted on the trail. If that’s the case, slam those levers down and see what happens! If the levers are too high, on the other hand, you’ll have to bend your wrist upwards, putting unnecessary strain on your radio-carpal joint. If you ride frequently on very steep terrain, however, a slightly flatter position actually makes sense, because it forces you into a riding position that is more comfortable on steep terrain and also prevents you from flying over the handlebars.
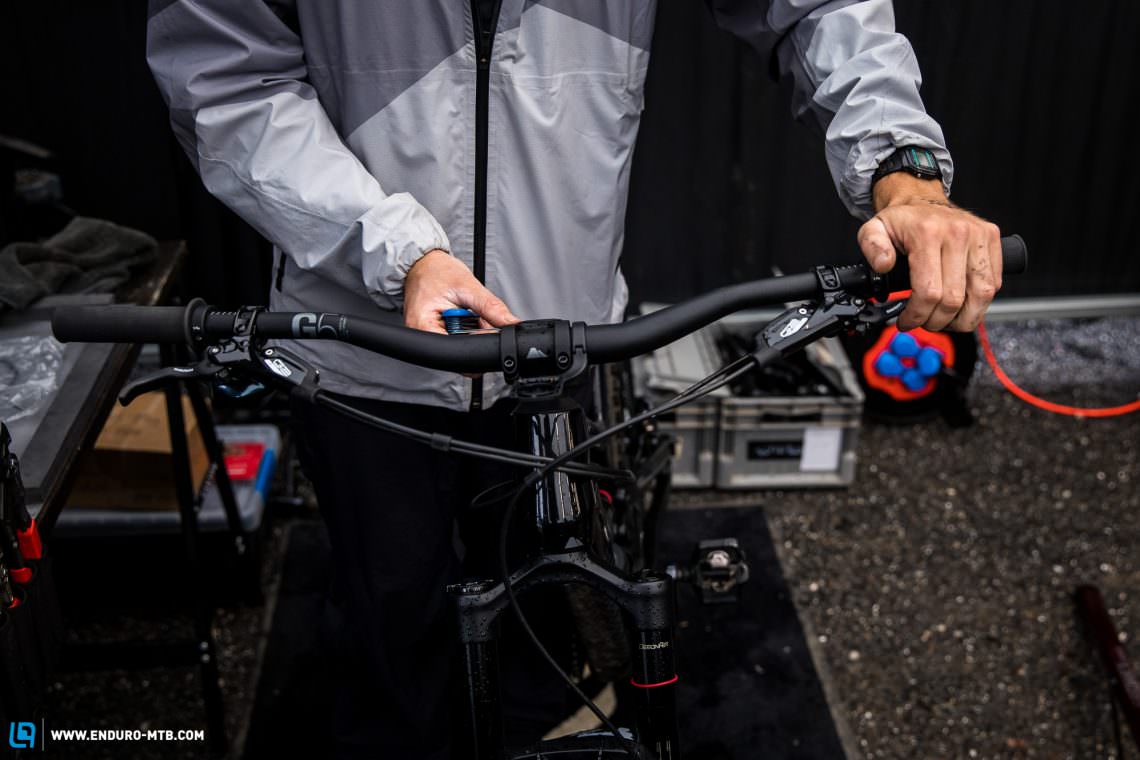
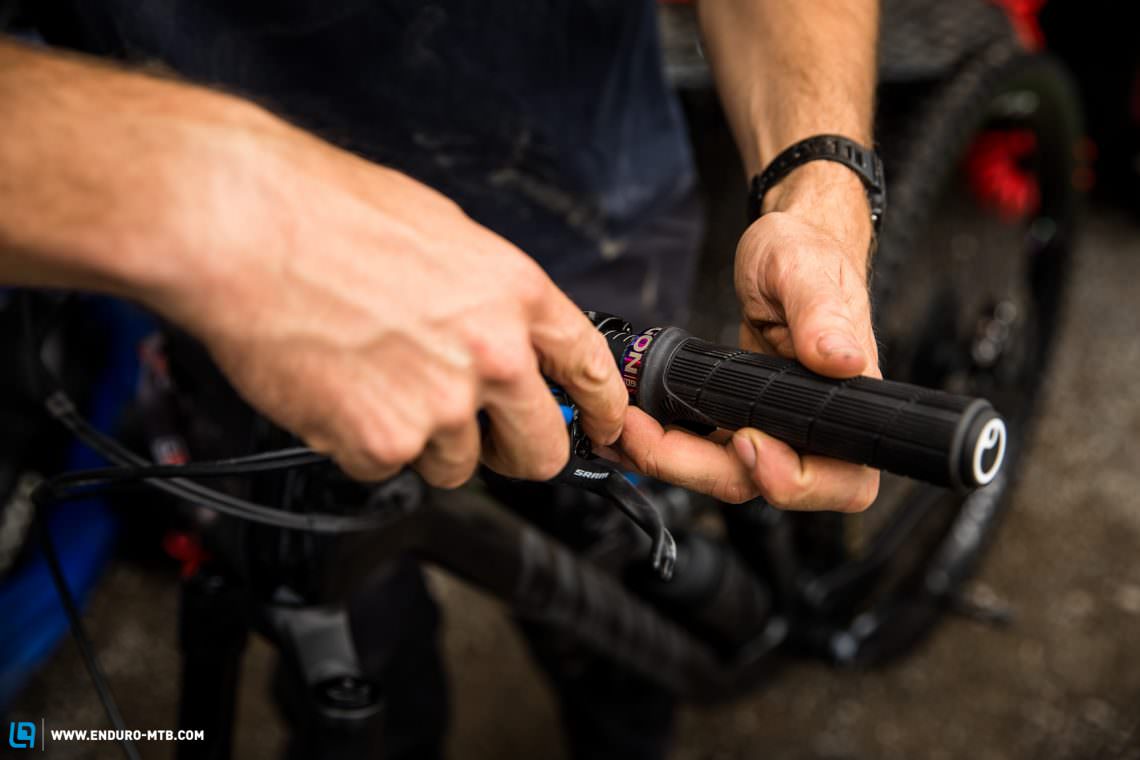
The right grips
As one of the main contact points with the bike, the grips are extremely important but often overlooked. Most bikes are delivered with very hard stock grips, because they don’t wear as easily. However, a softer grip provides more cushioning and better grip, significantly delaying fatigue and arm pump. Rob confirmed this after we swapped his stock grips for a pair of Ergon GD1s, which are way softer than his old ones. The knurl pattern provides additional grip, but is not everybody’s cup of tea. Just try different models to find out which one feels comfortable and safe in your hands. If you have exceptionally big (or small) hands, diameter also plays a crucial role.
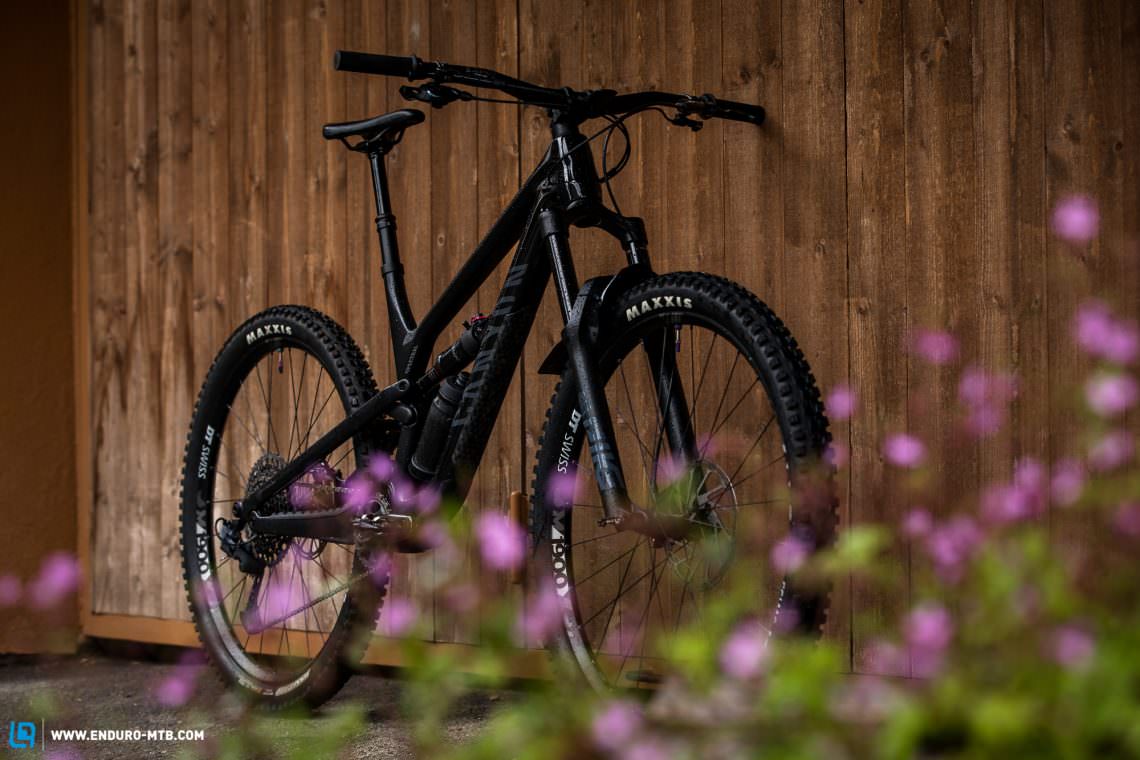
Adjusting the geometry via flip chip
Some bikes allow you to adjust the geometry via a flip chip – the Canyon Spectral is one of them. The flip chip is usually integrated in the shock mount or chainstays and lets you change the bottom bracket height and head angle. On the Spectral, you can change the head angle by 0.5° and the bottom bracket height by 8 mm. While the lower setting ensures a smoother ride on rough descents, the higher setting provides more ground clearance for technical climbs. We would recommend starting off with the lower setting and switching to the higher bottom bracket setting if necessary.

Rob had already used his flip-chip, choosing the higher setting to ensure a more efficient pedalling position for a long XC tour. But now that he’s smashing laps on rough bike park trails, it was time to change the flip chip back to the lower setting for more stability.

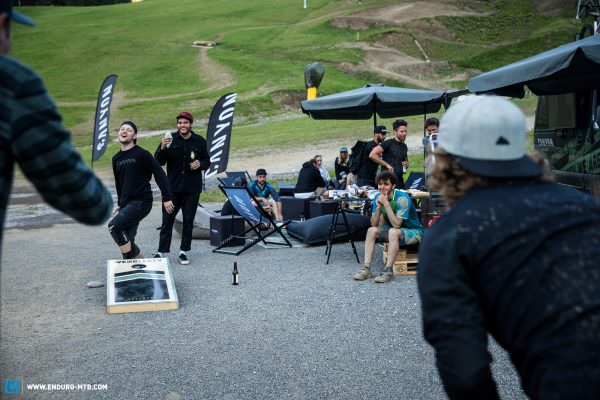
Day 1 – It’s a wrap!
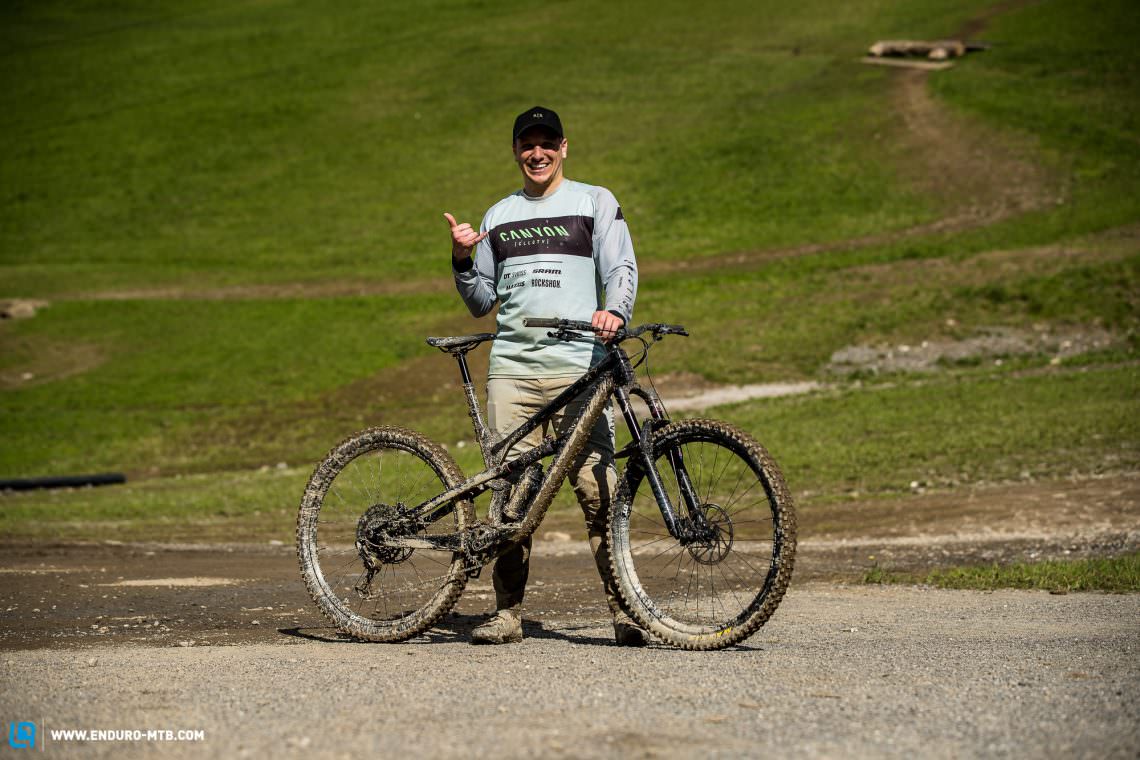
Unfortunately, even the best day has to come to an end. After throwing in a few more laps for good measure, it was time for us to raise a toast to a very exciting and successful first day. Rob had already made huge progress. And the best part is: He, erm, WE had a blast!
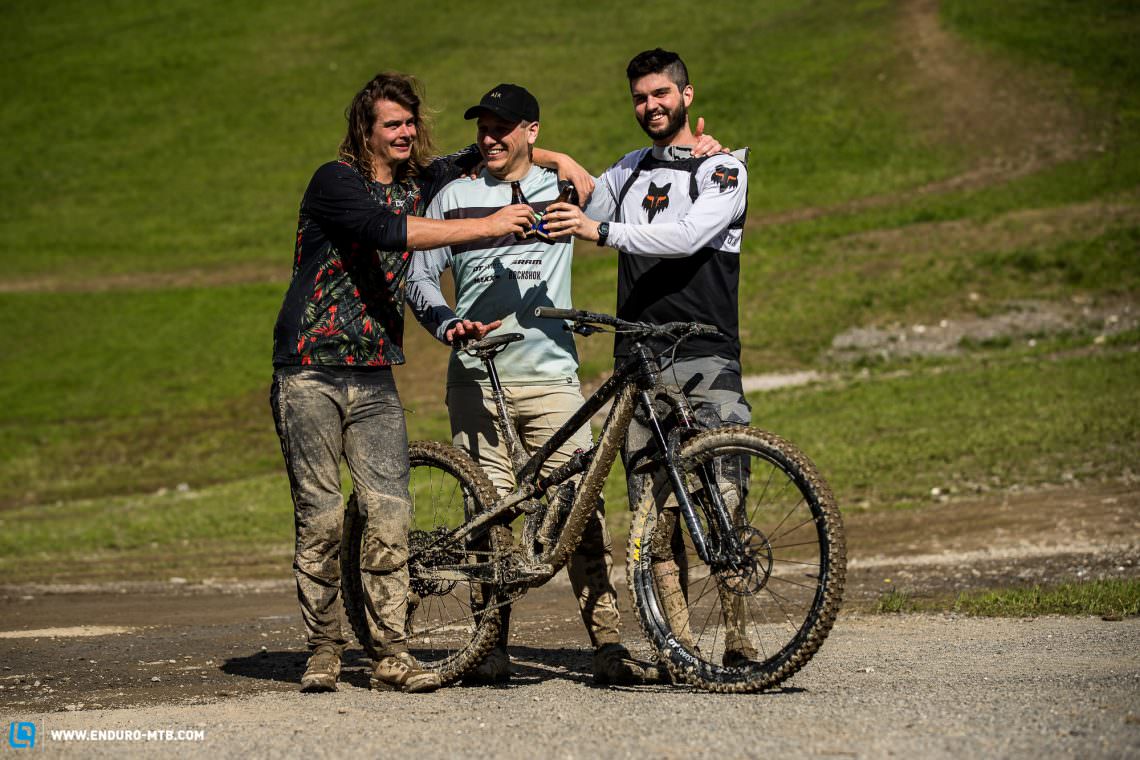
Before I got here, I thought we’d just do a quick lap with Jack. Now we’ve been smashing trails together all day long… and I even got a set of prototype tires! – If Rob had no ears, his smile would circle all the way around the back of his head.
Setup camp day 2
Suspension setup – Part 2
After a good night of sleep, we kicked off our second day in significantly drier (but still not completely dry) conditions, taking up our setup bootcamp from where we had left off the previous night: the suspension setup.

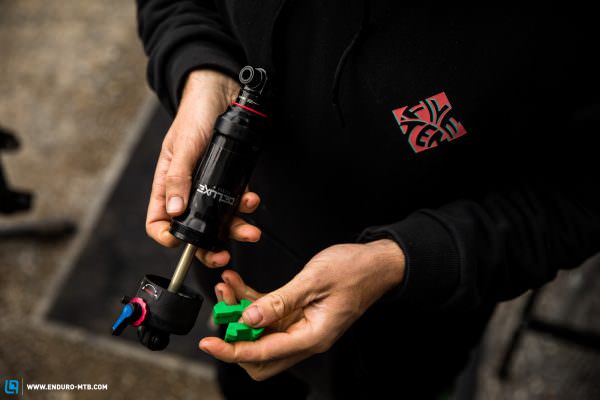
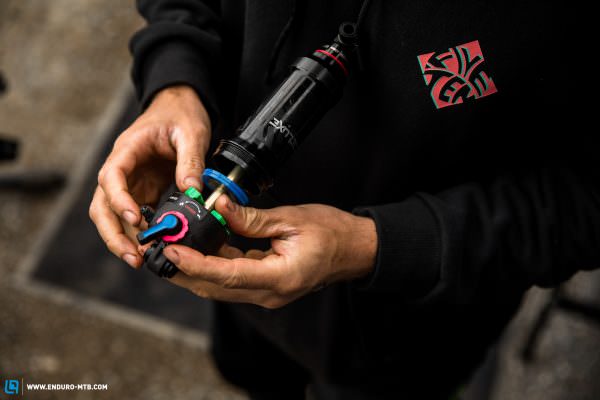
Volume spacers and leverage ratio
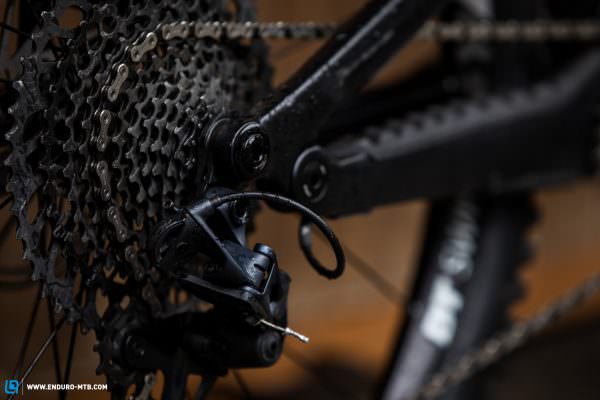
Progression is the last piece in our big suspension setup puzzle. With a more progressive leverage ratio, the suspension ramps up more quickly towards the end of its travel. That’s exactly what you’re looking for if you want your suspension to work sensitively off the top while offering enough reserves for hard impacts. Most modern rear suspension systems are already progressive, with the kinematics forcing the leverage ratio between the swingarm and rear shock to decrease towards the end. This is particularly relevant for coil shocks, which have a more linear spring rate.
Air springs, on the other hand, are naturally progressive and stiffen up exponentially as the air compresses inside the chamber. With an air shock, you can increase progression simply by reducing the size of the air chamber using volume spacers. Most manufacturers deliver their bikes already with one or more volume spacers in the fork and shock, which means you can also reduce the progression of your suspension if needed.
Since Jack rides a lot harder and faster than most human beings, his bike needs to be prepared to take some serious hits. To prevent the suspension from bottoming out, he uses almost the maximum permissible amount of volume spacers. This allows him to run lower air pressures without blowing through the travel in harsh compressions. That being said, a progressive suspension doesn’t always translate into a better riding experience and there’s also a downside to it – and Rob quickly found out! As Tommy mentioned on our first day: “It goes from bad to good to bad.”
We definitely encourage you to experiment with different amounts of volume spacers and see what happens. Adding a volume spacer ain’t rocket science, you just need the right spacers and tools. The one advantage for Canyon riders: volume spacers are usually included in the scope of delivery.
On Rob’s bike, the shock came ex-works with one spacer while the fork had none. Tommy swapped the small spacer in the shock for a bigger one and added two tokens into the fork, which allowed him to increase the progression significantly. To make sure Rob used all of the travel available despite the higher progression rate, Tommy reduced the air pressure, both front and rear. As a result, the shock now had about 35% sag.
Interestingly, Rob told us that his suspension felt worse, passing on hard knocks more directly than with the old setup. And that’s exactly the downside of progression: what you gain in sensitivity with small-bumps, you lose with harder impacts. To make up for this, we went back to the original shock setup and removed one of the spacers in the fork. Another important lesson: if you feel that a change doesn’t suit your needs or riding style, take a step back. At the risk of repeating ourselves, don’t forget Tommy’s words: “It goes from bad to good to bad.” With that in mind, we wrapped up our setup session and spent the rest of our day trying to process all the mind-boggling information and working on our jumping technique.
Considerations – What did we achieve in our two-day setup boot camp?
Without a doubt, the two days were a huge success for everyone, but in particular for Rob. Within a short space of time, he was able to take his riding skills to a whole new level, just by bending his arms and legs more and riding more predictably – at the end of the second day he was like a different rider! Furthermore, we were able to improve his bike setup, which contributed significantly to his riding experience. By fine-tuning his existing setup, i.e. dialling in the suspension and cleat position, he was able to ride more effortlessly and without getting tired as quickly. Other simple yet clever upgrades such as high-quality grips, more robust tires and bigger rotors with metallic pads also helped improve grip and control, ensuring more fun and giving Rob more confidence on his bike!
How can you benefit from Rob’s experience?
Riding technique
What’s the best thing about Rob’s experience? Pretty much everything we’ve done can easily be done at home! If you’re looking for more tips about bike upgrades and riding technique, the internet is an inexhaustible source of wisdom. Of course, you can also ask fellow mountain bikers to share a few tricks and tips with you. If you’re prepared to spend some money, you can sign up for a skill course available from countless riding schools, which will help you get your riding technique to the next level.
We recommend experimenting with your current setup until you find a sweet spot – only this way you will get the most out of your bike! The following points can help you with this:
- Try not to change more than one setting or component at a time and keep a logbook with all the changes and upgrades.
- If you’re not sure about an upgrade or change or if you think it doesn’t suit your riding style, take a step back.
- Exploring extremes is an excellent way to find your ideal setup, because: “It goes from bad to good to bad.”
- Depending on what you want to achieve with your setup, it makes sense to ride the same trail or section over and over again to understand the differences as clearly as possible.
- Don’t let other people’s setups influence you too much. Everyone has their own preferences and an individual riding style. This is especially true for pros!

Upgrades
If you’re willing and able to invest some money, you could invest in some sensible upgrades. We recommend starting with the tires and brakes (especially bigger rotors), because they have a great influence on the overall riding experience. The contact points on your bike also have a huge influence on handling, so you want to make sure that your grips and pedals suit your riding style and needs.
Conclusions
What can we say about this unforgettable experience with Rob, Jack, Tommy and the Canyon CLLCTV? Well, Rob’s permanent grin says it all, testifying to the great success of our boot camp! Given the short timeframe, the improvements were huge, both in terms of Rob’s riding technique and the setup of his bike. Hopefully, our story will inspire you to try out new things and improve your own bike setup and riding skills. Just give it a go, you don’t need Jack Moir on your side to do that, although it certainly helps! There’s a lot of potential in every bike and most upgrades are free!
Did you enjoy this article? If so, we would be stoked if you decide to support us with a monthly contribution. By becoming a supporter of ENDURO, you will help secure a sustainable future for high-quality mountain bike journalism. Click here to learn more.
Words: Robin Wormer Photos: Boris Beyer