Do you want to upgrade your fork without having to buy a new one? You can, and it’s easier than you think! In this article, we’ll show you how to adjust the travel of your RockShox fork by swapping out the air spring and how to upgrade the damper cartridge. It’s simple, fast, and effective.
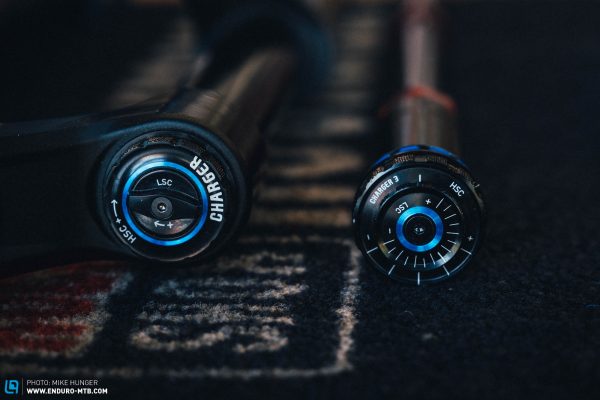
If you want to improve the performance of your fork performance, you basically have two options, because the two legs of the fork perform very different tasks. On the left side, you’ve got the air spring. Essentially, it’s a pressurised air chamber that can be compressed and thereby absorb impacts. The damper cartridge on the right side controls the speed at which the air spring can cycle through the available travel. The compression regulates the bump absorption; the rebound regulates how quickly the fork springs back, or rebounds, as the name suggests. In this case, regulating the oil flow in the damper cartridge prevents the fork from pogoing in and out of the travel uncontrolled.
In the case of upgrades to the air spring, you can adjust the travel by swapping out the airshaft. Its length determines the upper and lower limits of the fork. But upgrading to a newer model also improves performance. This is because the air spring also influences how sensitively the fork responds and how high up it stays in its travel, among other things.
The damper cartridge determines how the fork behaves and it functions independently of the travel. It sets how hard or soft the fork feels in different situations and at different points in the available travel. While the air spring stays the same across the range of a certain year, the damper cartridge defines whether you’ve got the entry-level Select or the flagship Ultimate model.
With RockShox, you can upgrade to this year‘s technology only if you own a ZEB, since its lower part – the so-called casting – is compatible with the latest damper. Unfortunately, if you own a lower end Pike or Lyrik, you won’t be able to upgrade to the new Charger 3 damper unless it’s a 2023 model. Replacing the damper cartridge is particularly worth considering when the fork must get the big service anyway, replacing an old part with a completely new one featuring the latest technology.
Here’s what you’ll need
Performing the upgrades mostly requires standard tools. However, to make sure you’re prepared, we’ve made a list of everything you’ll need:
- Allen set
- (Rubber) mallet
- Cassette tool
- Snap ring pliers
- SRAM Butter
- Maxima Plush Dynamic Suspension Lube
- Suspension cleaner or isopropyl alcohol
- Rags or cloths
- Possibly gloves
- An old wooden spoon
Step by step instructions
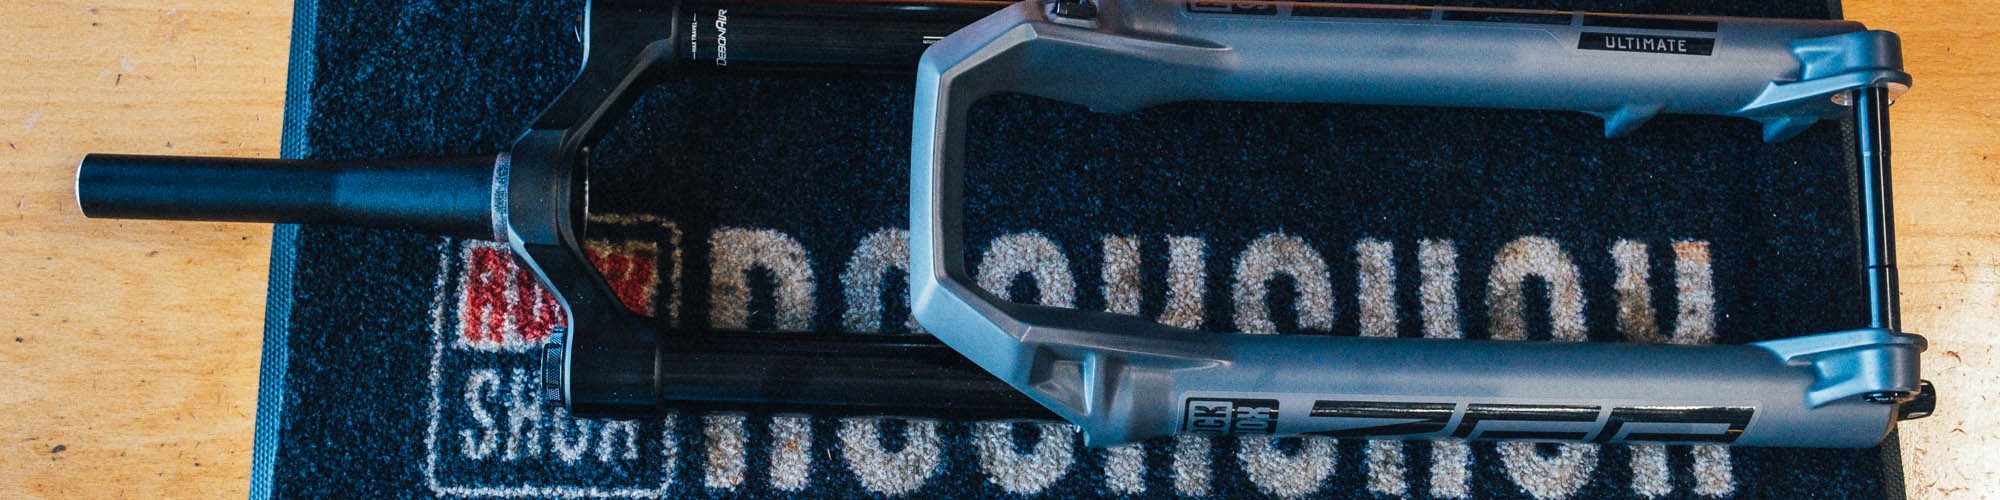
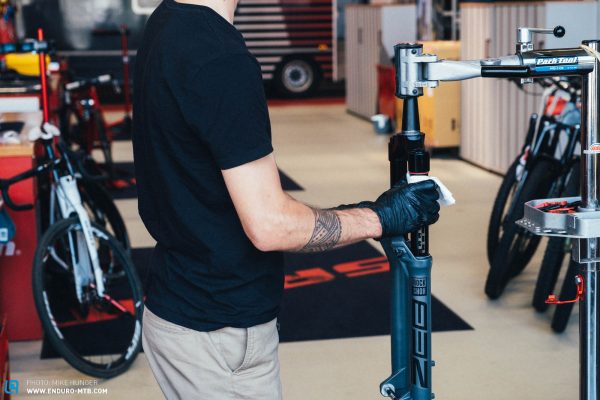
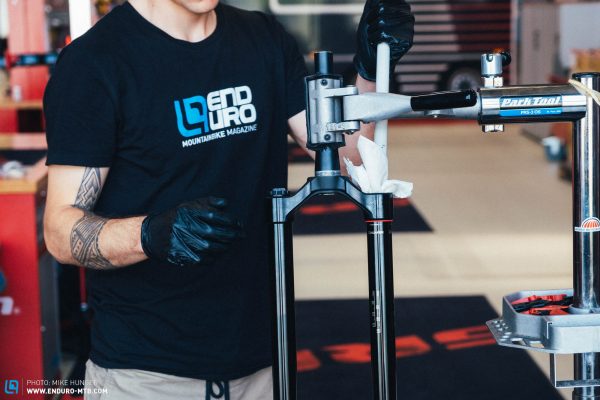
Removing the casting is the same for both upgrades. And since the actual technology of the fork is located inside the stanchions, it’s easy to access, even if you only want to do a small service.
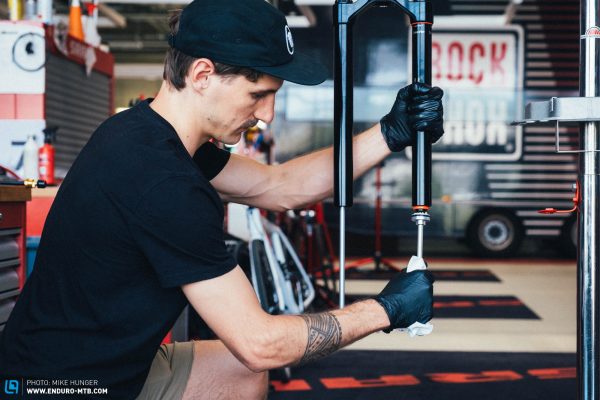
First, you must remove the front wheel, but the fork can remain on the bike. You’ll want to place a tub or a bucket directly beneath the fork to collect the old oil.
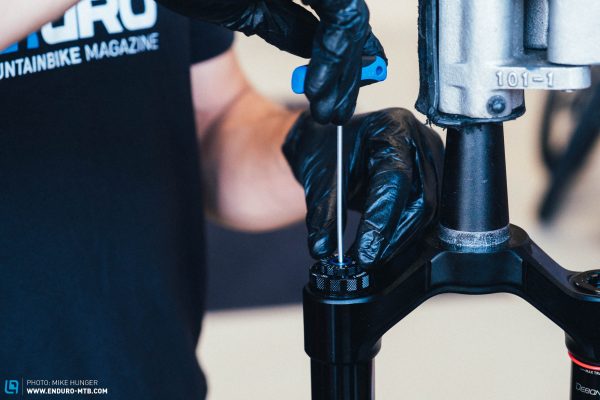
With that done, you can go ahead and remove the rebound dial on the bottom of the fork and then unscrew the two bolts on the casting halfway.

Use a rubber mallet to tap the bolts to loosen the casting from the stanchions. Since they bare the rider’s entire weight, they can often get relatively stuck. If you don’t have a rubber mallet, you can also leave the Allen key in the bolt and hit the Allen key with a normal hammer. It’s crucial that the bolts aren’t unscrewed too far, otherwise you might damage the threads. As soon as the stanchions are released from the casting, the screws can be unscrewed, and the casting can be removed by giving it a firm tug. You’ll often hear it making a slight plop as you do. It’s at this point that the oil will start running out of the casting, so keep an eye on the position of your oil pan.


Before reinstalling the casting, remember to fill it with the corresponding amount of Maxima Plush Dynamic Suspension Lube. You can find out which quantities are required for which fork in the service section of the respective fork on the RockShox website. And if you can see some oil on the outside of the stanchions during the first few laps on the trail, don’t worry, that’s totally normal.

Upgrading the damper cartridge
All RockShox cartridges are cross-compatible with the models of that year’s range. For example, you can upgrade your Lyrik Select with the damper cartridge of the Lyrik Ultimate of the same year. With the ZEB, you’ll also be able to upgrade an older model with the current Charger 3 cartridge since the previous model’s casting is compatible.
And it couldn’t be easier, because replacing the damper cartridge is like plug and play. Once the casting has been removed, simply remove the compression dials, and then unscrew the damper cartridge with a cassette tool. All that’s left to do then is to screw in the new cartridge and attach the matching compression dials. When upgrading to the Charger 3 cartridge, all you have to do is make sure that the markings are aligned correctly. To do so, simply open or close the compression all the way and align the dial accordingly. And that’s all there’s to it; now you’ve got a new, smooth-running, and freshly serviced fork.

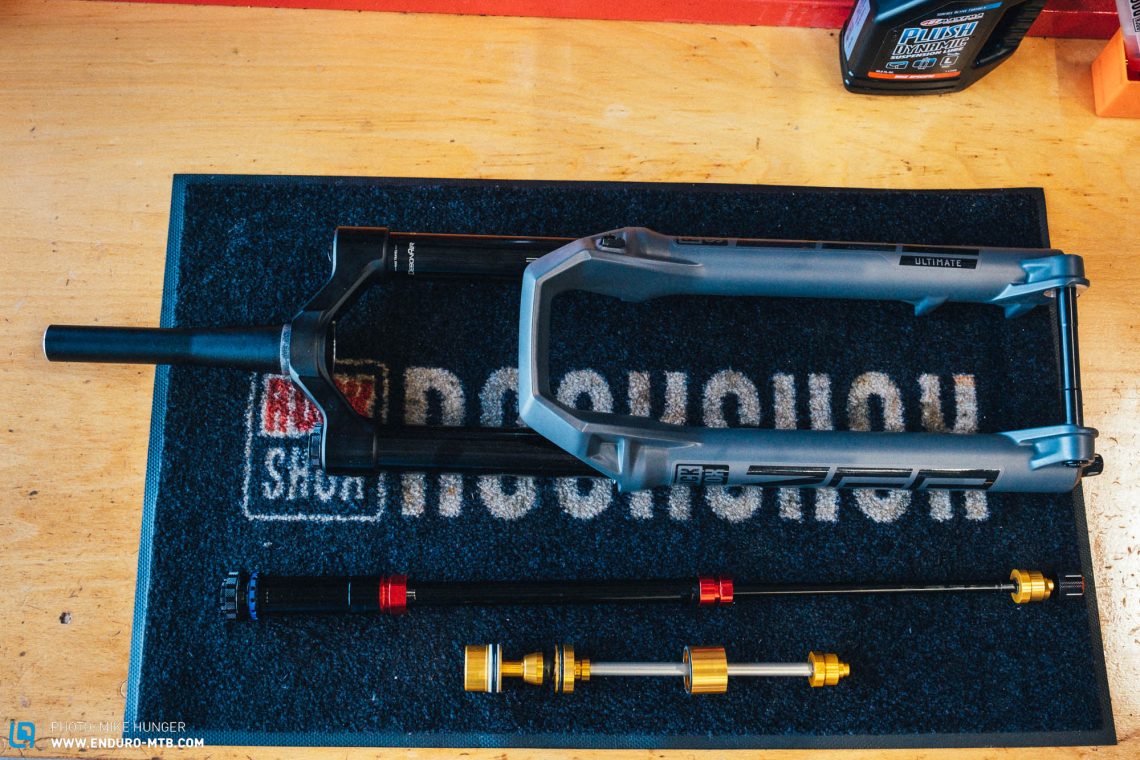
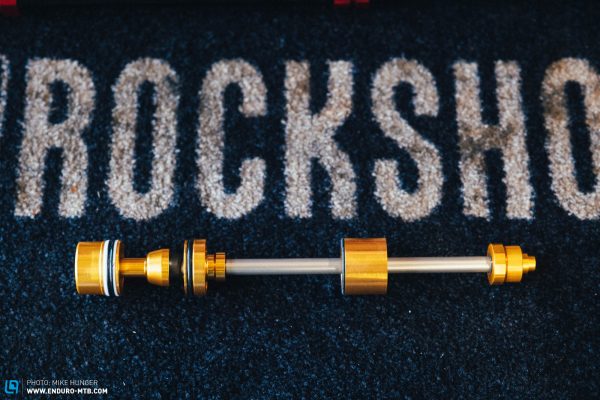
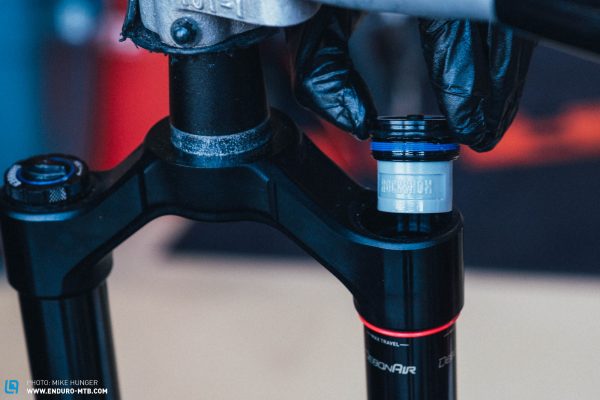
Installing a new air spring to adjust the travel
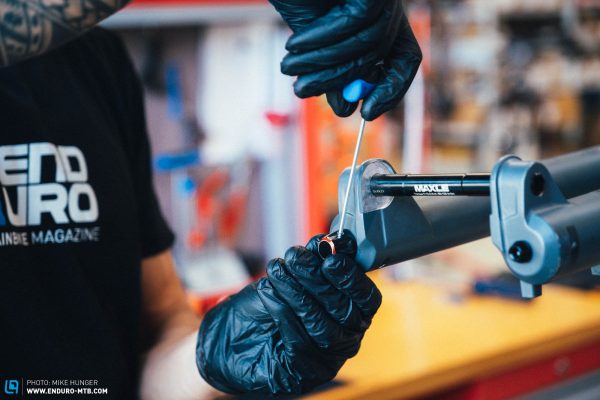
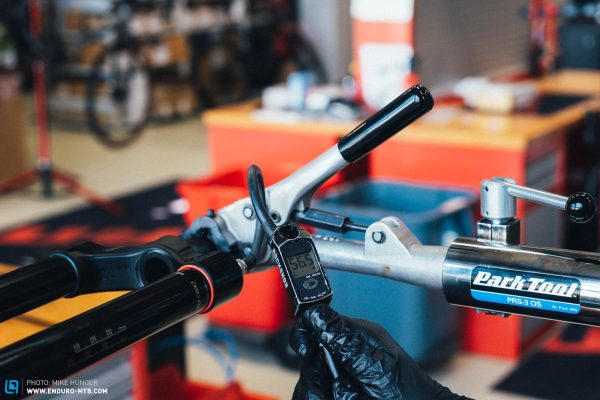
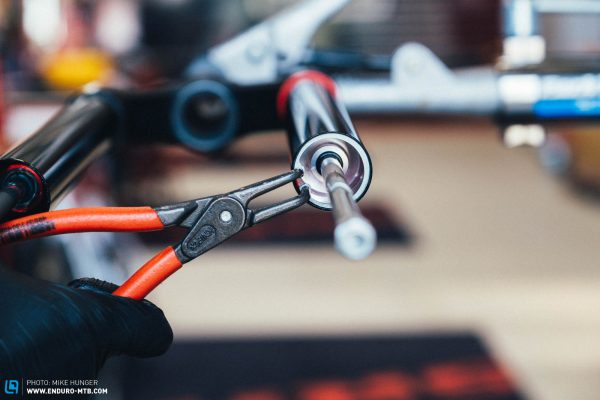
The air spring defines how much travel your fork can offer. But even if you’re happy with the travel, you can breathe new life into your fork without much effort by upgrade to a new air spring. To exchange it, you first have to let all the air out of the fork. To ensure that there is no residual pressure left inside it, it’s best to briefly press the valve with an Allen key after deflating it with the aid of a shock pump. Next, unscrew the top cap with a cassette tool. Then you must remove the snap ring at the lower end of the stanchion and simply pull the air spring out.
Once everything is open, it’s advisable to clean the interior of the stanchion. It is best to soak a rag with isopropyl alcohol and push it through the stanchion with a plastic or wooden stick. The back of a wooden spoon works great. Note: never use a metallic object! Scratches on the inside of the stanchion are disastrous because they will cause a leak between the positive and negative air chambers.
With everything clean, simply drizzle some fork oil on the shaft of the new air spring and grease the new seals – we’d recommend using the purpose formulated SRAM Butter for this. However, avoid applying too much grease, since excess grease can get deposited in the compensating groove between the positive and negative air chambers, hindering its function.
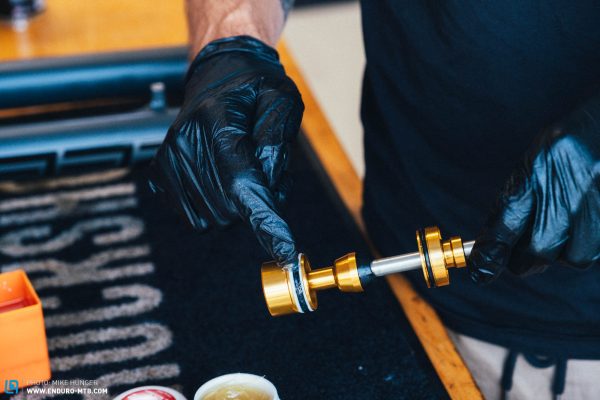
Now, you can push the new air spring into the stanchion and secured it with the snap ring. Replace the top cap and make sure to use the correct number of spacers. The spacers depend on the travel, for which you’ll find a guideline on the RockShox website.

You don’t need an engineering degree to upgrade your RockShox fork, and it offers a big payoff in terms of performance. Swapping out the air spring allows you to adjust the travel or simply breathe new life into your fork. By exchanging the damper cartridge, you can get the latest Charger 3 version or upgrade from the Select to the Ultimate model. Any of these upgrades will noticeably improve the fork’s performance on the trail without having to (ahem) fork out on a new fork.
For more information about the forks and other useful tips, visit sram.com/rockshox.
Did you enjoy this article? If so, we would be stoked if you decide to support us with a monthly contribution. By becoming a supporter of ENDURO, you will help secure a sustainable future for high-quality mountain bike journalism. Click here to learn more.
Words: Simon Kohler Photos: Mike Hunger