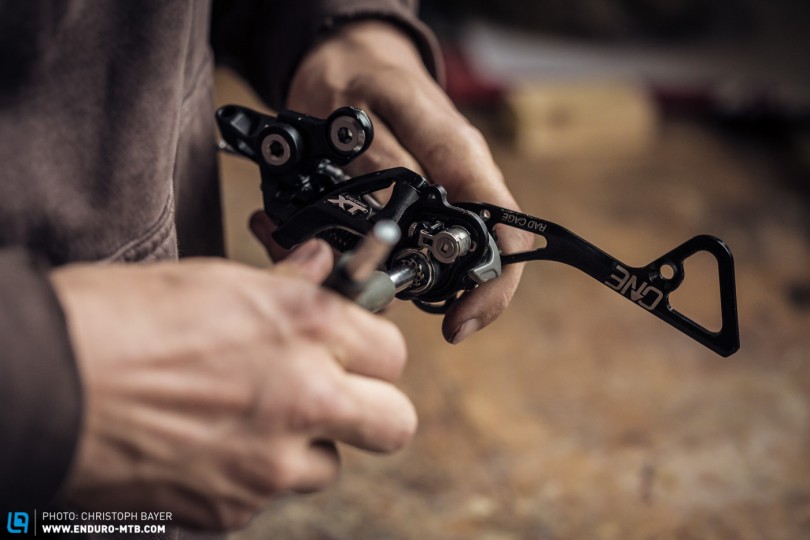
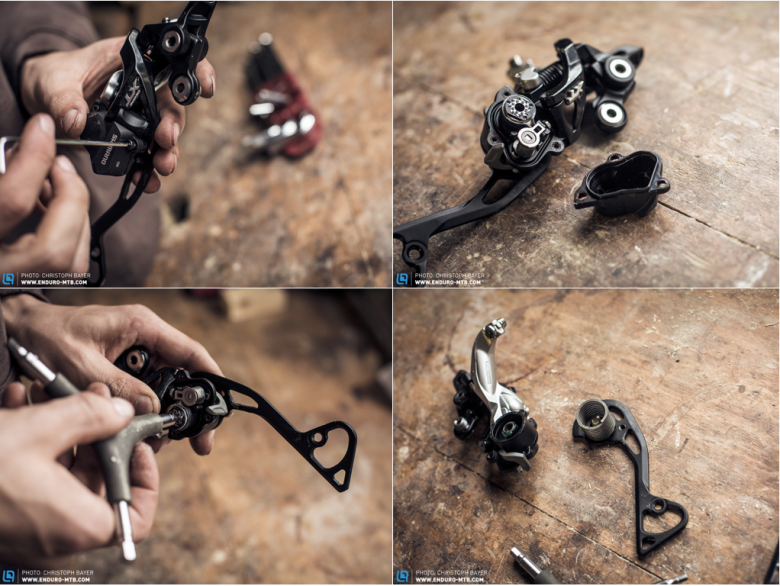
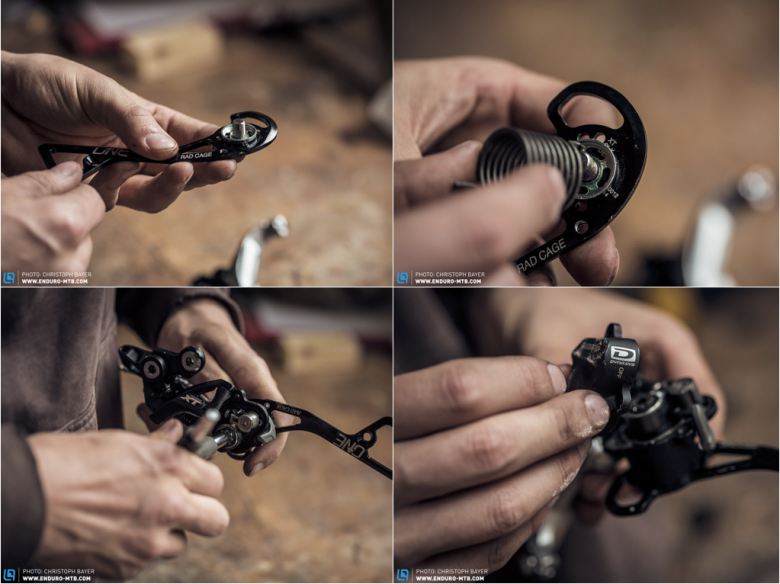
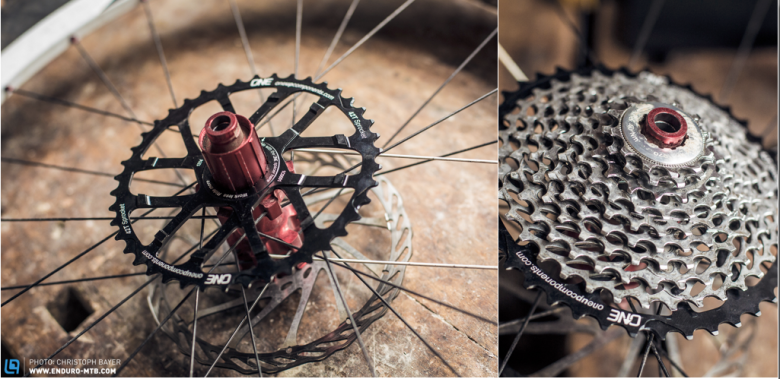
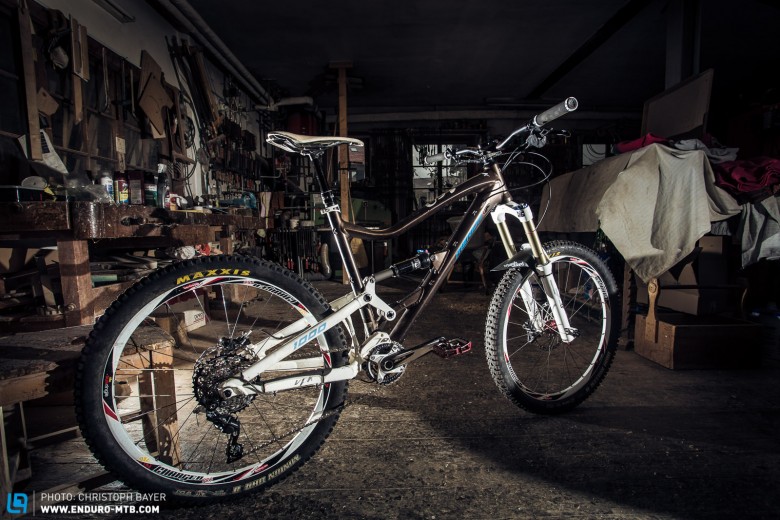
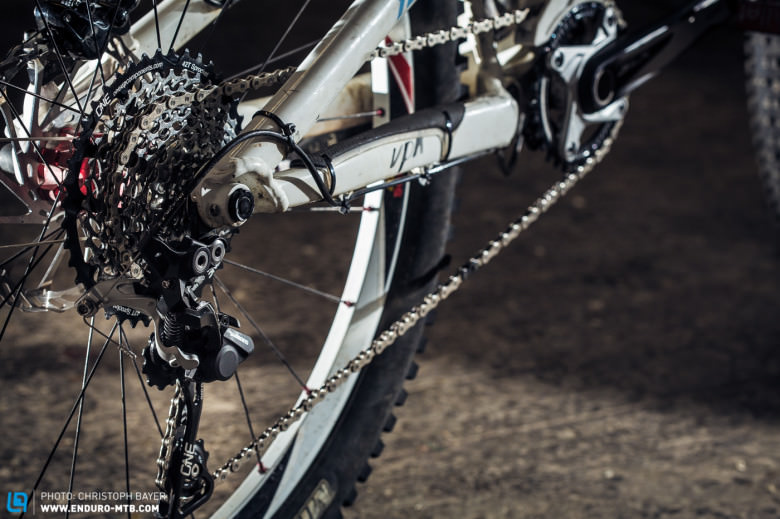
OneUp Components has established itself as a provider of 42er sprockets for 1×10 drivetrains. Gradually, the Americans have expanded their range and placed new products on the market to optimize shifting performance. In addition to a 16 tooth sprocket which improves the gear ratios, they followed with a RAD Cage switch arm, which changes the position of the upper shifting jockey wheel of the Mid-Cage Shimano rear derailleur and so should improve performance even further.

Die Montage des RAD Cage erfordert nur wenig Werkzeug und ist dank guter Anleitung auf der OneUP-Components Website einfach zu bewerkstelligen.
The installation of RAD Cage requires only a few tools and is, thanks to the good video tutorial from OneUp Components, very easy to do.

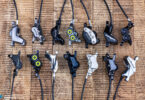
It is important to say that the RAD Cage can be mounted only on Mid-Cage Shadow + Shimano derailleurs. However, it does not matter whether it is an XTR, XT or SLX rear derailleur, the cage is prepared for all those models.

Zu Beginn müssen, nachdem der Vorspannhebel auf off gestellt wurde, die Schaltrollen demontiert werden. Im Anschluss wird der Stop-Pin entfernt und die Spannung der Feder gelöst.
At the beginning the shifting plates have to be dismantled. Subsequently, the stop pin will be removed and and the bias of the spring dissolved .
Ist dies geglückt kann das Schaltwerk geöffnet und der originale Schaltarm demontiert werden.
If this is successful, the rear derailleur can be opened and the original switch arm will be removed.
Nun kann der RAD Cage montiert werden. Wichtig ist die Feder in der richtigen Bohrung zu platzieren und bei der Montage die Dichtung des Gehäuses nicht zu vergessen.
Now, the RAD cage can be mounted. It is important that the spring is placed in the correct hole and that you do not forget the seal of the housing during assembly.
Geschafft! Die Montage lässt sich leicht in 30 Minuten realisieren.
Done! The assembly can be easily realized in 30 minutes.

Even when large pinion we opted for the product of OneUp Components. How this get mounted, we have already presented to you here . For customized ratios we decided to mount the 16 tooth sprocket which replaces the original 15 and 17 tooth model.

Das große Ritzel macht 1x10 erst möglich. So erhalten wir eine Übersetzung von 11-42 Zähne.
The large sprocket makes the 1×10 drivetrain possible. So we get a gear range of 11-42 teeth.
Große Freude: Endlich kann der Umwerfer demontiert werden! Zur Feier des Tages erhält das Rad direkt einen neuen Schaltzug.
YEAH: Finally, the derailleur can be disassembled! To celebrate, the bike receives a new shifting cable.
Es ist vollbracht! Abgerundet wird unser 1x10 Antrieb von einem Hope narrow/wide Kettenblatt und einer E13 Kettenführung (welche noch exakt justiert werden muss)
It is done! For the perfect 1×10 drivetrain we also mounted a narrow / wide chainring from Hope and a E13 chain guide (which still has to be precisely adjusted)
Wir haben das OneUp Components Komplettpaket bestehend aus 42er und 16er Ritzel sowie dem RAD Cage verbaut.
We have installed the OneUp Components complete package consisting of 42 and 16 teeth sprocket and the RAD Cage.

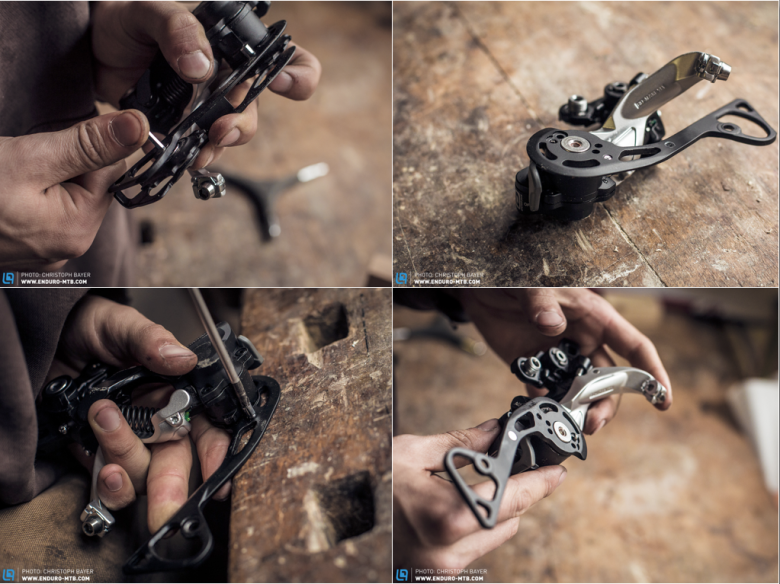
Here is the detailed how-to video from OneUp Components:

Conclusion

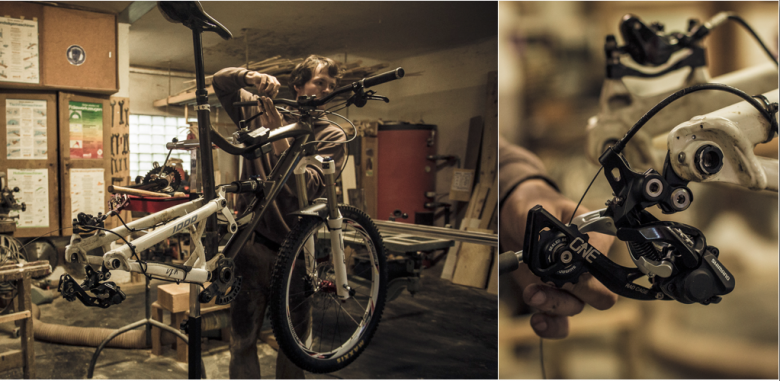
Thanks to the excellent video tutorials it is pretty easy to mount the RAD Cage. Even the setting of the rear derailleur was no big deal and in the bike stand, the shifting speed and precision were impressive. This was also confirmed in the field, the chain jumps easily from the 36s to the big 42er gear and back without any reduced performance on the lower sprockets. With a price of 35$, the RAD Cage is a useful tool to improve the shifting quality of the 1×10 drive.

For more information visit the Website of OneUp Components.

Words & Pictures: Christoph Bayer


Did you enjoy this article? If so, we would be stoked if you decide to support us with a monthly contribution. By becoming a supporter of ENDURO, you will help secure a sustainable future for high-quality mountain bike journalism. Click here to learn more.