Let’s be honest: who of you have set off downhill with the suspension settings on firm and then been surprised at the bikes poor handling? With its eLECT-System MAGURA has a perfect solution for those that are either too forgetful or just can’t be bothered with continuously adjusting their suspension manually. Here we’ll show you how to fit the system to your MAGURA suspension fork.
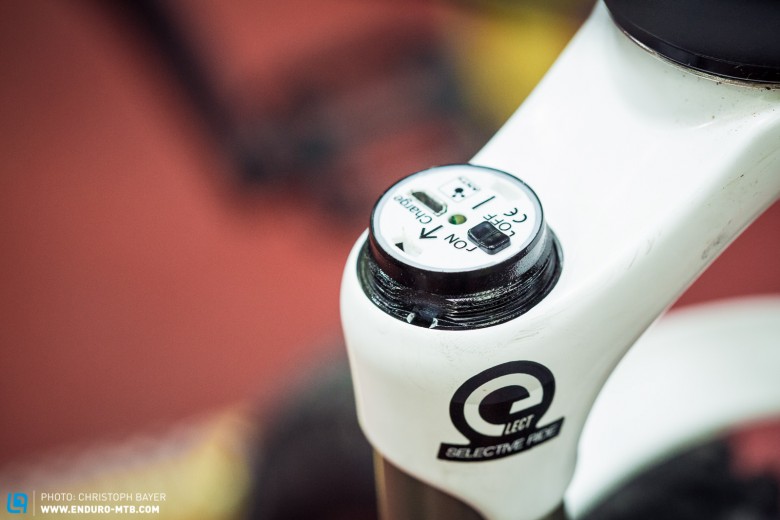
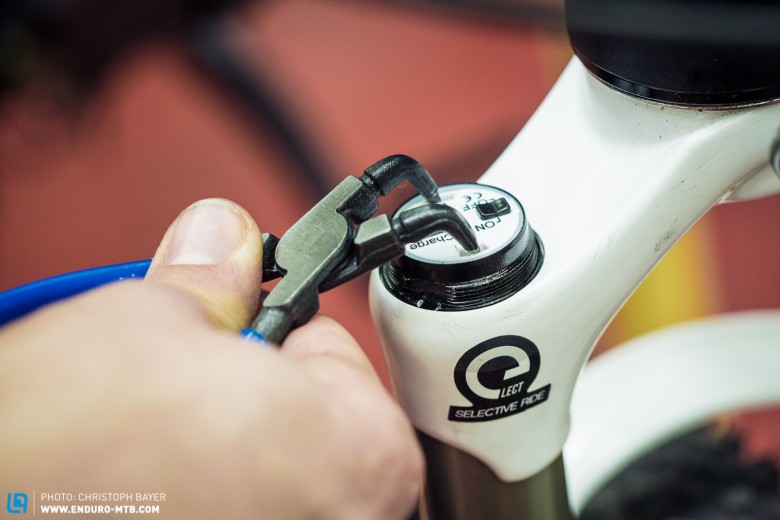
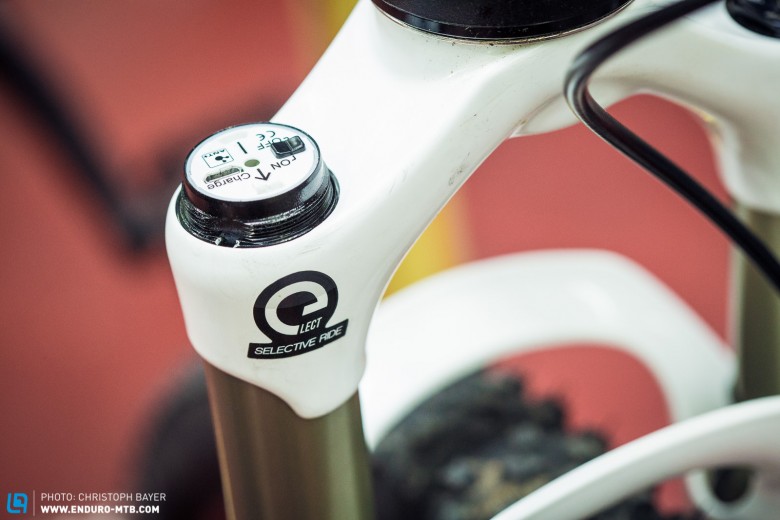
Using a 3D sensor in the fork the eLECT-System automatically adjusts the suspension to the terrain. It can be used either in both suspension components or just in the fork. If you have a MAGURA suspension fork from model year 2011 (TS8 R and TS6) with the DLO2 damping cartridge the eLECT-unit can easily be retro-fitted to your fork for a cost of 349€. This upgrade is unfortunately not available for the rear shock. Here we’ll show you how to fit the upgrade to your fork.
Difficulty
Medium
Tools Required
- Torx 8
- 28 mm- socket
- Ratchet
- eLECT special tool (included in the box)
- Needle nose pliers
Instructions
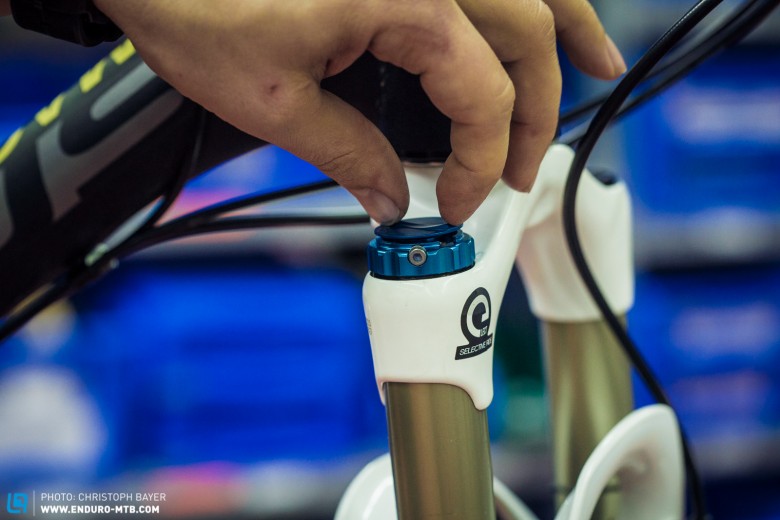
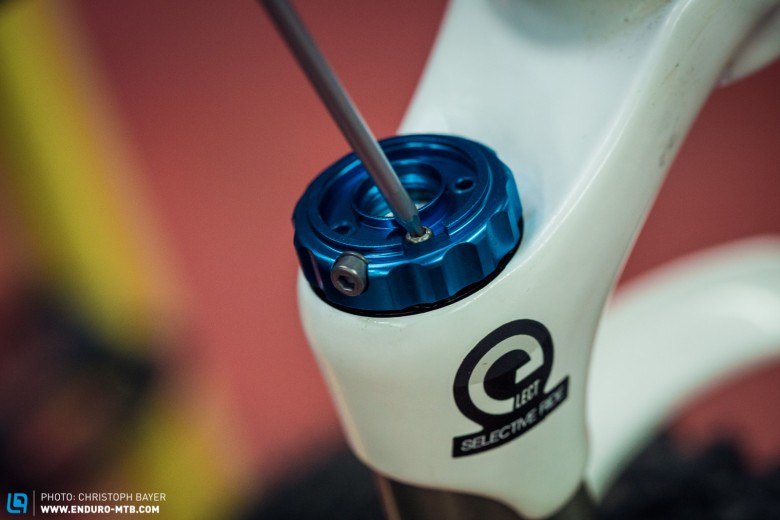
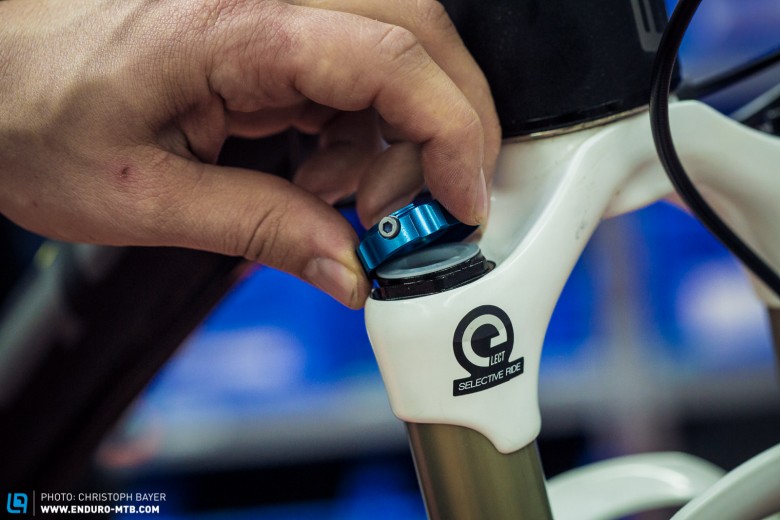
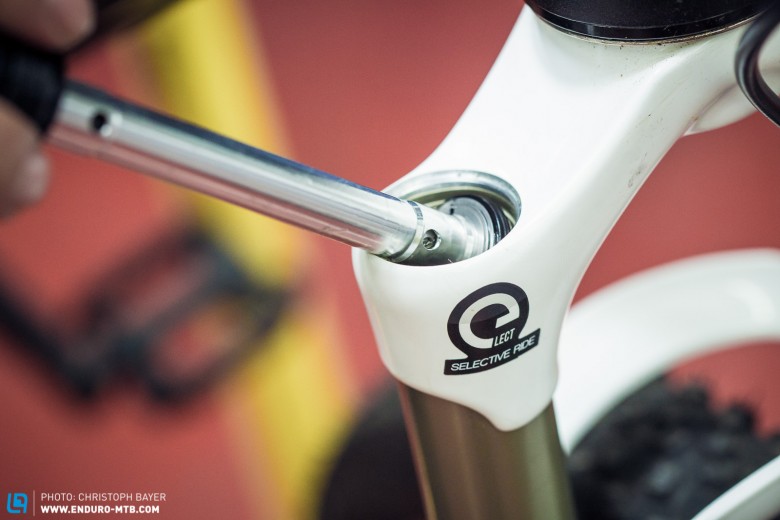
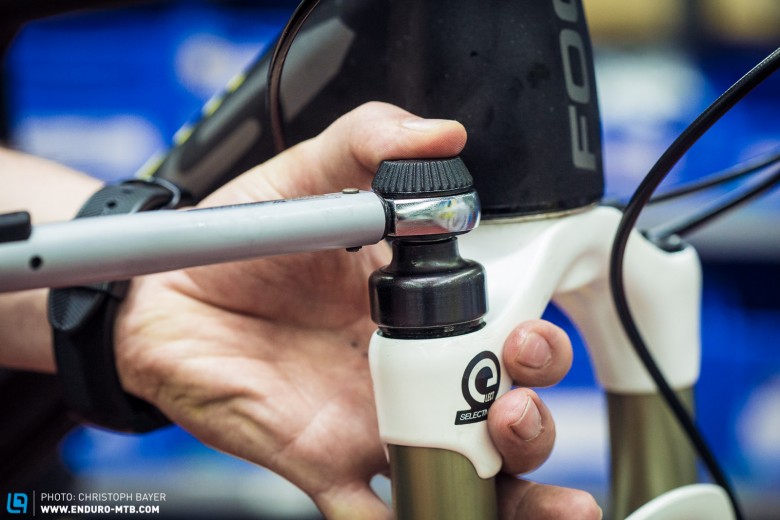
Synchronisation of the eLECT remote control
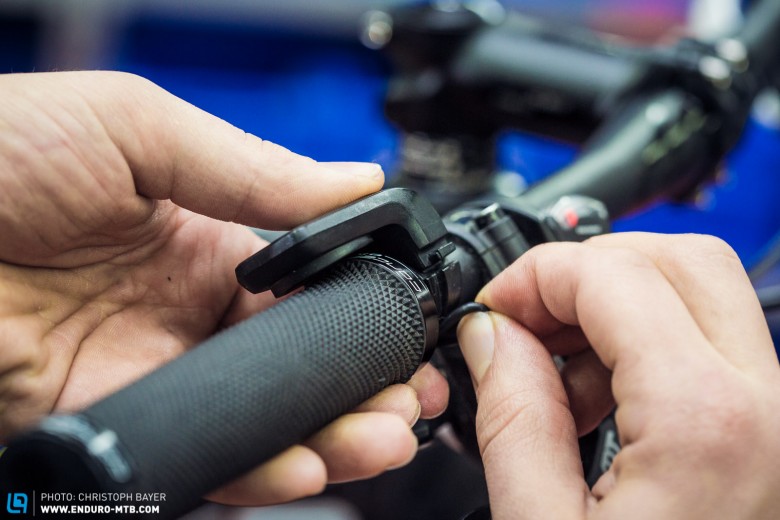
Before the first ride the remote control needs syncing with the eLECT unit. Here’s how to do it:
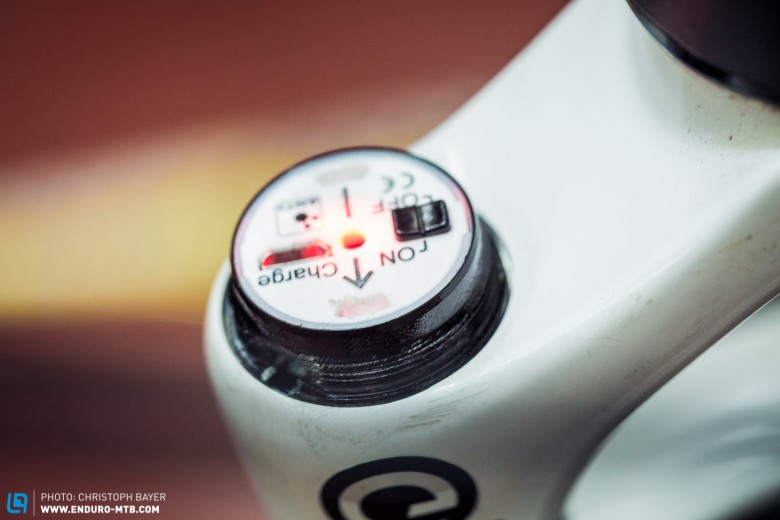
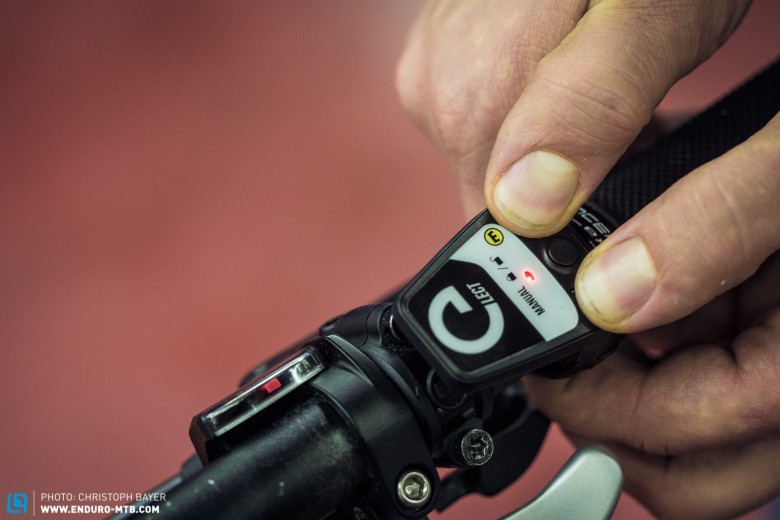
The synchronisation will now be carried out. At the end of a successful sync the LED on the eLECT– unit will flash rapidly three times (0.5s) and the LED on the remote flashes 4 times (0.5s).
Calibration of the eLECT-systems
Before the eLECTsystem can work it needs to be calibrated. By positioning the bike differently during the calibration (raised front wheel , both wheels parallel or raised rear wheel) you can set the system to your own preferences.
Calibration procedure:
- Put the bike in the desired position (neutral, front up, rear up)
- Hold down the eLECT-unit button for 3–5 seconds
- eLECT unit LED lights up
- At the end of the calibration the LED flashes rapidly twice (0.5s)
Now the system is ready to use. The battery life is approx. 40 hours. You can charge the battery via the USB port on the suspension fork.
For more information visit: elect.magura.com
Words & Photos: Christoph Bayer
Did you enjoy this article? If so, we would be stoked if you decide to support us with a monthly contribution. By becoming a supporter of ENDURO, you will help secure a sustainable future for high-quality mountain bike journalism. Click here to learn more.


