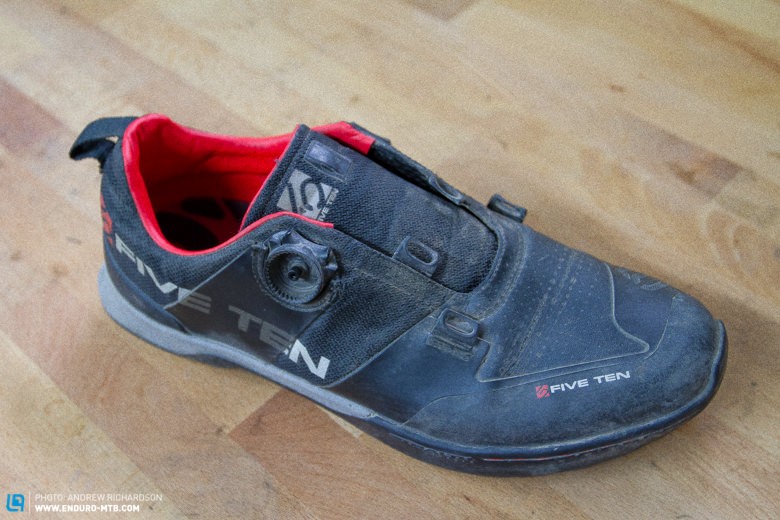
The BOA closure system is used on a great variety of bike shoes these days and makes our every-day lives much easier. As the system uses a bit more tech than regular laces many of you may have asked the question: what happens if the cable breaks or the locking system has a defect. That’s exactly what we’ll show you now using a Five Ten Kestrel as an example.
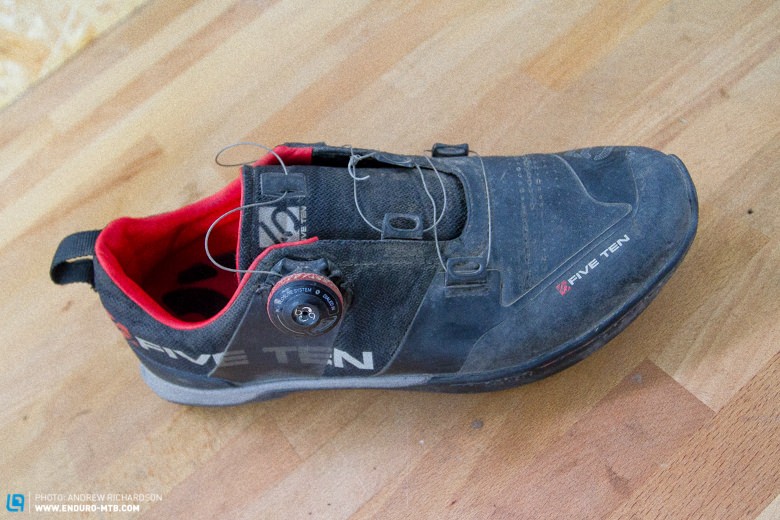
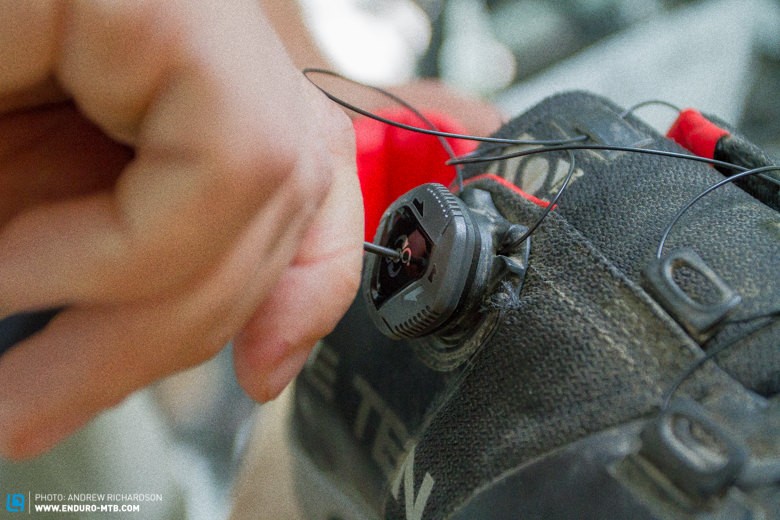
Down and out: sadly the cable of our Kestrel has broken. As the closing system was already a bit wobbly after hitting a rock we’re replacing the whole thing.
It happened recently: after the BOA system worked completely stress-free for ages then the cable broke. As the cap was already wobbly after a rock impact we decided to replace the whole system in one fell swoop.
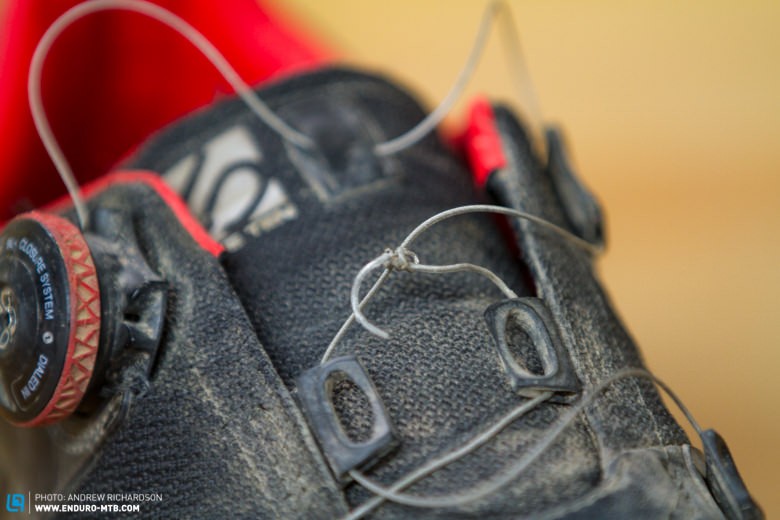
Of course the cable broke just before a race so we made a temporary fix which worked surprisingly well.
Beforehand we should mention that BOA offers free replacement parts for their closing systems – more exact information can be found here.
Tools required:
Needle nosed pliers
Boa-Replacement Kit
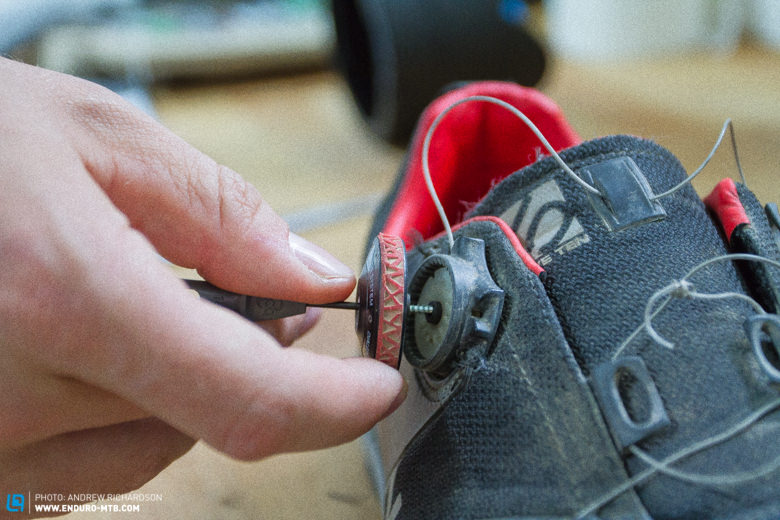
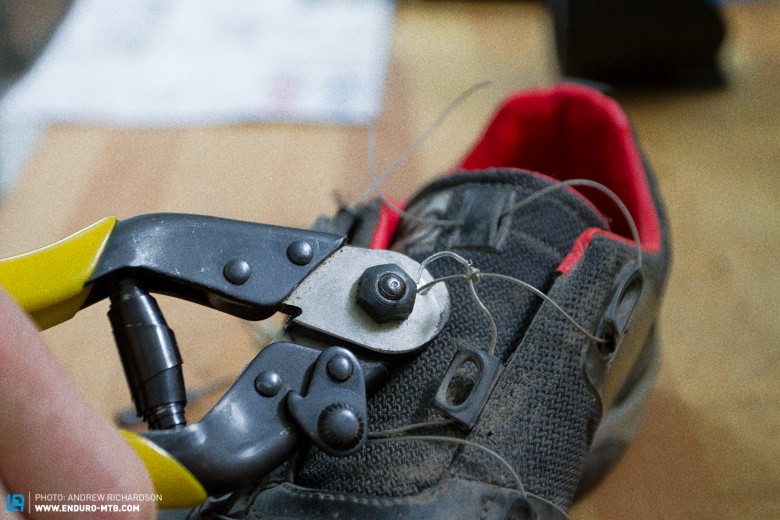
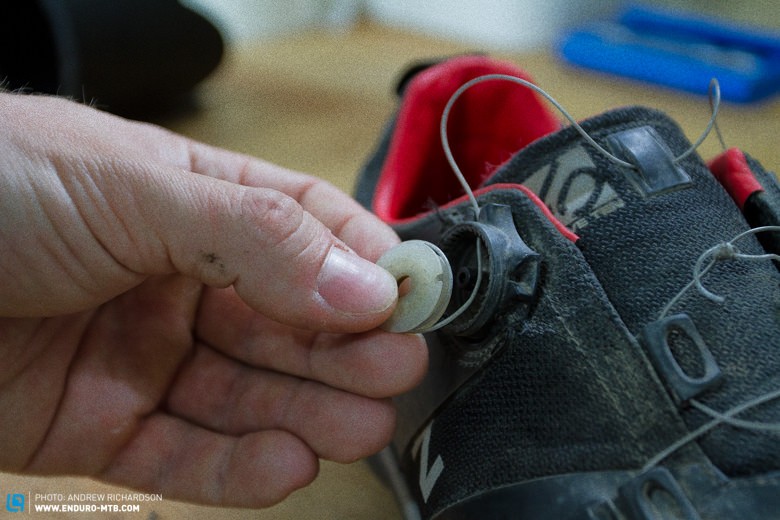
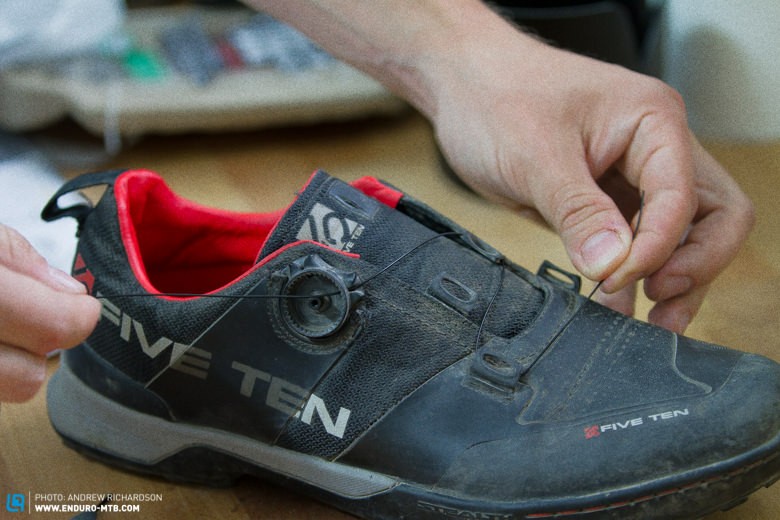
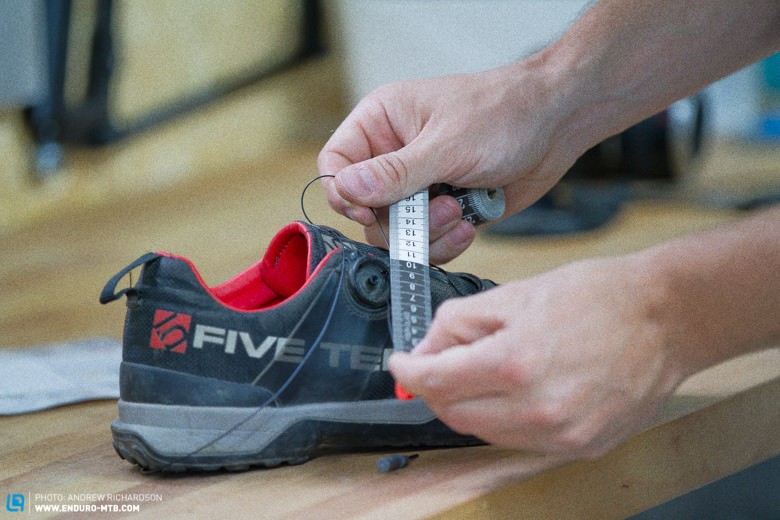
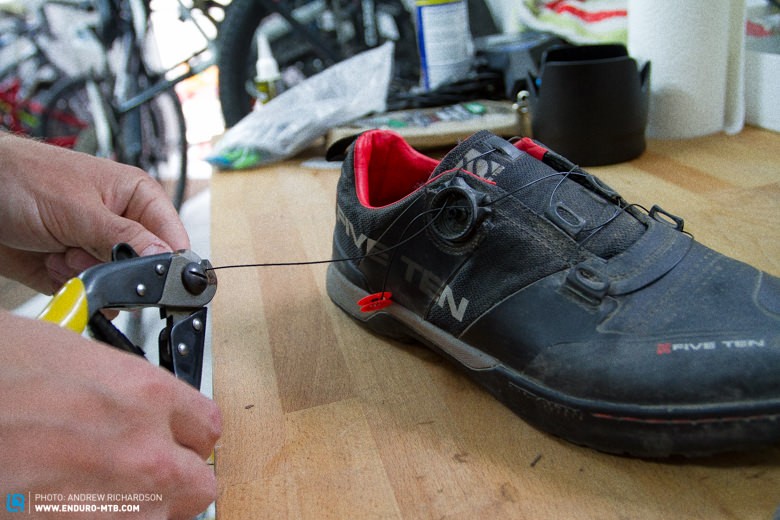
First of all you need to remove the cap of the BOA system. Insert the small torx wrench, which is included with the new cap through the hole and unscrew turning left. This will reveal the winding mechanism under the cap.Now it’s the turn of the cable (in our case broken). We decided to be completely heartless and cut it out. Alternatively you can remove it from the winding mechanism (see next picture) and unthread the cable.As the whole assembly is being replaced the winding mechanism also needs removing. It sits quite tightly in the plastic shell but with a bit of manual dexterity can be extracted without problems.Now your shoes should be free of all moving parts.Having removed all of the old components it’s time to rebuild the shoes. First up is the cable which is threaded through just like the old one.It should look like this. Important to note: before starting the next step ensure that both ends of the cable are threaded through the casing of the BOA system.Now the cable needs cutting to length. According to the instructions 10-20 cm of cable should extend past the casing. If the old cable is still in one piece you can use it as orientation.We decided to leave 15 cm length which proved to be a good middle value. Once you’ve measured it’s on your marks, get set cut!
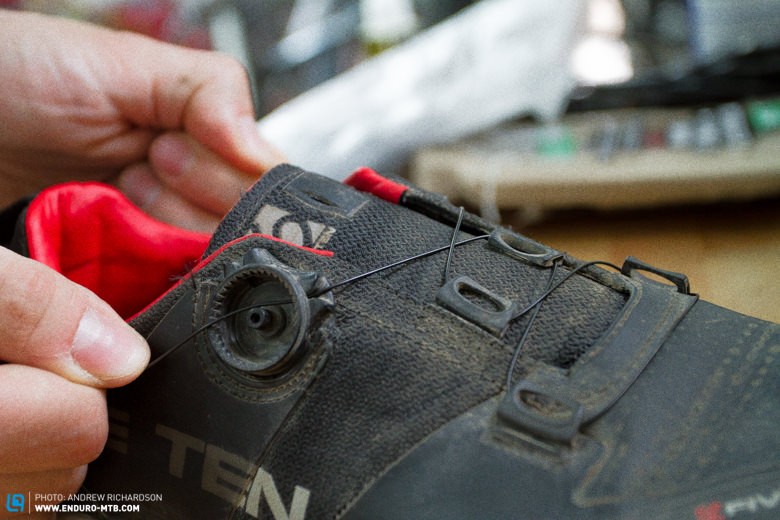
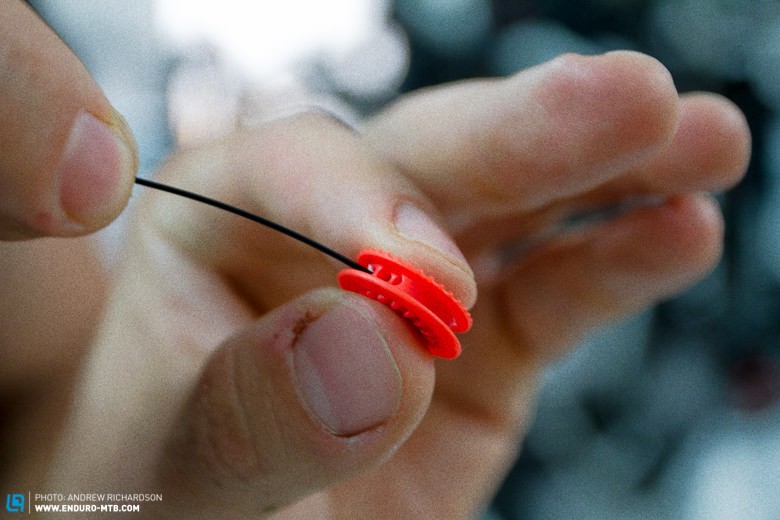
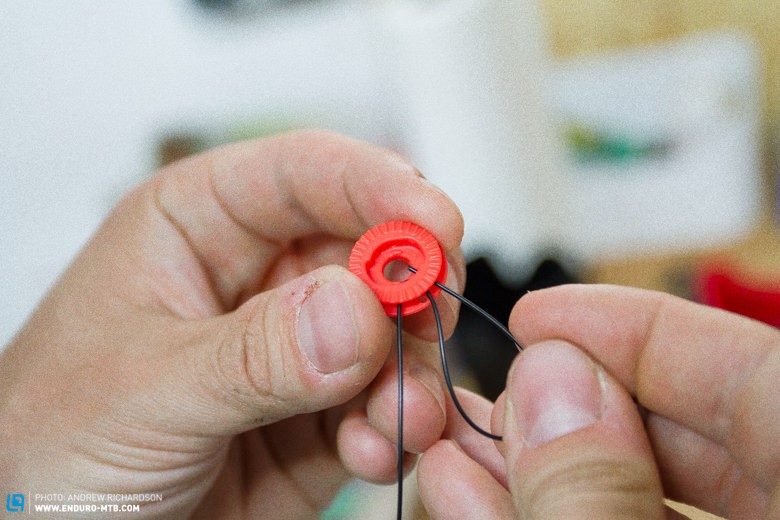
Now it’s time for the part of the procedure which requires the greatest manual dexterity: threading the cables into the winding mechanism. Depending on the shoe side the whole thing needs to be done in back-to-front. We’ll explain it here representatively for the right side, for the left shoe switch left and right.
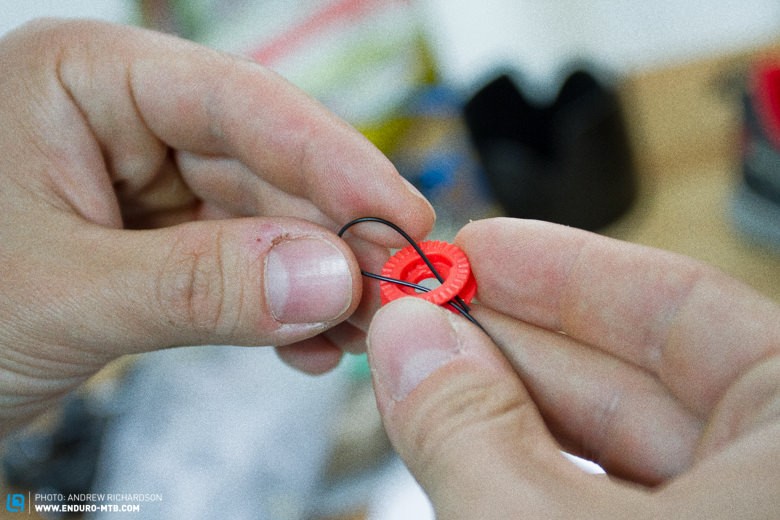
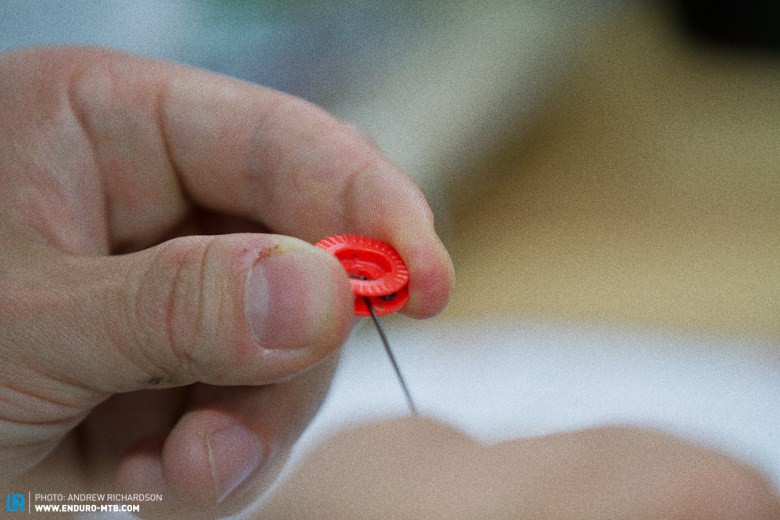
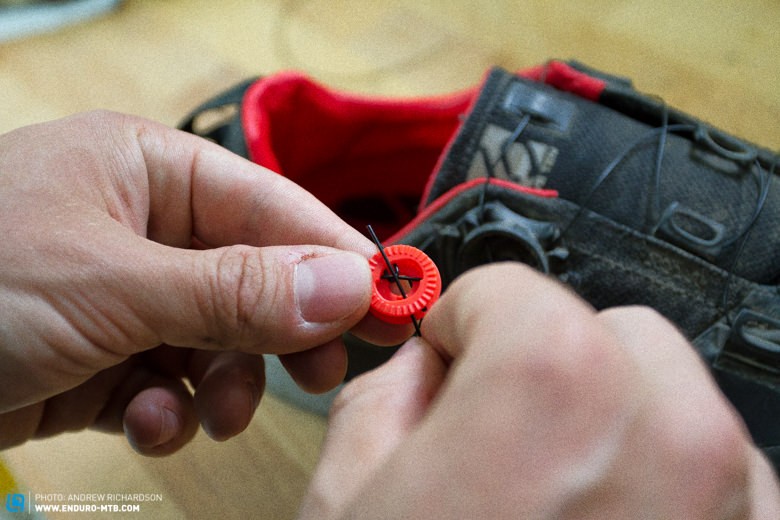
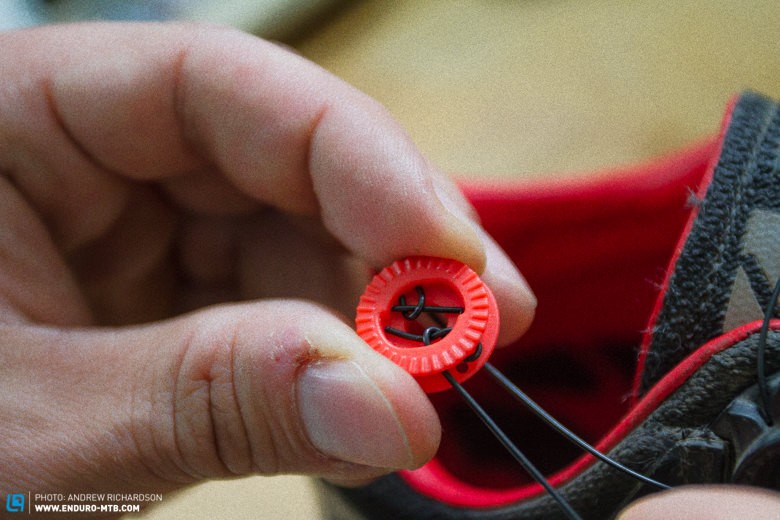
Start off with the leftmost hole which is colour marked with a dot, thread in the cable.then thread it back through the middle hole…..and back again through the right hole.Now it’s time to push up the cable so that its end can be threaded through the loops between the left and middle hole. Make sure: first down then up – so the cable goes over the part of the loop which enters the middle hole and under the part which comes out of the left hole. The whole thing should look like this.Now just pull it tight. Here you must above all ensure that the the end of the cable doesn’t slip out of the loop. Now the cable should be firmly anchored and can’t be released.Now you have to repeat the procedure with the other end of the cable. Through the left hole, back through the middle, return through the right…..and at the end make the loop and pull tight.It should look like this when both ends have been threaded in – at the end pull it tight again so that the cable snugs up against the edges and the hole in the middle is free.Now the cable assembly goes back into the shoe so that the closed side is visible. If you’ve tightened the cables so that the middle hole is free it should push in without resistance. Otherwise repeat the tightening so that you can push in the assembly easily.Almost there – now you need to fit the new replacement cap be fitted and tightened hand-tight with the supplied torx wrench.
More general information about the closing system, the different versions available and the ordering spare parts can be found at boatechnology.com.
You can find many more exciting features on servicing, set-up and tuning in the ENDURO-Workshop.
Words: Martin Stöckl Pictures: Andrew Richardson
Did you enjoy this article? If so, we would be stoked if you decide to support us with a monthly contribution. By becoming a supporter of ENDURO, you will help secure a sustainable future for high-quality mountain bike journalism. Click here to learn more.