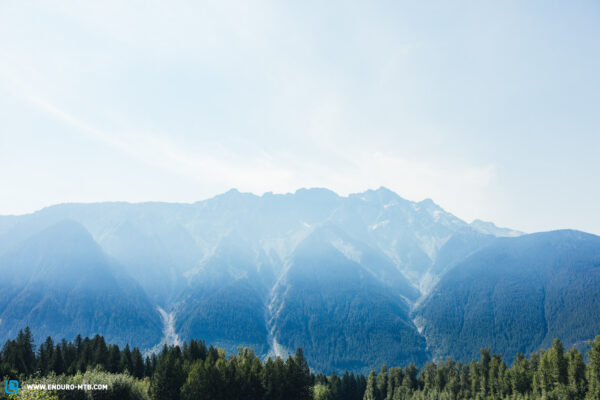
A trip to the iconic Whistler bike park is on the bucket list for most mountain bikers. After a few years living in the mountain bike mecca, and countless trips back since, our Whistler MTB Guide will give you practical tips, as well as insider knowledge that will help you plan and make the most of your trip.
That one trip that we all dream of: Whistler, the mecca of mountain biking, home to the eponymously named Whistler Mountain Bike Park; full of legendary trails, countless pros, and big airtime; making your palms sweaty, and causing sleepless nights. But flying to Canada to have a great time on your bike isn’t something you can do every day. It’s a once-in-a-lifetime experience, and it can become an expensive headache faster than you’d like. Therefore, it’s a unique trip that you’ll need to plan well for it to remain an enjoyable, once-in-a-lifetime experience. As ENDURO, we were lucky enough to visit the mecca of mountain biking in the summer of 2023, gathering invaluable experience and some memorable stories – like our big group test of North American bikes and spontaneous Whistler escape. Our editor Peter even lived there for two years, and likes to make the trip back over whenever he has the opportunity. Of course, we’ve experienced it all along the way – both good and bad – gaining some insider knowledge and valuable tips, like how to avoid losing your luggage, or wrecking yourself and your bike, which we want to share with you in our Whistler MTB Guide, so that you can make the most of your trip.
Things to consider before travelling to Whistler
The bike park in Whistler opens its trails and gondolas for you from May to October, giving you a large window within which to plan your trip. However, you should note that the bike park consists of several zones, and they have different opening hours, because they occasionally have to wait until all the snow has melted in the higher zones. So the park opens step by step in the spring, and it can also close step by step with certain parts getting snow a little earlier in the autumn. You’ve just got to check the bike park’s website and social channels regularly, which are very informative and up to date – they can’t predict everything.
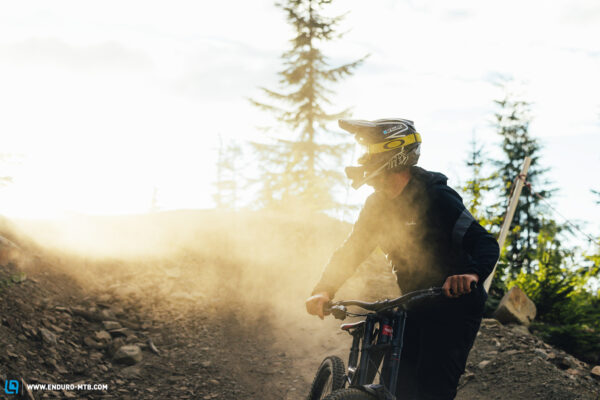
So, when is the best time to visit Whistler? That depends a bit on how much time you want to spend there, and what you’re planning. We recommend going for at least 2 to 3 weeks, or even longer, so you can get close to exploring the whole area and really make the trip worth it. We usually go for 3–4 weeks, which is a good duration for us. The bike park plays host to many events in the summer – July and August, in particular – which are exciting to see, but also make it very busy on the roads, the trails, and especially at the lift queue. The huge Crankworx festival takes place there every year, for example, offering countless races and competitions to watch, and allowing you to get up close to the pros hanging out in the park. You’ve also got the Summer Gravity Camps during this time, with hordes of young shredders attending courses and crowding the trails. It can get quite dry in the summer too, making the trails very rough, because the large trail-building crew can do little to repair the tracks when the soil is bone dry. Therefore, our favourite time to go is early autumn. September in particular is considered the best time in the park. While all the zones are still open and a little more precipitation is to be expected, this is when the trails are in their prime, because the soil in Whistler only gets really good with a little moisture. In fact, it actually remains perfectly rideable even in the pouring rain ;).
If you decide to go for several weeks, getting a season pass is also worthwhile in most cases. That way you won’t feel too bad about calling it quits on a bad day even if you’ve done just one lap, preventing unnecessary injuries which might spoil the rest of your trip. Make this decision as early as possible, because the season passes are a lot more affordable if you purchase them in advance, and you won’t have any stress collecting your pass when you get there. You should budget about € 600 for a season pass, although the prices vary from year to year. In the past, they’ve also offered a discounted late season pass, which is only valid from the 1st of September. With a season pass, you get additional discounts on things like bike hire and post-ride recovery beer, so check the website for that too. You can find all other ticket related information there.
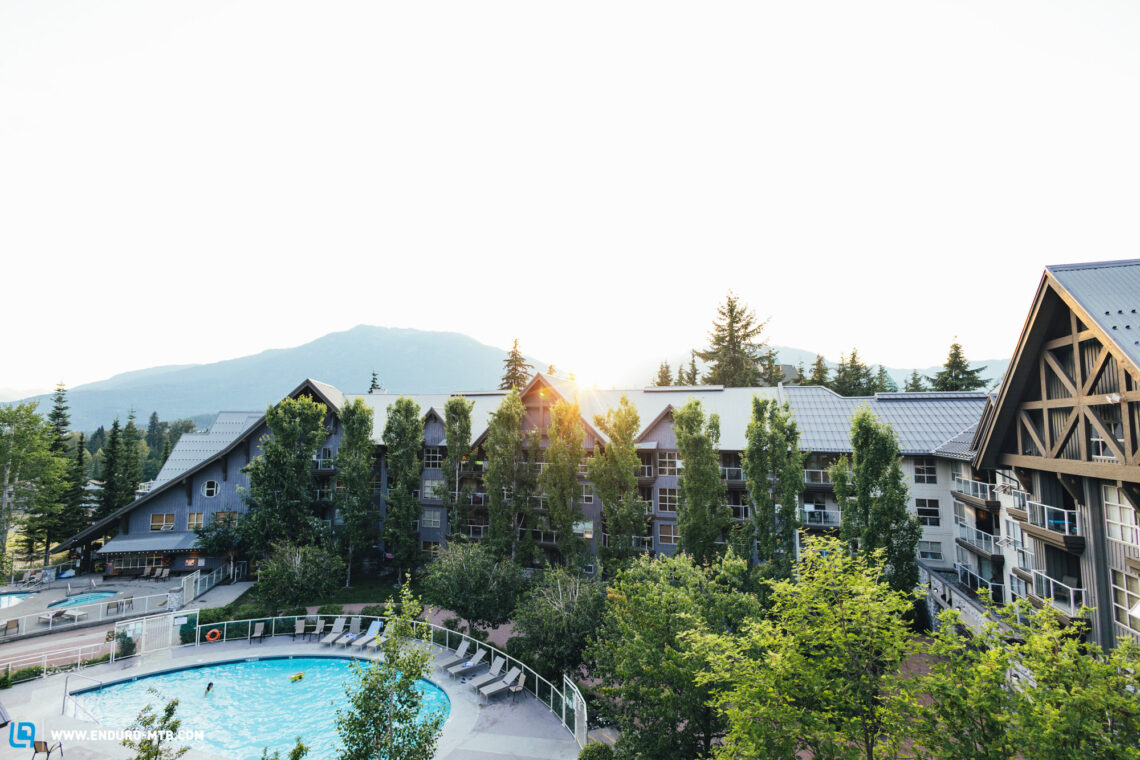
Once you’ve decided when to go, you will need a place to stay in Whistler. First of all, if you’re thinking of renting a van to live in: it’s entirely possible, but definitely comes with quite a few challenges. The available camping sites are out of town, so you must drive to the park and the village, and they’re also very expensive. Camping isn’t allowed in any of the countless parking lots in the city, resulting in a constant game of cat-and-mouse with the local police if this is your strategy. On the other hand, Whistler offers a huge selection of accommodation options, from a hotel room to an apartment, or even shared living spaces. It is important to check whether they have safe parking options for bikes, or to make sure you’ve got enough space in your apartment if you’re going to park your bike there, which is usually the most common solution. If your budget is tight, you can also browse through countless Facebook groups and possibly find a room in one of the countless shared apartments in Whistler. That way you’ll get to know the locals too ;). We’ve settled on the Aspen complex as our favourite place to stay. It’s close to the lift, has enough space to park your bikes in a secure garage, it’s got a pool and whirlpool, and it’s in a quiet location away from the party scene – things can get quite wild and if your apartment is located directly in the village, in which case we recommend packing earplugs.
Another item on the checklist is finding the right flights. We recommend forking out for a direct flight, because that increases the likelihood of all your things arriving when you do, though it’s still never guaranteed. In addition, you avoid your bike box getting left on the runway, in the rain, while they’re reloading, and it arriving in pieces, for example. Yes, we’re speaking from experience… It’s also worth buying an AirTag or something like that, which allows you to constantly check the location of your bike and suitcase, so you know which airport your luggage is at if it gets lost and you can recover it more quickly. Before booking your flight, also check the prices and conditions for travelling with your bike, and how to go about it, because different airlines have very different policies around this, ranging from some letting you take it along for free to others charging several hundred Euros for the privilege. Also try to book and pay for the added luggage in advance. Doing so will save you stress at the airport and make sure that you really pay the price you’re given, and that there is room for your bike on the plane.
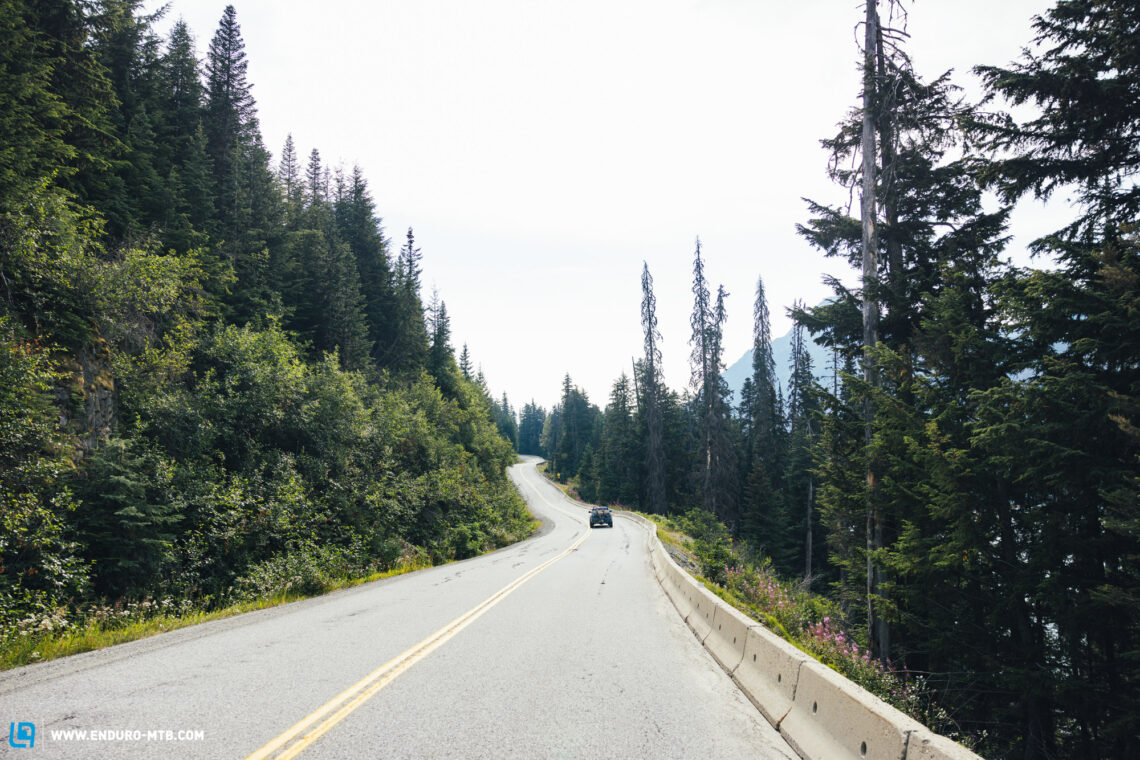
There are countless shuttle bus providers that will take you and your bike comfortably to Whistler from Vancouver Airport. The buses will pick you and your luggage up at the terminal for around € 40, so you can relax and enjoy the views on the Sea-To-Sky highway, or just take a nap. Check in advance whether the bus schedule matches your flight, and leave a big enough buffer for passport control. The drive takes about 2.5 hours. You will have to pick one of the drop-off points in Whistler when registering. Remember to check the distance to your accommodation and think about how you’re going to get all your stuff there. Some providers will drop you right at the desired location for an extra charge, which usually works out cheaper than calling a taxi that’s big enough to accommodate your luggage.
Finally, you should clarify the status of your medical insurance before departure and be aware that in Canada, they want your credit card before they’ll treat you in the hospital. Unless, of course, you come in with your head under your arm – God forbid. So, have an emergency plan in place to cover any unexpected costs, otherwise you might find yourself in the waiting room with a broken arm and no one will take care of you. By the way, a quick consultation with an X-ray can easily cost 2,000 CAD. Ask your insurance company about how they deal with instances like these – some of them will provide immediate cover for initial costs.
How to prepare your bike
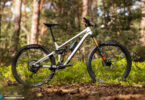
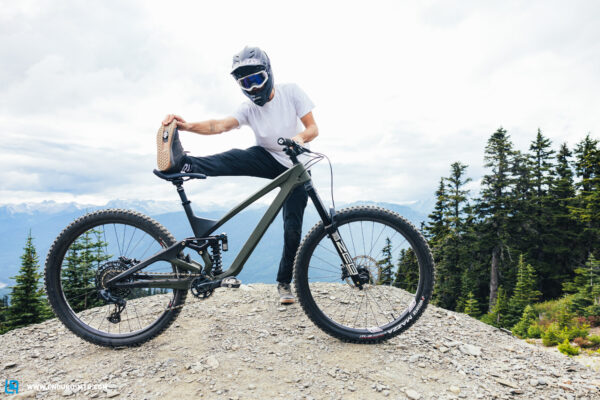
First, you must ask yourself which is the best bike for a trip to Whistler – if you have several bikes to choose from – or if your current bike will even cut it. Of course, a downhill or park bike works brilliantly in Whistler, but you will limit yourself to the bike park and there is so much more to discover in the surrounding area. That’s why we would recommend an enduro bike that you can easily shred in the bike park with a few upgrades, but that also cuts a fine figure on the rough trails outside the park.
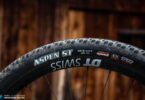
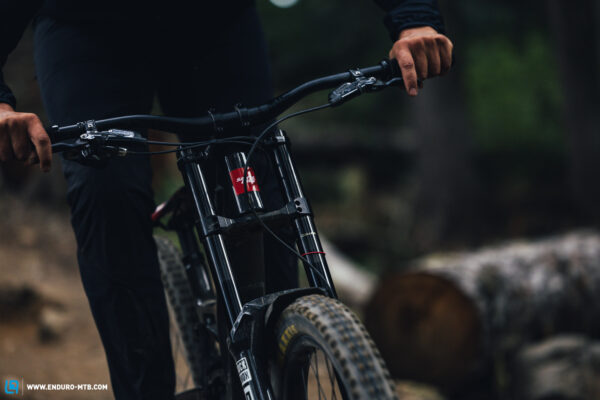
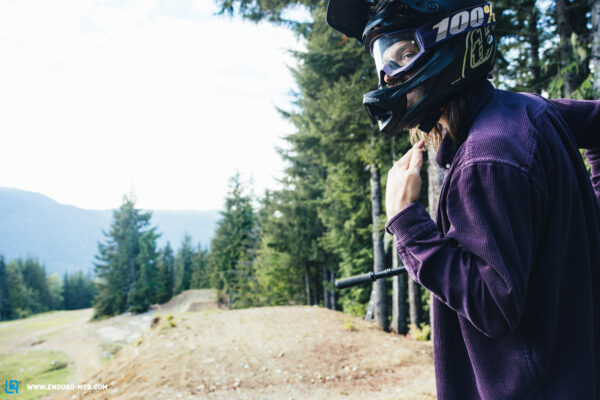
Besides reading our Whistler MTB Guide, of course, you should do a thorough pre-trip bike inspection. Apply lube and grease where necessary, check for wear and tear, and ask yourself how long it’s been since the fork and shock were last serviced. Note: do this well in advance, at least a few weeks before departure, so that you’ve got enough time to address any issues or get a replacement if necessary. It’s also worth fitting very sturdy tires – preferably with a downhill casing – because the rocks in bike park and surrounding trails are unforgiving – your wheels and riding buddies will thank you. Large brake rotors are another plus on the long, steep descents in Whistler, preventing premature arm pump so you can ride for longer.
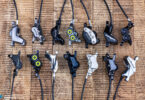
Spare parts are readily available in Whistler – as long as they’re not custom made for your frame – and you shouldn’t have any problems finding them in the countless bike shops in the area. That said, the shops aren’t afraid to charge a premium, particularly for brake pads and tires. That’s why it’s worth starting the trip with a completely new set of tires, even if your old ones still have plenty of mileage left on them – you can swap them out after your holiday. We would also recommend packing at least one spare tire, as well as other spares, like brake pads, derailleur hangers, and shift cables. Also consider the increased wear on the brake pads – depending on your riding style, weight, and the number of laps you ride, you’ll potentially need new pads every few days. Do a cross check with your buddies to make sure that you’ve got everything, without packing more than you could reasonably need. The same applies to tools and lube.
There are two options for transporting bikes by plane: a bike bag, or a bike box. The classic bike bag is the most comfortable solution, as you can easily secure the bike in the bag, with all the straps and padding provided, and most bags have wheels that make them easy to cart around. However, a purpose-made bag like that weighs a lot more than a cardboard box, and it doesn’t have as much capacity for additional items like spares. Of course, this makes taking enough spares and tools for a trip like this a lot more difficult. Bike bags are expensive too, and if you don’t fly with your bike regularly, they’re usually not worth buying. You can ask around to see if any of your friends have a bag that you could borrow, or you could even rent one. Nevertheless, we usually fly with a bike box, because it’s cheaper, lighter, and has more carrying capacity. You can use trolleys at the airports, and, with a little bit of planning, you won’t have to lug the box around under your arms. Pro tip from our Whistler MTB Guide: use boxes from D2C bike brands like Canyon or YT, because they’re much sturdier and larger, and can easily be purchased on eBay or similar platforms – if you can’t find them there, they’re available from the bike brands themselves. If you want, you can buy a cover for the box, which has handles to make it easier to carry; some even have wheels.
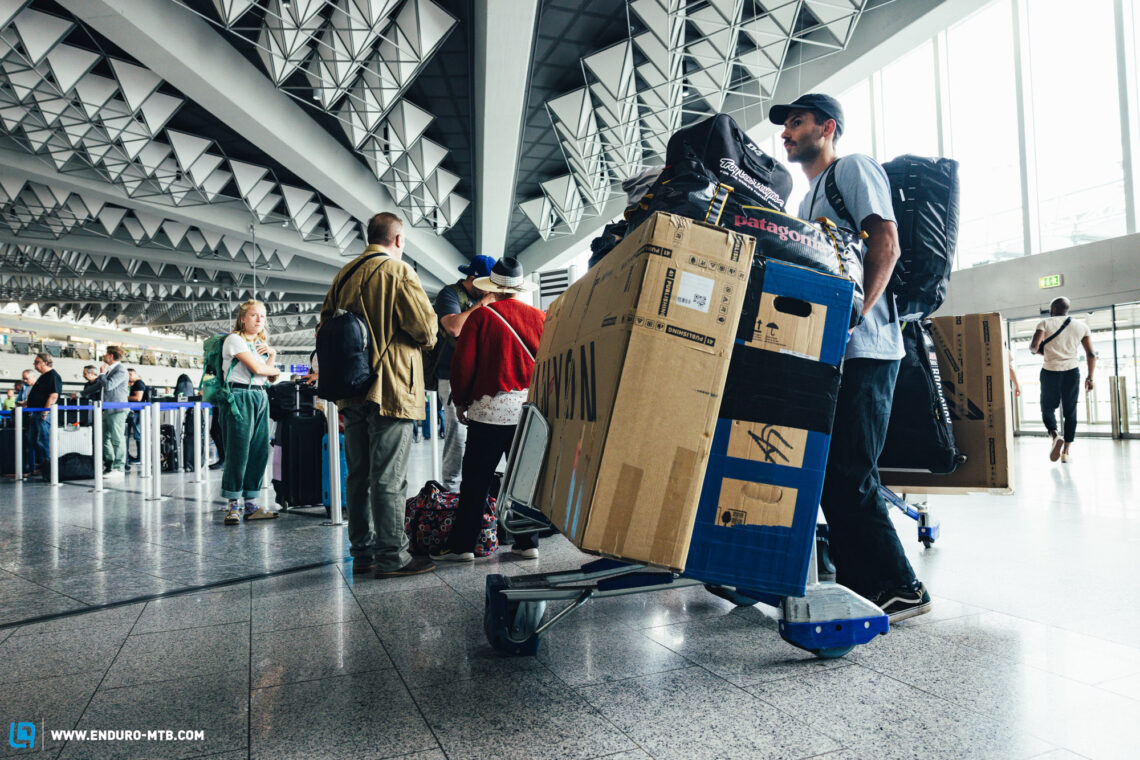
If you’re going to use a box, you should swaddle your bike in plenty of padding and remove any components that might damage your bike or get damaged, like the brakes, rotors, and derailleur. Make sure that there are no loose objects inside the box; pack everything in small bags or boxes and secure them with tape, because something might poke a hole in the box and if anything falls out… you’re not going to see it again. Find out what your airline permits, but from experience we can tell you that things like bike shoes, protectors, and helmets shouldn’t be a problem if you stow them securely and discreetly inside the box. Remember to carry a roll of adhesive tape in your hand luggage to reseal the box should you be instructed to open it at a security checkpoint, and don’t forget to place your AirTag or other tracking device in the box.
Top things to do upon arrival
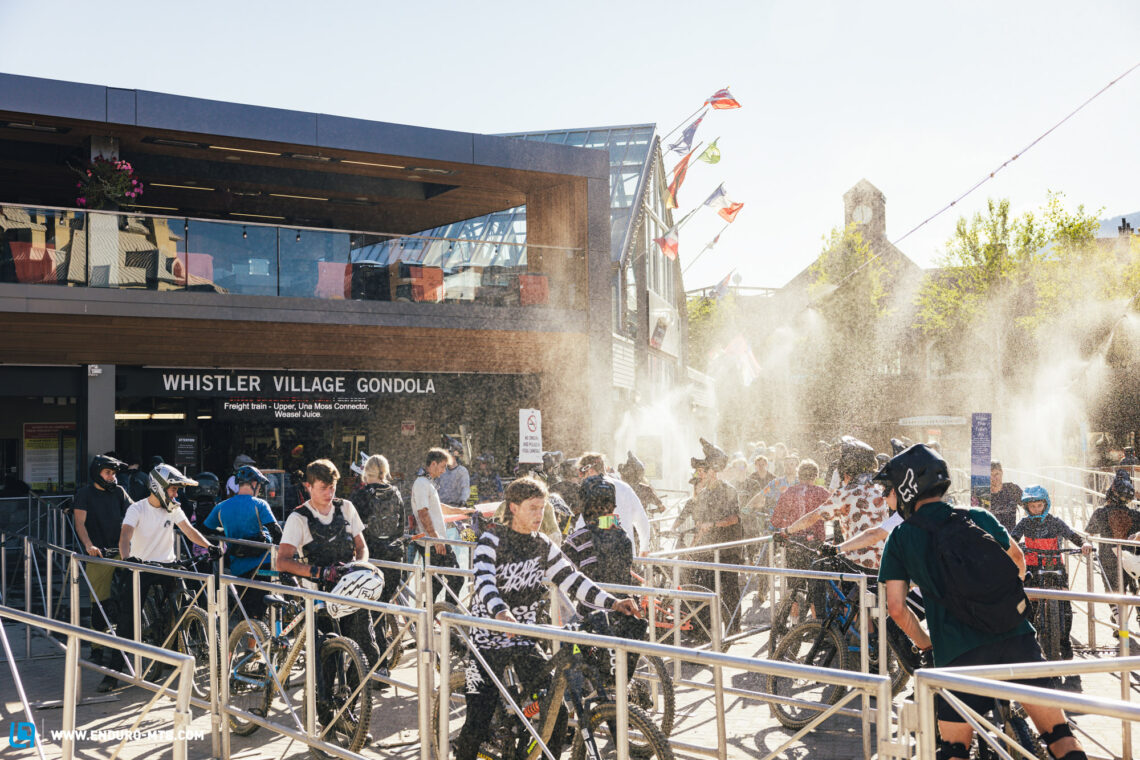
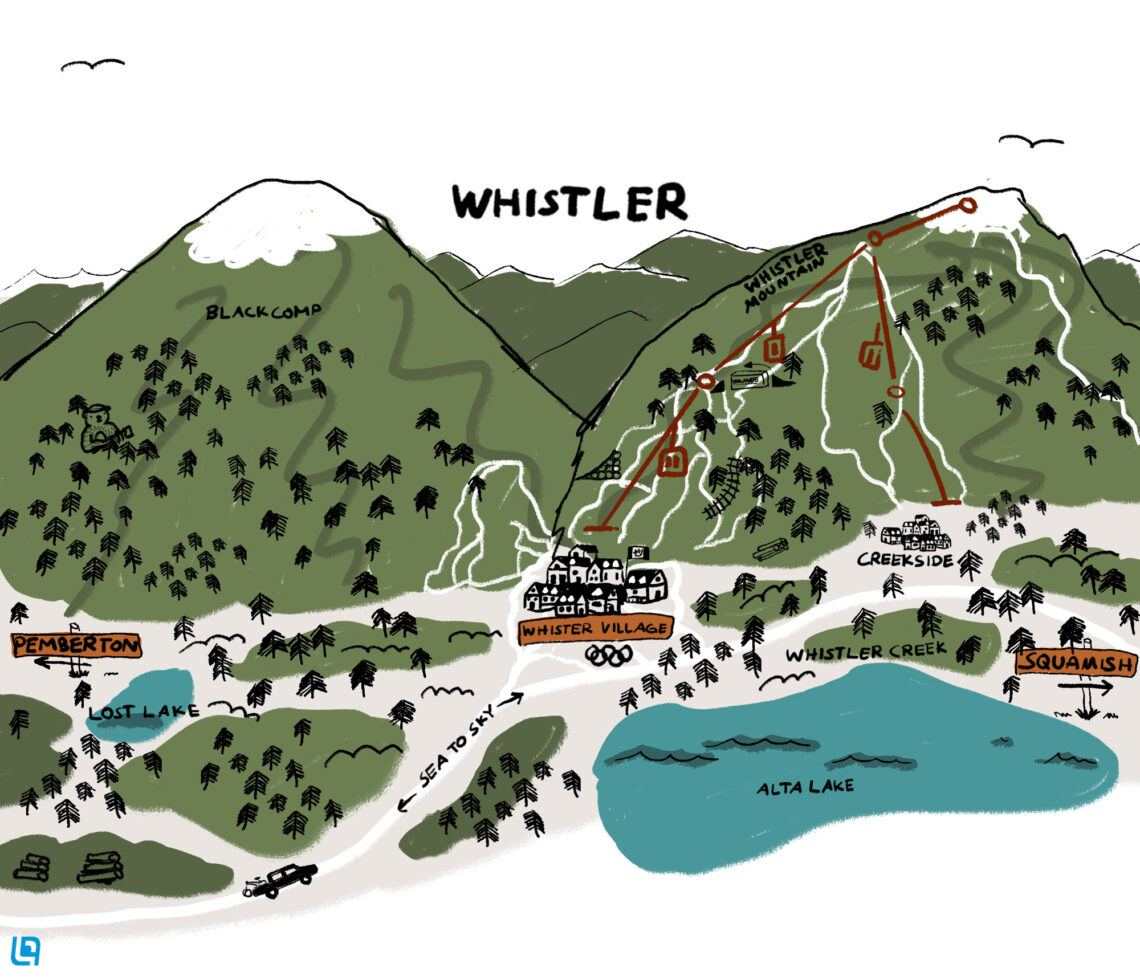
The main part of Whistler, as well as the bike park’s primary chairlift, is located in Whistler Village – basically the heart of Whistler. Everything here is very close together and easy to reach on foot, especially since it’s a pedestrian zone for the most part – this also means you’ll have to push your bike, by the way. However, most locals live in the small suburbs of Whistler, as the city centre consists primarily of hotels and shops.
An important thing to note, especially as a European, is the fact that alcohol consumption in public is prohibited in Canada, so you won’t be strolling through the city with a beer in your hand. You can expect to pay a hefty fine if you do – you’ll have to be a real smooth talker to get away with a verbal warning. In addition, the entire city centre, including the bike park, is a smoke-free zone. If you purchased your lift pass online, you can collect it in the service area, and if you forget or misplace it, they will simply issue you with a new one. However, don’t think about sharing passes with each other, as this will result in a complete suspension of your account, and you will be barred from buying new ones. The controls of photos and other metrics are very strict and effective. Besides, it’s just not the right thing to do.
We usually carry a small cable lock like the Hiplok Z LOK, because it’s small enough to fit into most pockets and lets you shop for lunch or enjoy your post-ride beer with a little more peace of mind, though you should always keep an eye on your bike, nonetheless, because a place like Whistler is a very appealing destination for bike thieves. Another practical tip is to remove one of the thru axles from the bike, thereby increasing the chances of catching would-be thieves before they get away.
Things you should know about the bike park
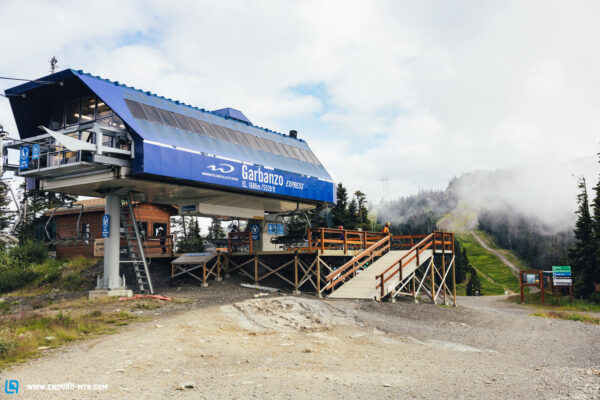
The bike park in Whistler is divided into four zones – which, as already mentioned, also have different opening hours. Fitzsimmons, Garbanzo, and Creekside Zone make up the majority of the bike park, where you’ll spend most of your time. There’s an extra chairlift that takes you to Peak Zone, and the Top of the World (TOTW) trail. You can ride this lift once with a season pass. After that, you’ll need an additional ticket, which you must purchase in the village.
The bike park, the best trails and insider knowledge about Whistler
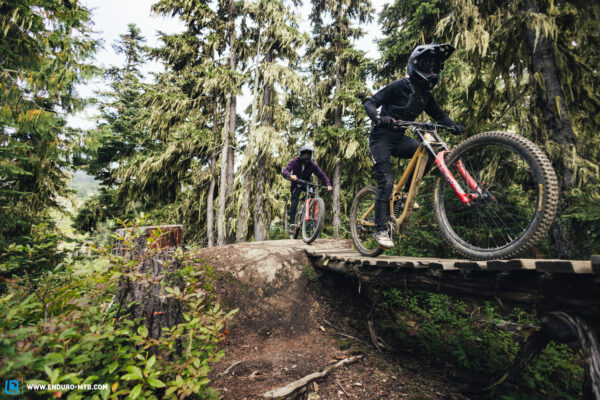
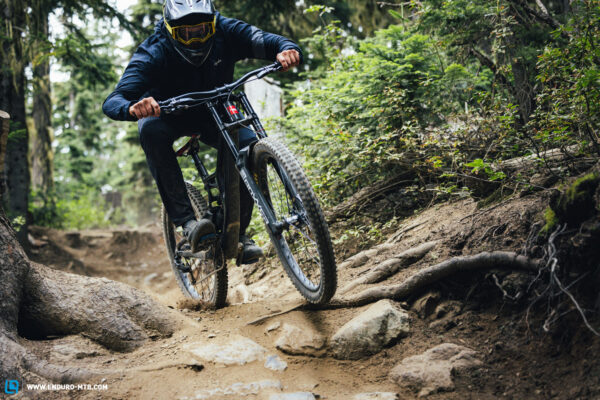
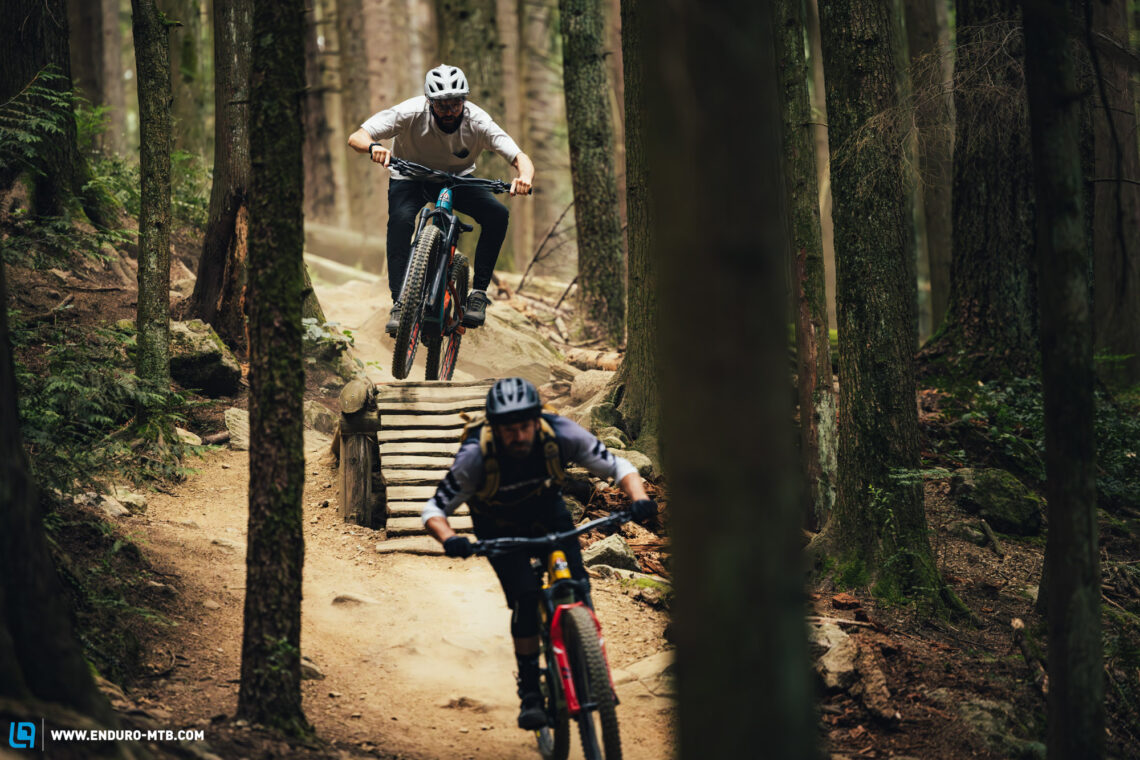
Fitzsimmons Zone (Fitz Zone for short) is the main area of the bike park, and offers the most trails. It’s got something for everyone, from beginners to pros, and from massive jumps to big rock rolls. Garbanzo Zone above it primarily consists of technical single track; it’s a bit more exposed and rocky, and there’s a large drop in elevation before you arrive back in Fitzsimmons or Creekside Zone. The latter zone is located slightly off to the side of the mountain and consists largely of flowy trails for beginners. As the name suggests, this zone ends in a district called Creekside. If you don’t want to take the gondola back up, you can take the slightly hilly 15 min ride back to the village along the highway. Generally, all three zones offer a wild mix of trails and you’ll discover excellent routes everywhere. Another advantage of the routes and zones is that they can be combined in an infinite number of ways, because very few trails lead non-stop from the top gondola to the village below, so you can create your own trails, with most assembly points offering several options for the onward journey.
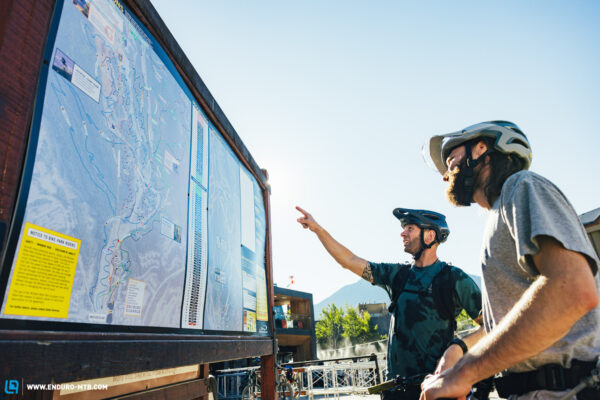
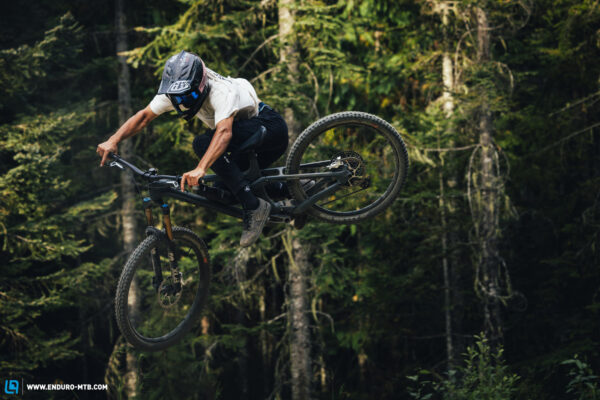
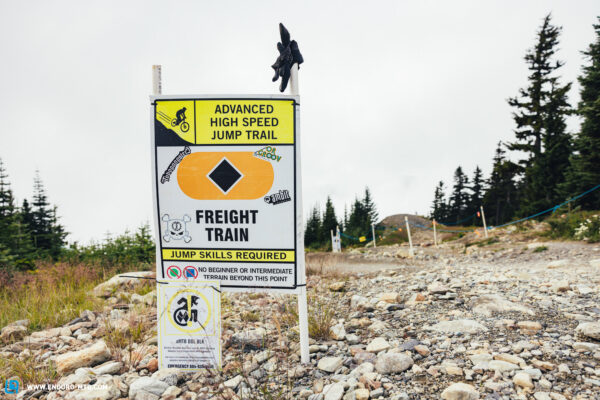
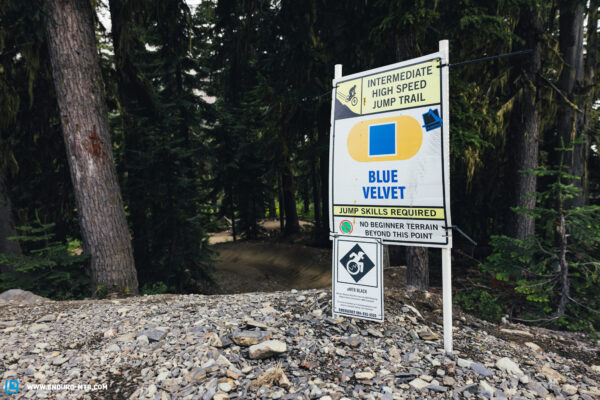
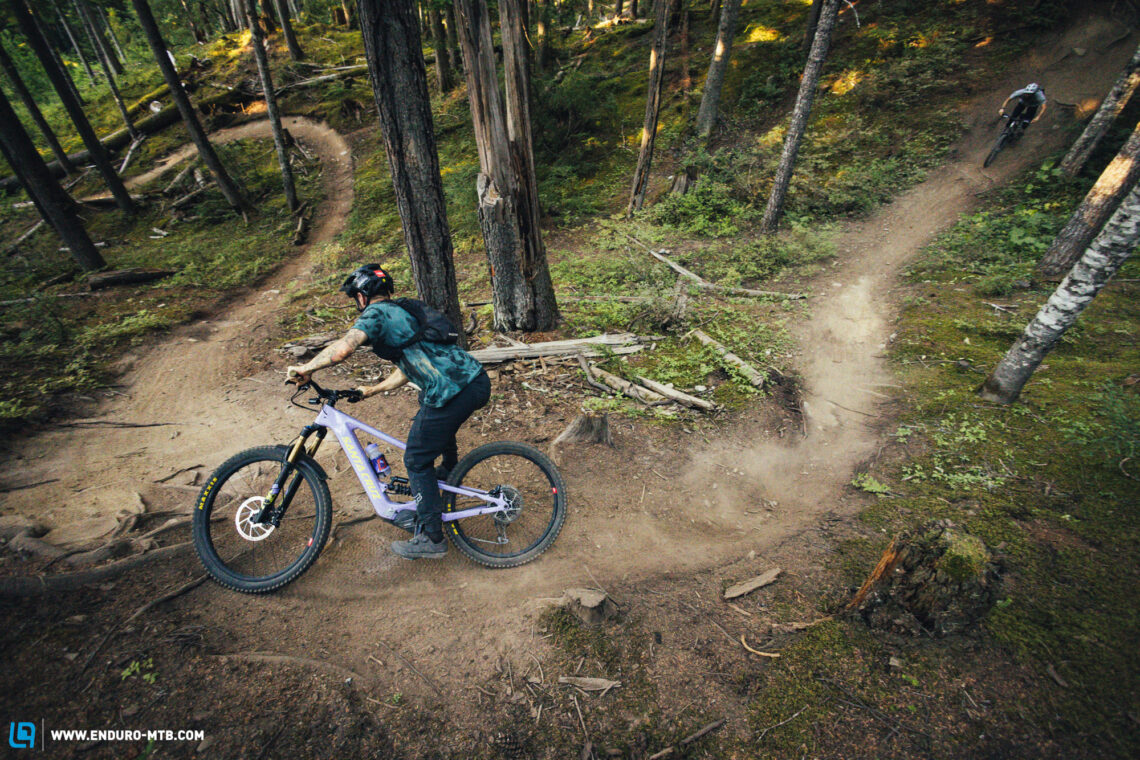
All trails in and around the bike park are colour coded and categorised, and the categorisations are very accurate. First, every trail is designated as a flow or tech trail, which should be self-explanatory. Then there are 4 different colours of ascending difficulty from green to blue, black, and red. The black trails can be further distinguished as single or double black – also marked black-red in the bike park. Red trails are considered pro lines and usually comprised of individual features, or very technical and large jump trails, like the infamous Crabapple Hits with its 20 metre gaps. Conveniently, you’ll find a large trail map and a progression matrix both in the bike park and online, which lists all the trails in an ascending order. That way you can see which single black trail is the easiest or the most difficult, for example, and can work through the list bit by bit. By the way, we would recommend the blue Crank It Up flow trail as a good warm-up lap.
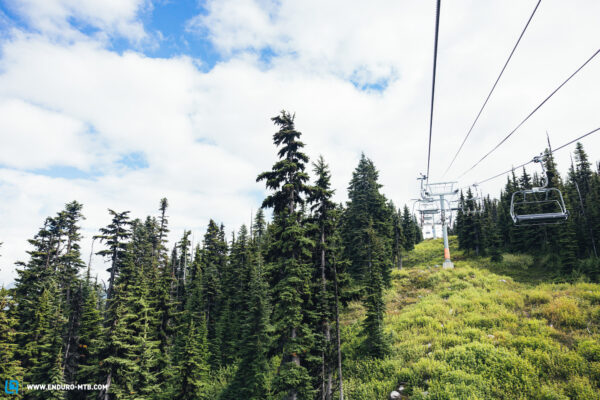
The bike park is open from 10 AM to 8 PM. However, the opening hours are also slightly adjusted to the zones and seasons, but there’s more than enough time to ride, even if the night before got a bit out of hand. Therefore, there’s no need to rush in the mornings – from our experience, the lift queue becomes shorter and shorter around noon and evening, and the temperatures more pleasant. If you get there a little too early and there’s still a lot going on in Fitz Zone, do yourself a favour by escaping to Garbo and Creekside Zone and postponing your A-Line party laps until the evening. By the way, Fitz Zone will have a brand new chairlift from 2024, which should free up congestion even more. Speaking of the chairlift: it’s common practice in Whistler not to close the crossbar of the chair, and it’s a lot more relaxed as the emergency stops aren’t quite as abrupt as in Europe, for example. Certainly, no one will force you, though not doing so isn’t the most sensible either, no matter how gentle the emergency stops might be. Should you decide to close the crossbar, please pay attention to whether you’re sharing the lift with other riders, because they may not expect it and get the bar smacked against their heads – yes, we’re also talking from experience here, from both perspectives.
By the way, there are drinking water dispensers at all lift stations, which are especially convenient in midsummer. For lunch, you’ve got plenty of choices in the village, from pizza slices and countless supermarket options to packing your own lunch. We usually helped ourselves with wraps or sandwiches, and it’s rumoured that the grocery store in the city centre has the best selection. The cookies and sandwiches from Lift Coffee are a classic too, which is located right next to the Fitzsimmons gondola station.
Our Whistler MTB Guide includes a few trail recommendations that are worth checking out, beside the classics like A-Line, Schleyer, or Freight Train.
- Ho Chi Min (Blue-Tech / Fitz-Zone) – rumoured to have the best berms in the bike park.
- Crabapple Hits (Pro Line / Fitz-Zone) – no real insider tip but fascinating to see the size live, or even to jump it yourself.
- C-More (Blue-Flow / Fitz-Zone) – branches off the popular Crank It Up jump trail with slightly bigger tables.
- No Duff und Renegade (Double Black-Tech / Garbo-Zone) – very technical singletrack with rock rolls and, if you’re lucky, loam too.
- Captain Safety (Double Black-Tech / Garbo-Zone) – the biggest rock roll in the bike park and pretty sketchy when it’s wet.
- Odesa (Single Black-Tech / Creekside-Zone) – tight singletrack with nice natural flow, and excellent dirt.
- Million Dollar (Single Black-Tech / Peak-Zone) – located at the foot of the Top of the World trail, and the better option than rolling back to the bike park. If you’re fit enough, you can connect that with Kashmir and Kush into the village.
Other things to discover in Whistler and surrounds
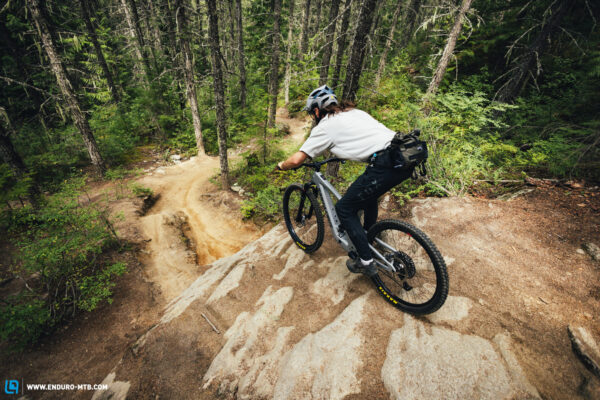
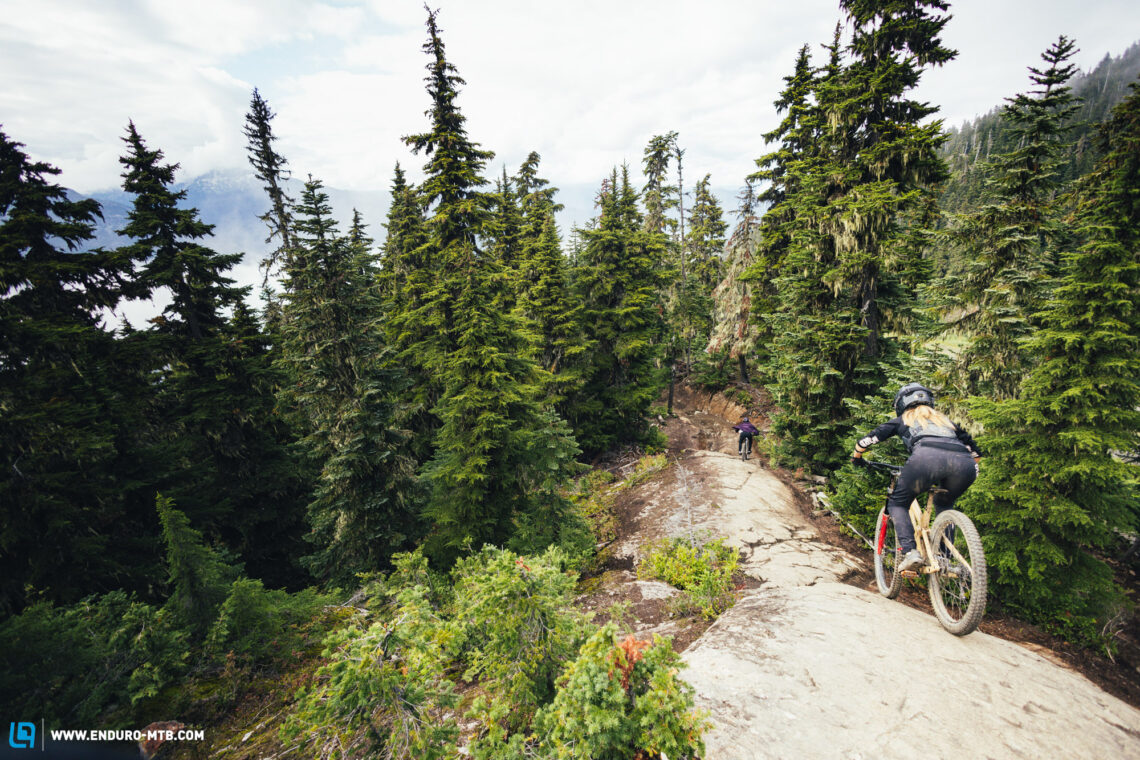
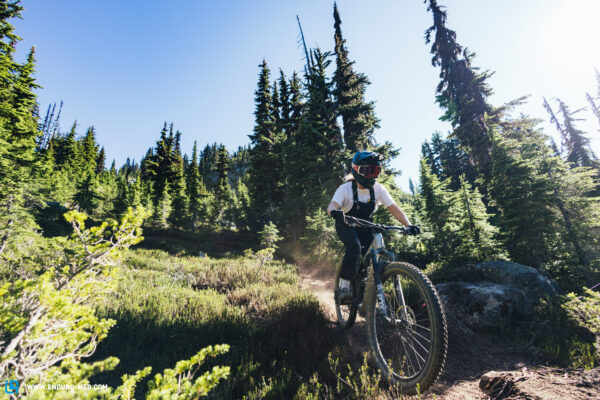
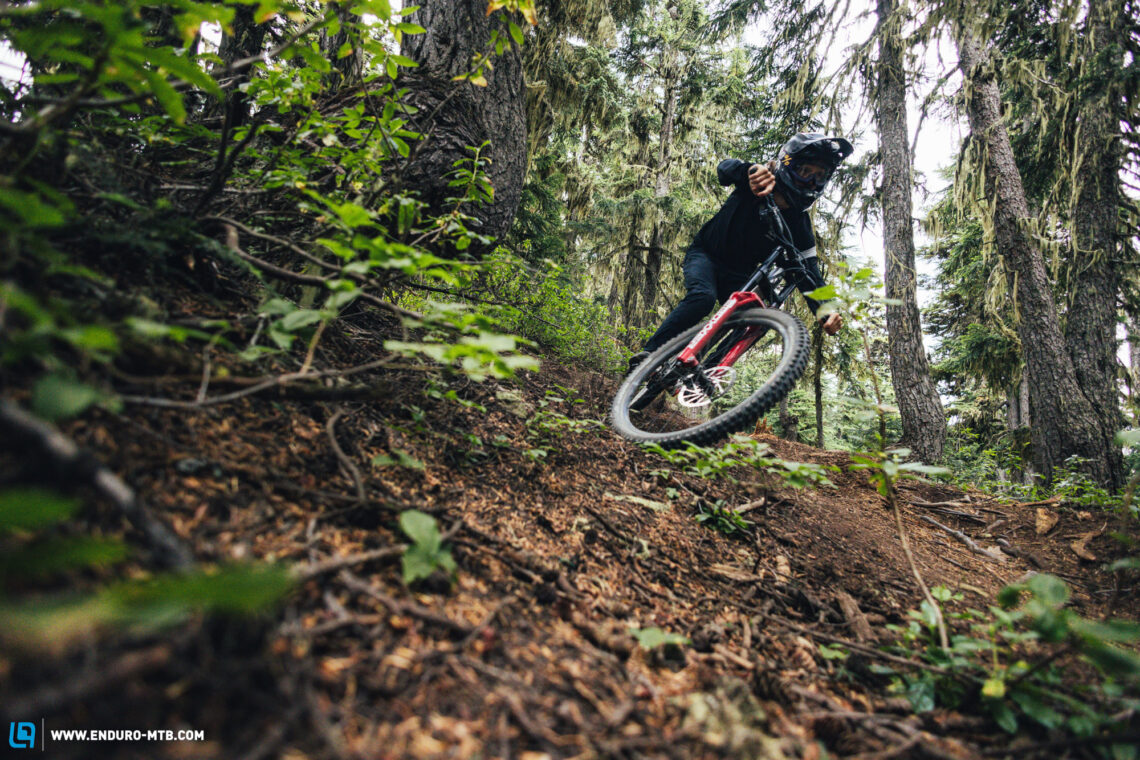
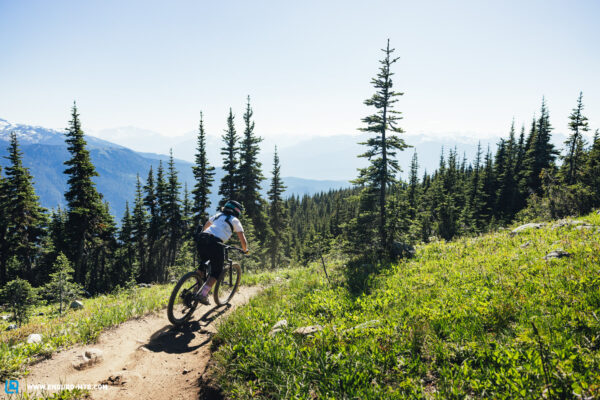
While the bike park is considered Whistler’s main attraction and most never leave the trails of the bike park during their trip, the real treasures lay dormant outside. Here you’ll find breathtaking singletrack, never-ending descents, the finest virgin dirt, long rock rolls, and even flow trails that can outshine those in the bike park. That’s why it’s worth pedalling and exploring the area. The bike park is open long enough for you to do some laps in the evening and the gondola isn’t going anywhere ;). When looking for trails outside of the park, we recommend using the Trailforks app from our friends at Pinkbike. There, you’ll find all trails in the area, including the latest information about the trail’s status, and you won’t get lost in the vast Canadian wilderness. The trail classification remains largely the same, but there are no pro lines outside the bike park, though you will encounter some triple black trails (orange), which really aren’t for the fainthearted. When looking for trails on the app, remember that the red lines are double black trails, whereas the black lines represent single black trails. Don’t make the same mistake as us and warm up on a “red trail”.
Since there are far too many trails to explore them all on a single trip, our Whistler MTB Guide includes a small list of favourites that you should definitely check out:
Lord of the Squirrels / LOTS (Blue-Tech) – breathtaking views far above the tree line with an almost endless tech trail. Note: getting to the trailhead entails 1200 m of climbing, without a chairlift. Although the trail is marked as blue, it tends to be quite rough due to its popularity, and you must keep in mind that you’ll already be rather tired from the climbing.
Chipmunk Rebellion (Blue-Flow) –new and very well built, high-speed flow trail. Good to combine with LOTS when you’re making your way back to the village.
Bush Doctor (Double Black-Tech) – a trail that consists almost exclusively of rock rolls, but they’re not to be underestimated. However, it’s quite short and easy to reach.
Micro Climate (Single Black-Tech) – On the way to the very popular Dark Crystal Trail, but usually in better condition: our personal favourite on the mountain.
Heavy Flow (Single Black-Tech) – the name says it all, made up of fast yet relatively simple tech where you can stay off the brakes. Tech gaps included.
You can use the extremely well-developed Valley Trail network, which usually isn’t the fastest but is definitely the safest and most scenic way to get to your destination. Cycling on the highway isn’t very safe, and you won’t be making any friends.
If you want to go trail riding outside the bike park, there are basically three cities to choose from along the Sea-to-Sky highway: Squamish, Pemberton or North Vancouver. The locals usually ride in Pemberton in spring and autumn, as it gets extremely dry in the summer and therefore unpleasant to ride. The surrounding trails and climbs are extremely steep.
Squamish, on the other hand, has a lot of good flow and jump trails and, if you’re lucky, some excellent loam. It also has a large trail riding community and you will certainly be able to meet a lot of other riders. Once you’ve finished your ride, you can settle down in the Cloudbuster Cafe at the foot of the mountain. They’ve got tasty drinks and good food.
The third stop is the infamous Shore in North Vancouver, which is divided into three areas: Mt. Fromme, Seymour, and Cypress. You can only travel between them by car. We would recommend Mt. Fromme or Seymour, as they offer the most trails and the trailheads are easy to reach by bike. Beware of the jank here – you’re unlikely to find a trail that doesn’t have at least one sketchy wooden feature.
If you have a little more time and want to spend one or more nights in the area, it’s worth visiting locations like the Kamloops Bike Ranch, the Sun Peaks Bike Park, and the Sunshine Coast.
There are countless bars and clubs throughout the city centre where you can hang out in the evenings, of course. A little tip: the parties here end much earlier than we’re used to in Europe, and most clubs close their dance floors at 2 o’clock. If you’re looking for a more laid back activity, a trip to the Valley Lumina is worthwhile. This is a kind of hiking trail in the forest, but with a crazy laser light show with a story.
Good to know
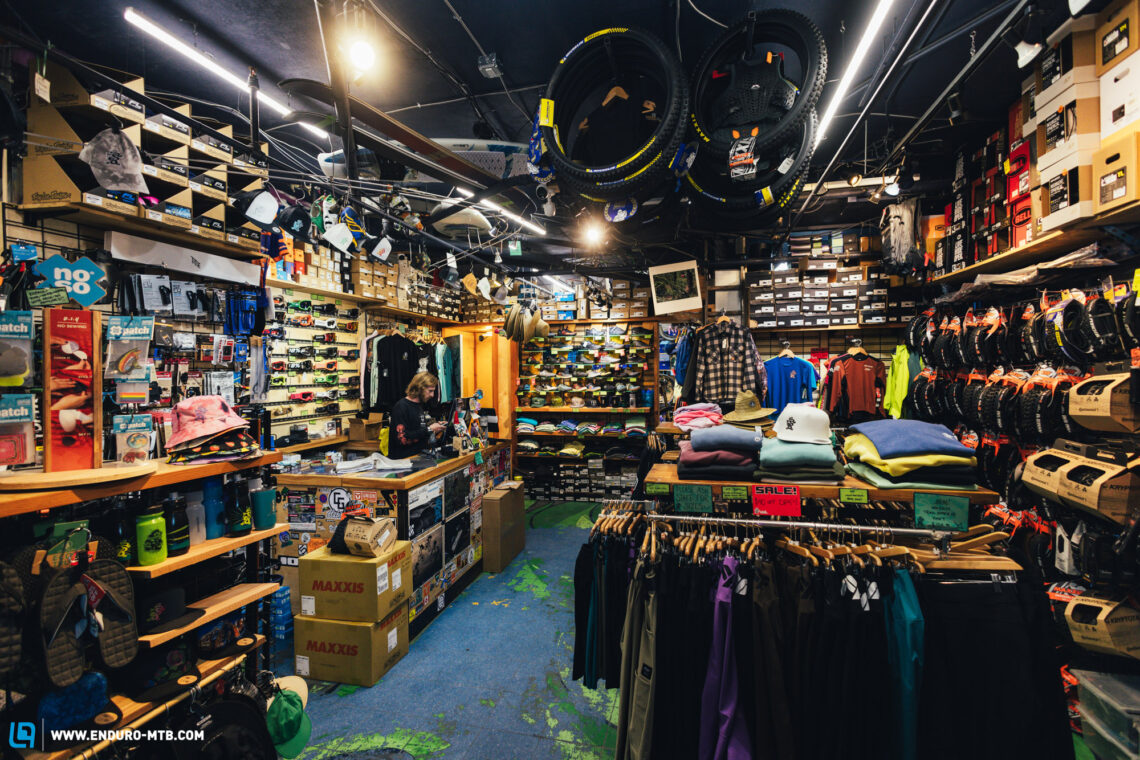
Whistler is full of bike shops and you will find workshops, bike hire and shops at every conceivable corner. You shouldn’t have any trouble buying equipment and spares. We would recommend the small but charming Evolution Whistler or the slightly larger Whistler Village Sports. Both shops have extremely good mechanics, the staff are super friendly, and they can help you with unconventional ideas if you run into any issues.
If you’re looking for delicious food, you’ll also have plenty of choice, and sushi is especially popular in Whistler. The classic and most iconic sushi restaurant is Sushi Village, which is right next to the bike park. In our opinion, you’ll get the best sushi at Nagomi Sushi, which is about a 5-minute walk from the village. You should make a reservation at both locations.
Our favourite place for pizza slices is Fat Tony’s Pizza. It may be a bit hidden, but it’s worth the effort of tracking it down. For genuine Italian cuisine, we recommend Pizzeria Antico. They’ve got delicious pizza and a nice ambience. Right next to it is the Splitz Grill, which is also worth a visit and, as you might have guessed already, serves delicious burgers and fries. If you’re out and about in Creekside, Samurai Sushi is worth a trip, which serves delicious ramen and bowls.
There are big differences to be aware of when shopping in the supermarkets, especially in terms of price. In principle, the further you get out of the city centre, the cheaper the supermarkets will be. If you have the chance to go shopping while you’re out in Squamish or Pemberton, for example, we encourage you to do so, because you’ll find the prices are much lower. By the way, alcohol is only available from liquor stores, which are usually close to a supermarket. Bread and baked goods, on the other hand, are hard to find and extremely expensive. We usually bought ourselves the ingredients and baked buns or even whole loaves of bread ourselves. It’s easy to do and a lot more affordable. There is also a small hardware store hidden in the village, where you can find small inflatable boats, adhesive tape for packing your bike, cable ties, screws, and the like.
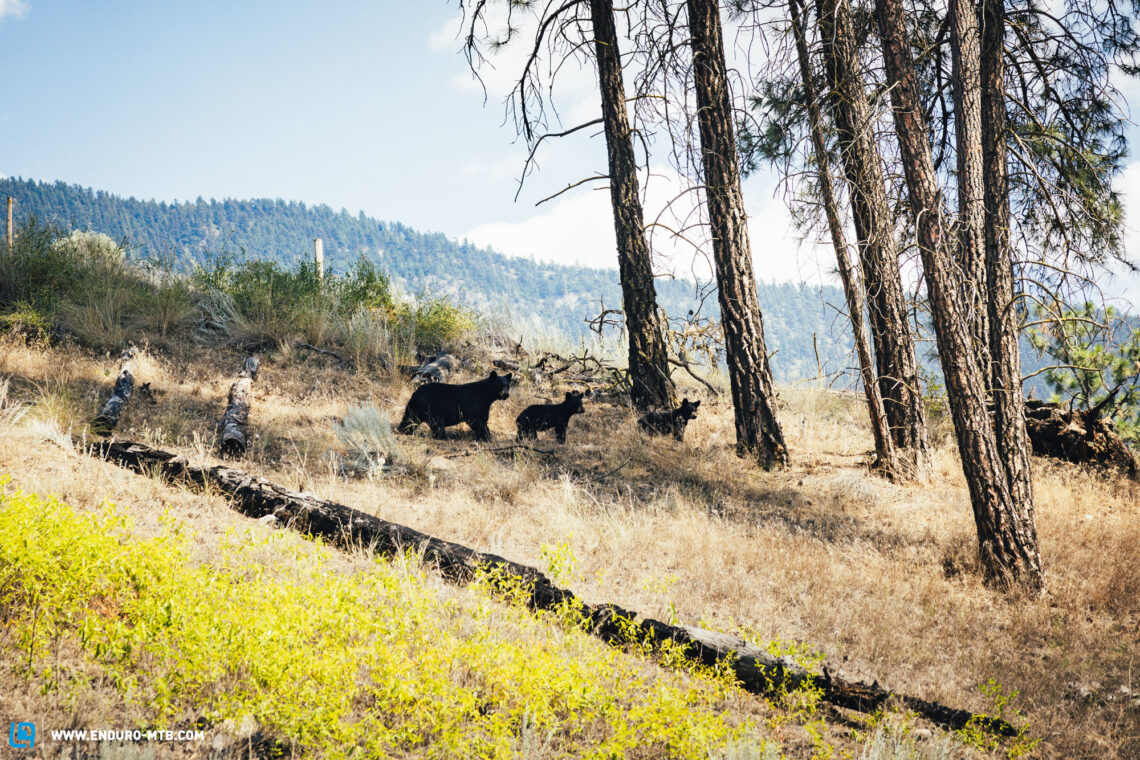
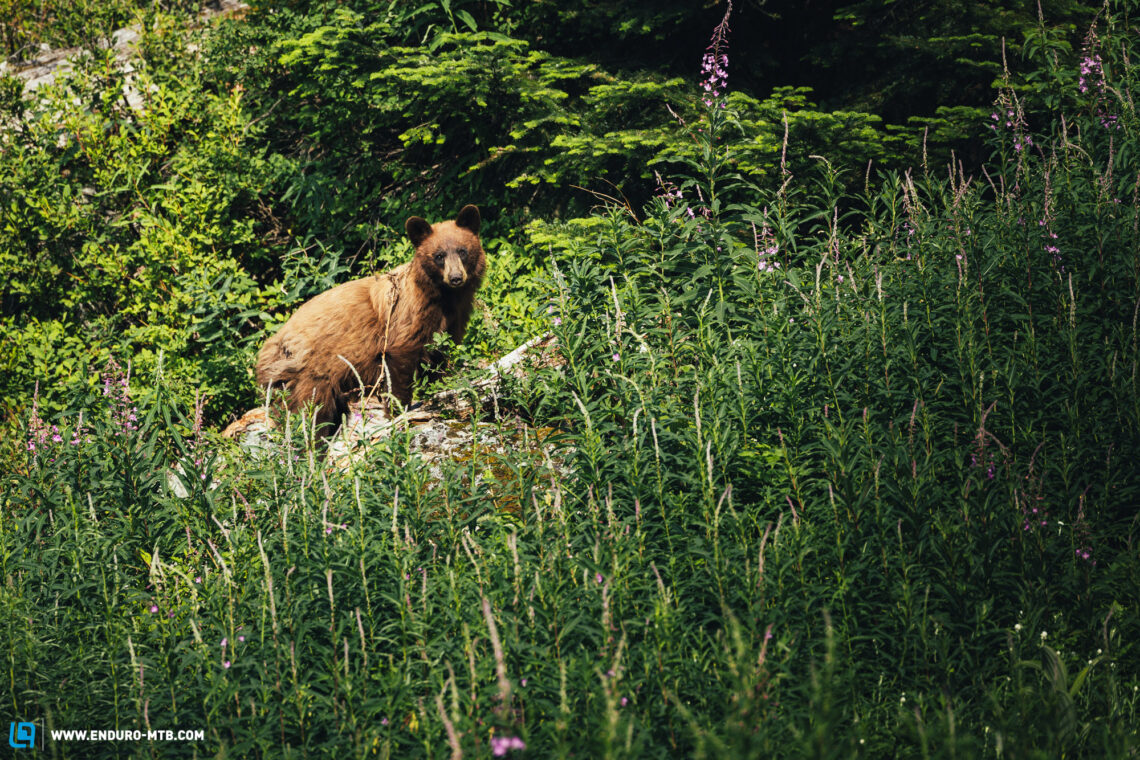
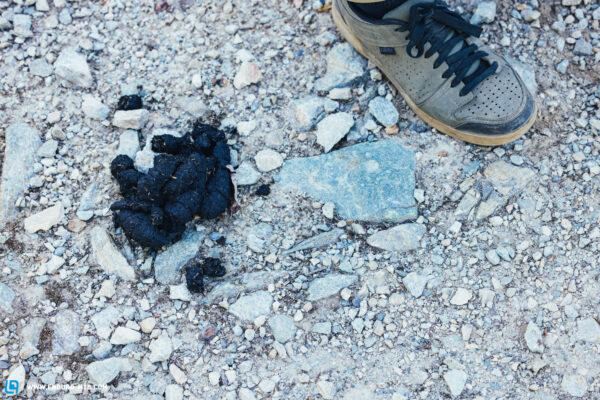
What’s actually self-explanatory but apparently not self-evident is to keep away from the bears. If you’re going to spend several days in Whistler, it’s inevitable you’ll encounter them. They might be cute and fluffy, but don’t take a selfie with them. Seeing them from the chairlift is the most relaxed, because you don’t want to get too close. Black bears are the most common, which often look very brown, but are much smaller. They also regularly get lost in the village, which is quite dangerous for both you and the bears. If this happens, the bears are tagged and reintroduced into the wild, and if it happens too often, they must get put down, unfortunately. Nobody wants that and that’s why all garbage cans have special latches, for example, and you should never leave food scraps or the like lying around. We won’t tell you how to open the garbage cans, however – where would be the fun in that?
Grizzlies and brown bears pose a high risk, but luckily, they’re extremely rare in the area. Cougars also roam the area, but are very rarely spotted due to their extremely quiet, stealthy nature – that’s part of what makes them so dangerous. So, if you feel like you’re being watched, you probably are.
Some animals you will definitely come across are the squirrels, which can be quite pesky and also like to snack on your cereal on the dining table if you leave it unattended. The same applies to raccoons, though you’ll generally encounter more of these at night.
Conclusion
For many, Whistler is a once-in-a-lifetime trip, so you should make it count. With the few simple tips and tricks in our Whistler MTB Guide, you can rest assured that it will be a positive experience, with lasting memories that you can look back on with fondness for a long time to come. Once you’ve nailed the pre-trip planning, you’ll know what to do when you arrive, and what to keep in mind while you’re there. Enjoy it, and believe us: there really is no place like Whistler.
Did you enjoy this article? If so, we would be stoked if you decide to support us with a monthly contribution. By becoming a supporter of ENDURO, you will help secure a sustainable future for high-quality mountain bike journalism. Click here to learn more.
Words: Peter Walker Photos: Various