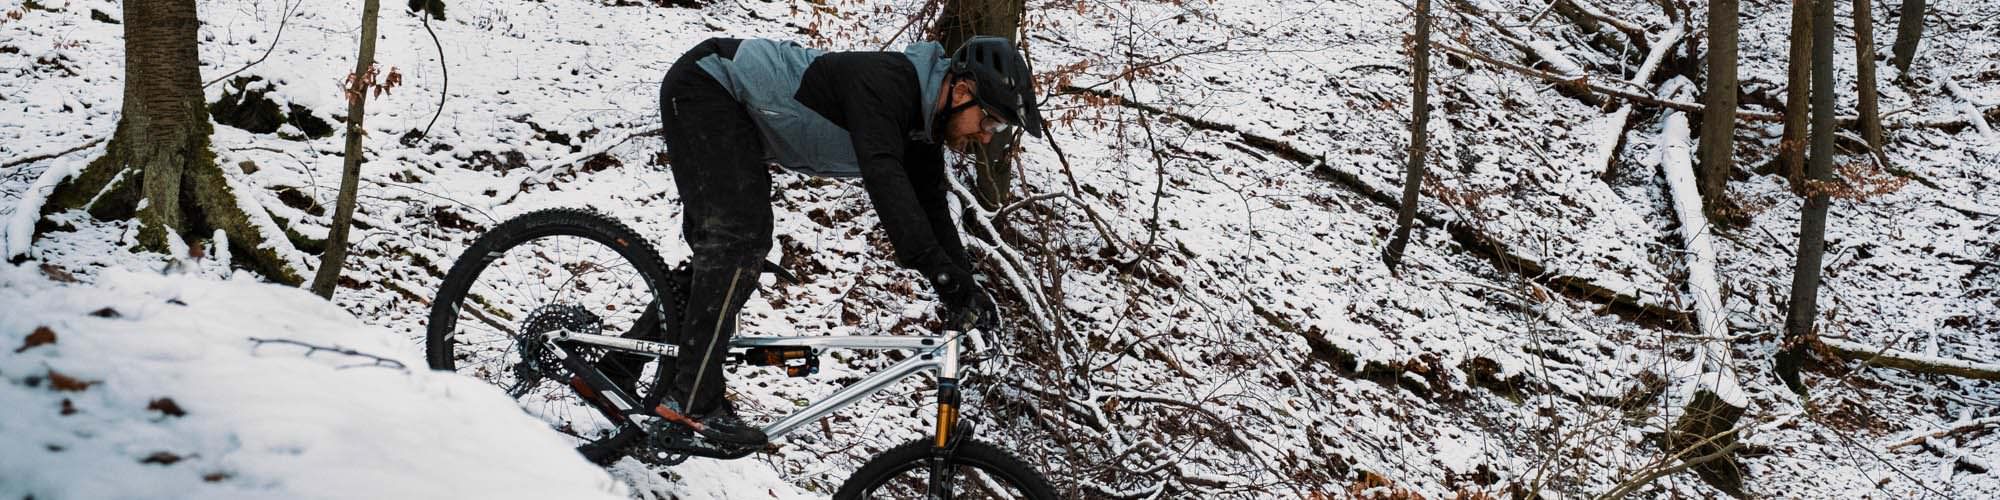
Your bikes don’t deserve to be reduced to desktop backgrounds during winter – go out and ride them! With the following setup tips, you’ll be able to find more grip on the trail despite cold and wet weather, stay warm and even become a better rider while doing so!
– with the right attitude you’ll keep a grip despite the cold and wet.
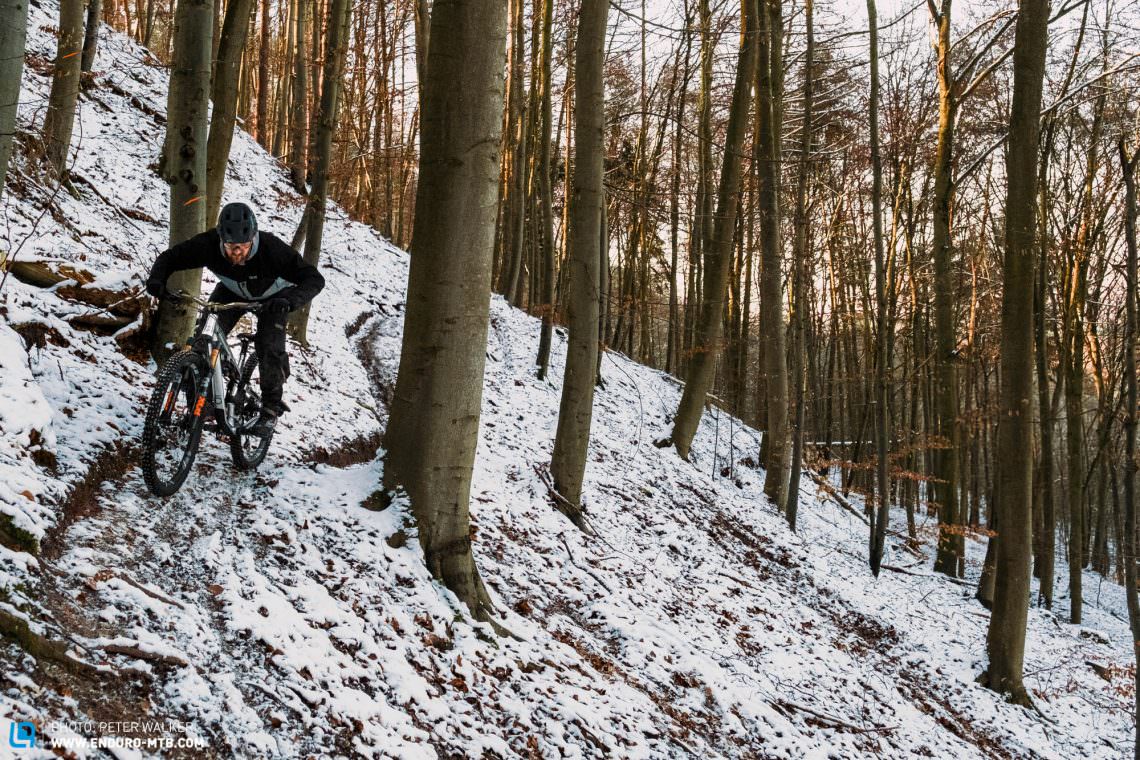
There’s no doubt that riding in winter means less grip. Depending on where you live and ride, mud, leaf-covered roots or snow make it hard to hold the perfect line on the trails. But if you dare to go out nonetheless, you’ll be rewarded with a whole lot of fun and new skills! The oft reviled winter is more than just a gloomy dark time between bike summers that has to be survived – it can turn us into better riders! With our tips for more grip in cold and wet conditions, you’ll manage not just to get through the winter months but to celebrate them! We provide you with tips on your equipment, how to ride in the winter and a pro wintersports trick.
Grip or slip? Tips for more grip in mud and snow!
- It’s about the mix: tread pattern, rubber and pressure
- Forks, shock and honey from the fridge – The cold makes your suspension sticky
- Contact point – The right shoes and gloves for the cold and wet
- Feel what your bike is doing underneath you!
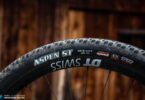
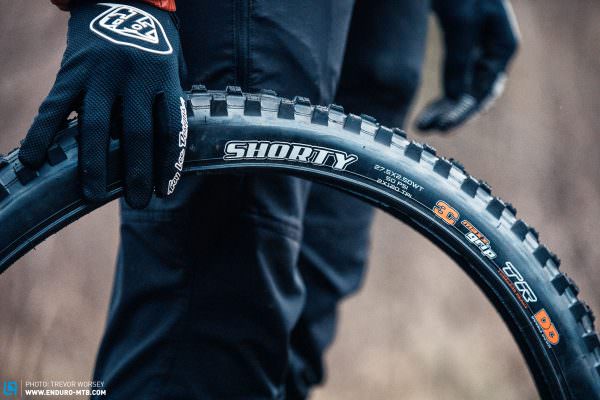
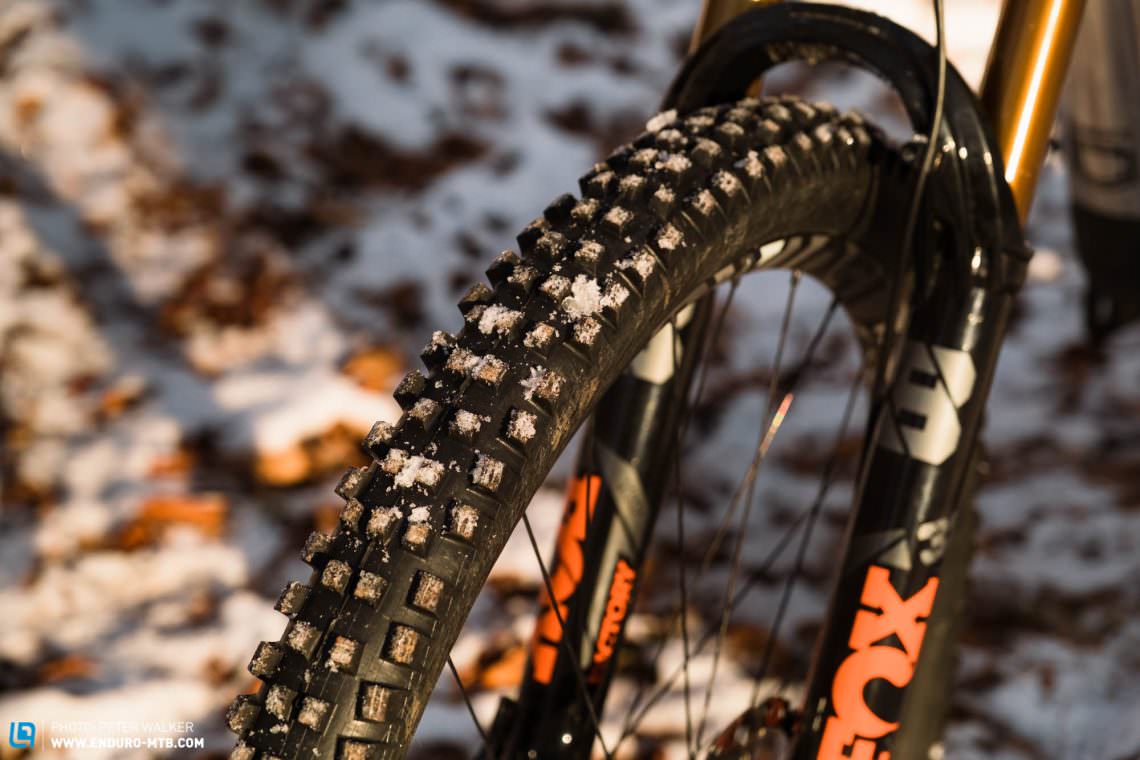
It’s about the mix – Tread pattern, rubber and pressure
The most obvious grip limiter on your bike is the contact between your tires and the ground. We’ll make an exception and recommend a brute force approach to the problem: the larger the individual lugs of your tire, the deeper they can dig in to find purchase on more solid ground underneath the mud, leaves and snow. The wider the lugs are spaced, the better they will let go of debris, allowing them to continue gripping instead of clogging up. If you ride MAXXIS tires, swap your Minion DHF up front for an ASSEGAI, or just go straight to the mud-specialist Shorty, for winter. For the rear wheel, considerations about rolling resistance and weight are unimportant – traction is key! At the very least, fit a DHR II or a DHF. You can keep your summer tires in storage and put them back on in spring without having put unnecessary miles on them.

When it comes to tire pressure, you’re faced with the same balancing act as summer: the less air you put in, the better the grip but the larger the risk of excessive wallowing or a puncture. Don’t push it too far, because a bit more grip isn’t worth ending up having to fix a flat at -5 °C with ice-cold fingers! Be aware that the air you pump into your tire in your warm workshop will lose some volume when it cools down outside – a 30-degree temperature difference can quickly add up to a 10% change in tire pressure! For the nerds: that corresponds to a drop from 1.4 bar/20 psi to 1.26 bar/18 psi. The limited compression and constant cooling of the air inside the tire mean it won’t experience any further temperature changes. You can anticipate the loss in volume by aiming for a slightly higher pressure (that will decrease in the cold) when pumping it up – after all, it’s quicker to let out some air than to top it up for fine-tuning. Have you read our guide on finding the right tire pressure? In case you haven’t seen it yet, we also tell you how to find more grip by converting to tubeless.
You can run even lower pressure if you use tires with downhill casings or tire inserts like CushCore. The extra-stiff construction or foam inserts stabilise the tire, preventing it from collapsing or flatting, allowing you to trade in a few tenths of a bar against grip (and rolling resistance).
The different tire compounds offered by manufacturers also provide the opportunity to keep the grip of your bike high in cold and wet conditions. The softer the rubber, the more elastic, malleable and grippy the tire remains in cold conditions. But be careful: Maxxis advise against using their softest MaxxGrip and MaxxTerra compounds below 6°C due to the risk of tears, recommending their Dual Compound options instead. Schwalbe don’t stipulate any such limitations for their Addix Ultra Soft rubber, even below zero.
What about a 2.3” rather than a 2.5” tire?
You might have read the blanket recommendation on forums to run wider tires during winter. We don’t subscribe to that notion. Admittedly, if your winter rides happen on unbroken snow, then wide tires provide an advantage with a larger contact surface and better flotation. But if there’s a chance of sinking through snow, mud and dirt to the harder ground below, a narrower tire is much more likely to cut through and grip, instead of floundering up top like a fat kid trying to dive to the bottom of the pool. So what about a few millimetres less width, using a 2.3″ instead of 2.5″ tire?
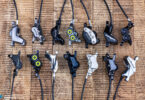
Forks, shock and honey from the fridge – The cold makes your suspension sticky
The best tire setup is only effective if your suspension manages to keep your wheels in contact with the ground. A stiff and progressive setup tuned for grippy berms and big drops might make sense for summer, but in winter a sensitive touch is more appropriate!
Air and oil inside warm up quickly on the trail
When the frozen ground crunches underneath your feet, your suspension will also feel stiff, regardless of whether it’s air- or coil-sprung. That’s due to damping oil getting more viscous in the cold and struggling to squeeze its way through the shims inside the damper – just like honey from the fridge that’s hard to squeeze out of the bottle onto your bread. Cold grease and seals also do their best to make sure that our suspension isn’t quick to react in winter temperatures. But unlike tires, the air and oil in your fork and damper heat up quickly as a result of compression and mechanical friction respectively, when riding actively. You’ll quickly notice that’s the case if you touch the warmed-up air chamber of your shock after a hard ride..
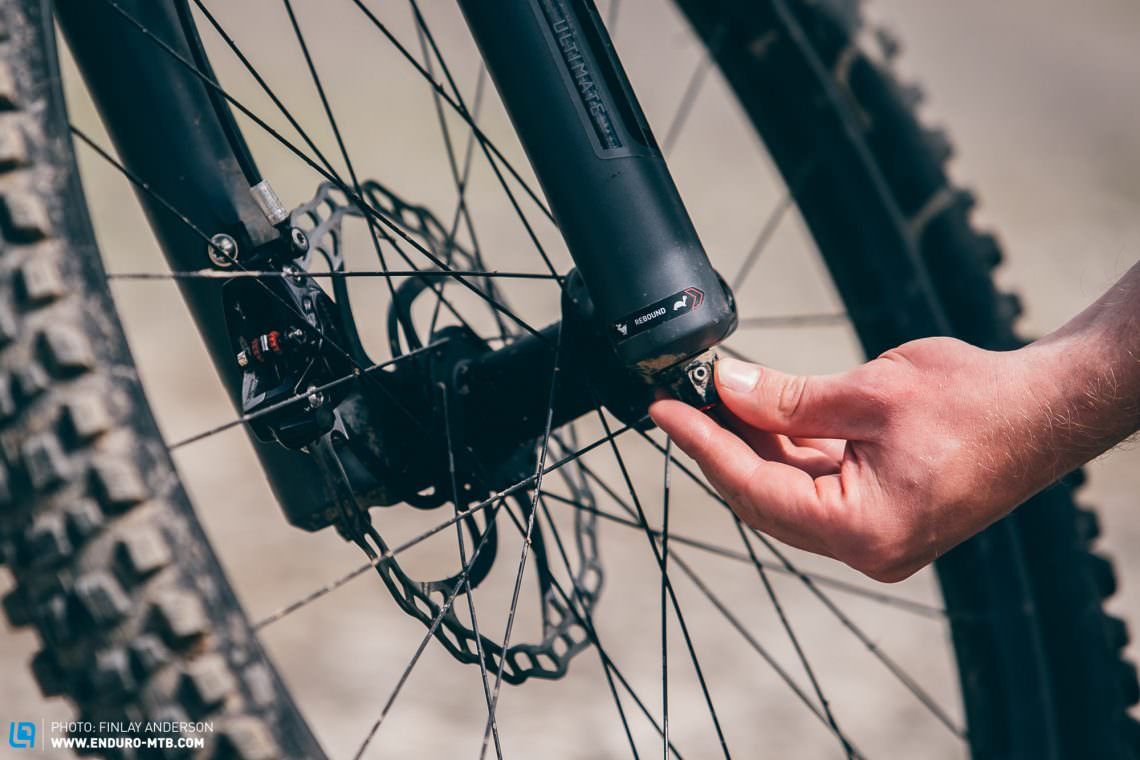
Get heat into your suspension or tune it for the cold?
Depending on the outside temperature, short trails might not be sufficient to get heat into your fork and shock, with your bike feeling just as stiff at the end of the trail as the beginning. Do your rides in winter consist of individual, short descents in between which you have to pedal, leaving your suspension with nothing to do and letting it cool down? Then you can help the cold and viscous damping fluid on its way through the damping circuits by opening up the compression and rebound damping of your fork and shock by a few clicks. The further open your rebound damping, the quicker the fork extends again after being compressed. Likewise, reduced compression damping results in travel being used more easily. Making these adjustments takes just a few seconds and can make a significant difference. Count the number of clicks and note down where you end up. You can find a detailed guide about how to tune your suspension here.
However, if you turn on to a longer trail, your suspension will get up to temperature, quickly feeling just as supple as you are normally used to. Depending on how you ride and the initial temperature, you’ll feel significant changes after around half a minute. However, if you’ve already opened up your compression and rebound damping, you risk your bike turning into a bucking bronco over the course of the descent, when the warmed up damping oil speeds up your suspension rebound enough to push your tires off the ground, losing you more grip than you gain #pogostick.
A proper warm up is key – For you and your bike
How to find the middle ground? Pump yourselves warm! With several forceful compressions of the suspension, like you’re preparing for a bunny hop, you will drive oil through the damping circuits and compress the air spring. That lets you get a bit of warmth into the suspension before dropping into a trail. The second benefit: your arms, trunk and leg muscles are engaged and warmed up, leaving you better prepared for the descent.

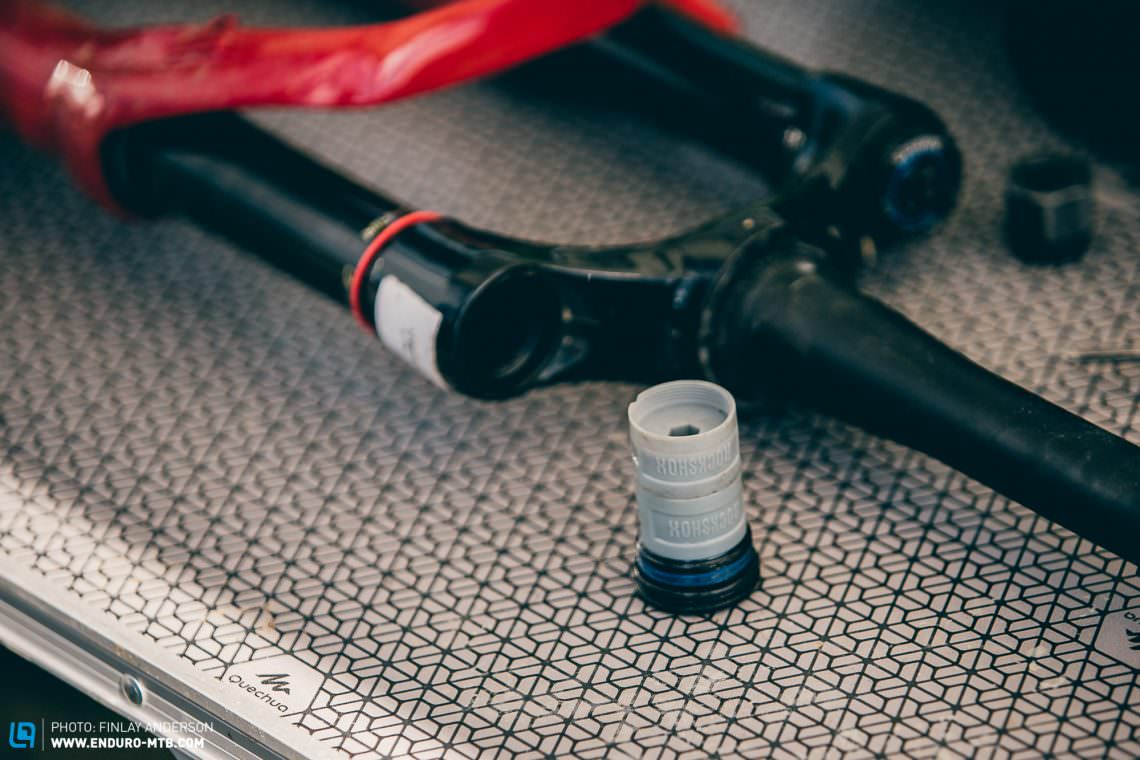
Careful changing the oil or air pressure in your suspension!
nstead of adjusting damping settings, you could use a lighter-weight oil in your damper. In extreme cold, that might be an option to tease some movement from suspension that’s been frozen stiff. However, be aware that this kind of modification will exhibit less damping in warm conditions and could also cause warranty issues if you’ve used an oil other than the suspension manufacturer recommends.
The same goes for pressure in air-sprung suspension. Unlike your tires, we don’t recommend adding more air to compensate for the cold, as it quickly warms up and expands in use. If you do, the increased pressure when it’s warmed up can result in suspension that sits higher in its travel and leaves your tires struggling to keep contact with the ground.
Freeing up the Gnar Dog guarded travel
What do you think of progressive suspension? Let’s be honest, in the mud and snow, most of us are forced to ride more slowly. Big sends and G-out turns that require bottom-out protection are usually reserved for a grippier time of year. As a result, it might make sense to remove one or two volume spacers! That will make your bike happier to swallow up the bumps and make the last few centimetres of travel easier to access, rather than being guarded by Gnar Dogs, tokens or other volume spacers. Less progressive suspension continues to absorb impacts even towards the end of the travel, rather than resisting the compression and risking your tire sliding out. An important tip in the search for maximal grip in winter!
Contact points – The right shoes and gloves for the cold and wet
If your tires are gripping through mud and snow and your suspension tracks the ground sensitively despite the cold, the most important parts of your bike are already successfully set up for winter. But to ride the line you’re thinking about on the trail, you need a good connection to the bike – especially for your hands and feet.
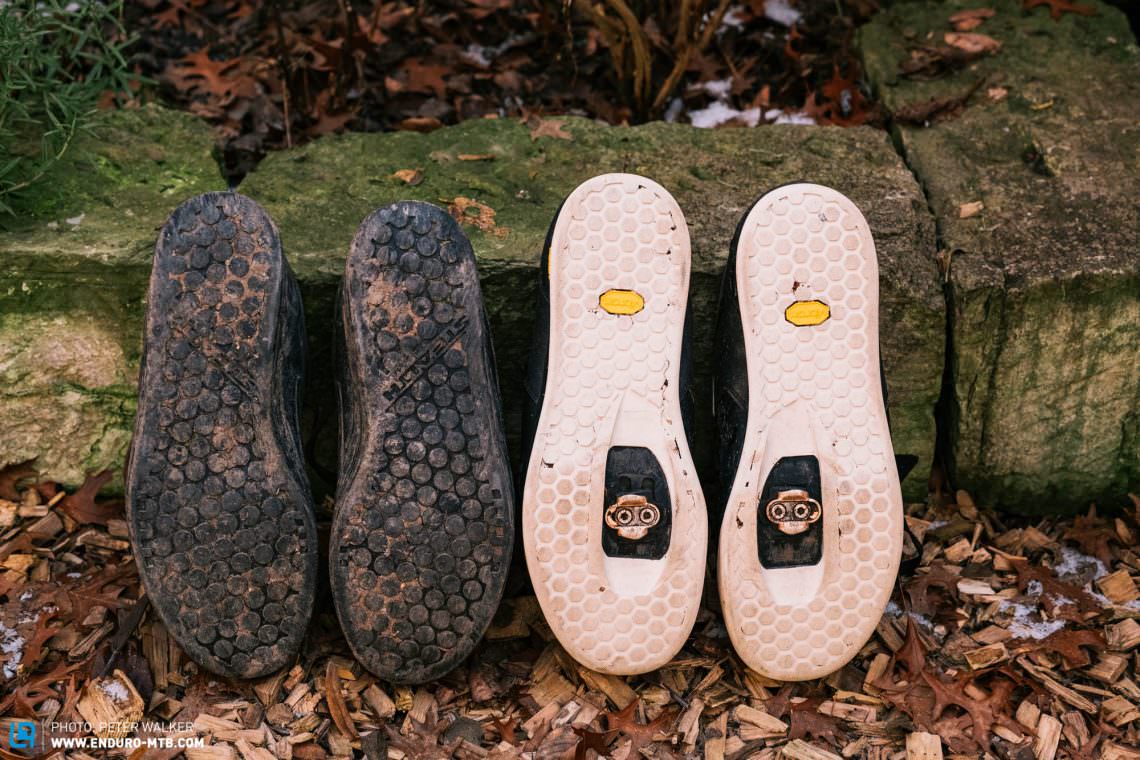
Not just the rubber of your tires gets harder when it’s cold. The rubber under your feet does too. The otherwise grippy sole of your favourite shoe clatters stubbornly off your pedal pins in sub-zero temperatures, without displaying much of the grip they do in summer. Here, shoes with rubber soft enough to deliver grip in the cold will help. Good thing that we’ve previously taken a closer look at the best winter mountain bike shoes for flat pedals and of course for clipless ones too.
Gloves are as individual a choice as your partner. Some like them thin and light, others prefer them thick and padded and yet others don’t want any at all. With so much personal preference at play, we’re wary about making any blanket statements. Just one thing: it’s ok if you don’t find your perfect winter glove from the get-go. And it’s also ok if you find that the glove that felt perfect in the shop doesn’t work for you at all on the trail. What’s not ok is having frozen hands! However, if it does happen, then we have a genius and simple pro wintersports trick that even works while riding and will force warm blood back into your fingers: the penguin pump.
Arms stretched down, hands lifted away from the body, pull up your shoulders and let them drop – the penguin pump forces warm blood into your cold hands
Straighten your arms down, stretch your hands and fingers away from your body so that they are parallel to the ground – like a penguin. Pull up your shoulders and let them drop down again suddenly. With every downward jolt, warm blood will be pumped into your hands, bringing your cold fingers back to life! The penguin pump is more practical than wildly circling your arms and even works while riding no-handed.


You’ve got grip, you’re warm enough and connected securely to your bike. Now, if you could also see where you were riding, nothing winter can throw at you will stop you. We look at which mudguards will best help you with that here.
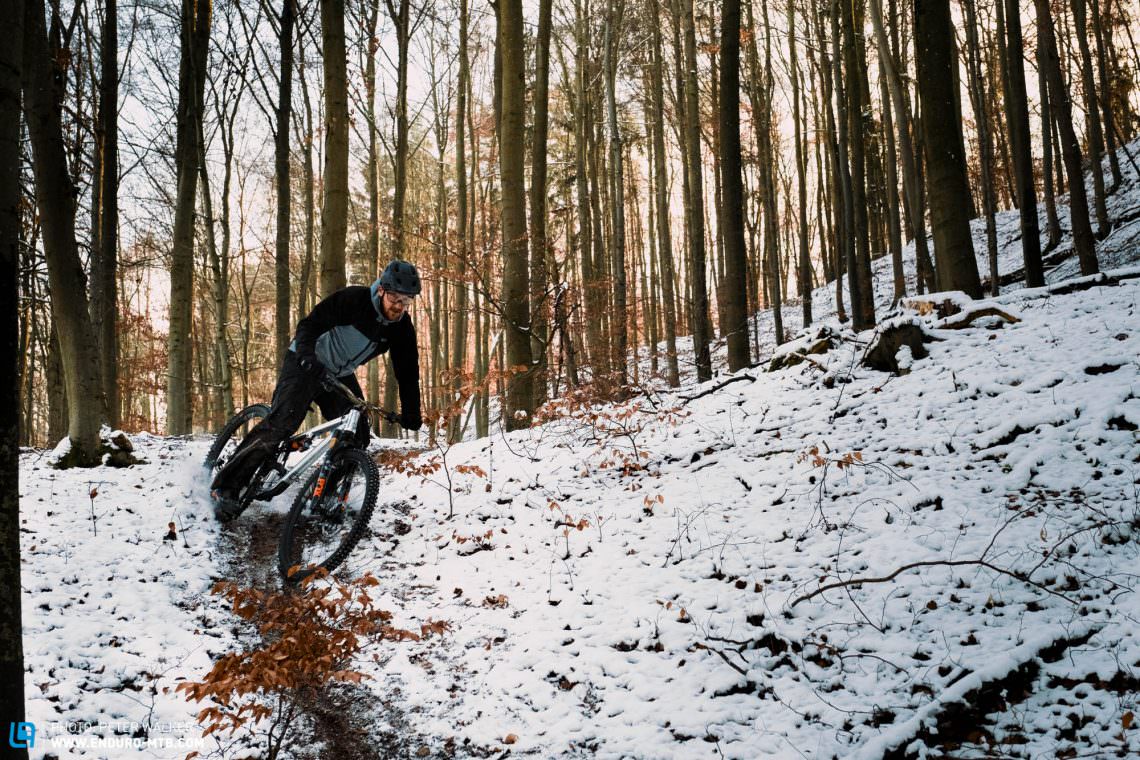
Feel what your bike is doing underneath you!
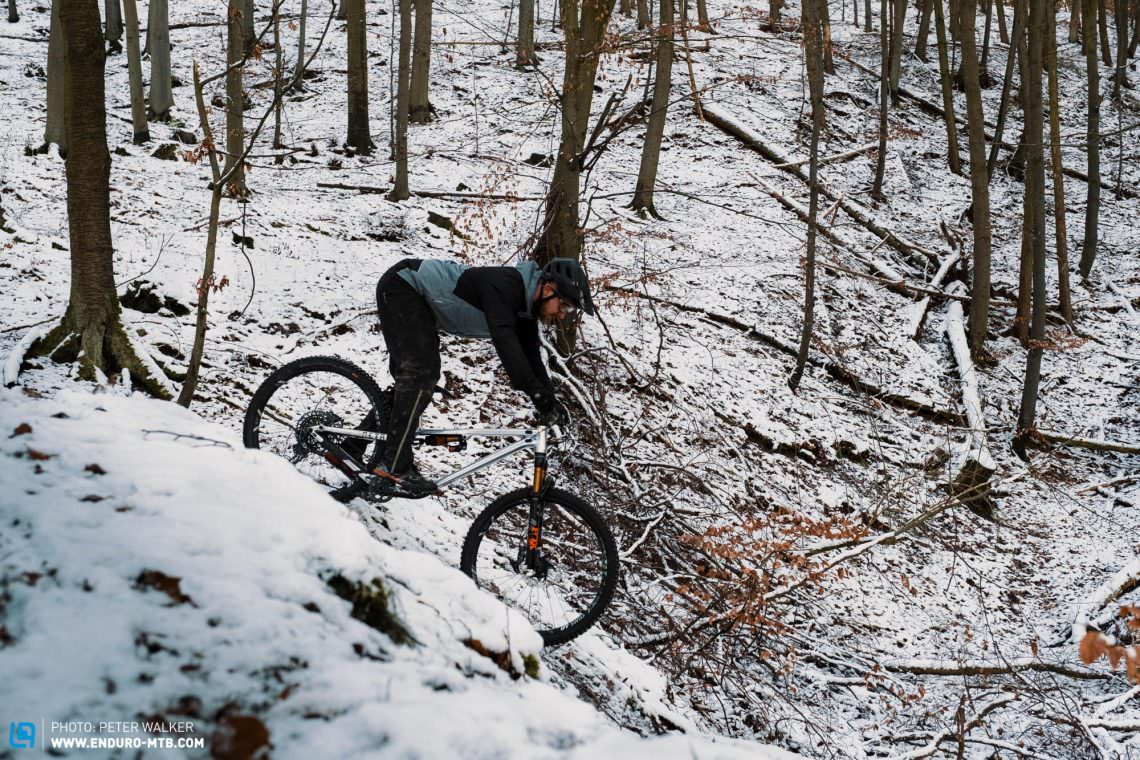
Even if you’ve set up your bike perfectly for grip in the winter, mud and snow will always present significant riding challenges – and that’s a good thing! There’s no better school for technique than situations that truly challenge us. Those who only blast about on grippy forest floors will completely miss how much they could develop riding skills in the test that muddy rock gardens and flat corners with frosty roots represent – it’s a lot!

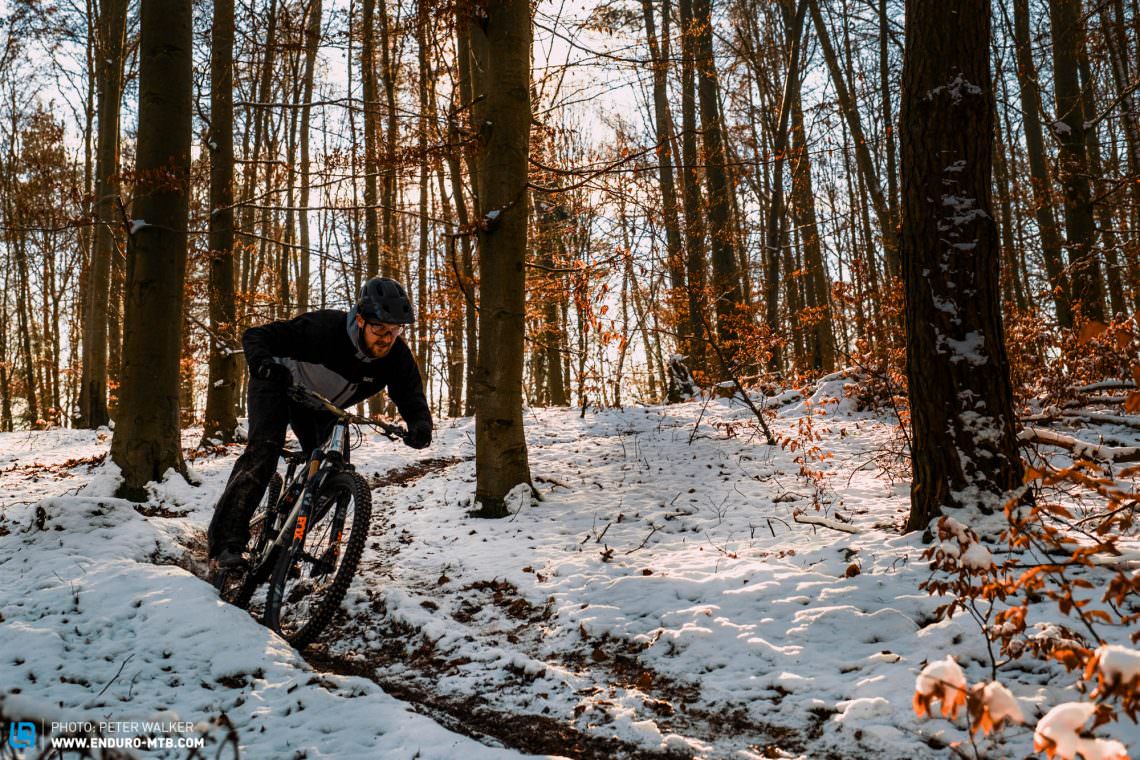
Winter riding forces you to feel what your bike is doing underneath you and learn to react confidently to it. It helps you stay relaxed and central on the bike and be ready to correct small slides of the rear wheel on roots with your hips. With soft arms and legs, a short loss of grip in mud won’t unsettle you, but will even become enjoyable as you learn how to get your bike back under control.

The less you steer and brake, the more grip you have. Of course, that can’t be taken to its ultimate conclusion, but with a few small improvements in your riding, the different forces acting on your bike can be better spaced out along the trail. It helps to ride looking ahead to have plenty of time to spot the best line. Fundamentally, you’ll look for grippy spots on straight sections for braking, staying off the brakes as much as possible otherwise. In particular, on wet roots, even a small pull at the brakes can lead to locking the wheel and sliding out. It’s best to enter corners wide as a larger turning circle results in reduced forces. Through the turn, you should lean your bike inwards, while keeping your centre of gravity above the bottom bracket.
Try it out, learn more and celebrate it!
There are lots of tips for better riding technique out there and we also provide you with several here. Nonetheless, one of the best tips of all is just to go out and ride! Even in the cold and wet, and even if your bike doesn’t quite reach the levels of grip it has when it’s dry despite our recommendations. It’s now, during winter, when you can learn lots and become an even better rider for the coming summer. Have fun!
Did you enjoy this article? If so, we would be stoked if you decide to support us with a monthly contribution. By becoming a supporter of ENDURO, you will help secure a sustainable future for high-quality mountain bike journalism. Click here to learn more.
Words: Moritz Geisreiter, Patric Dan Photos: Peter Walker, Finlay Anderson