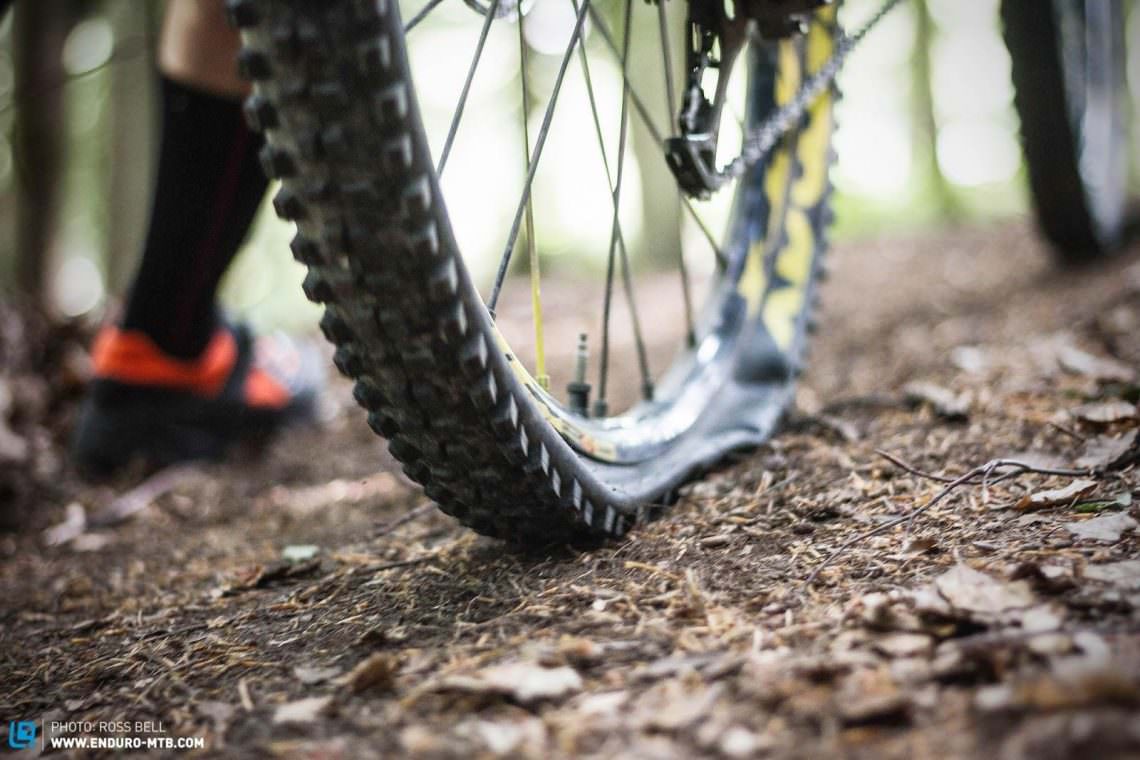
While a tubeless setup is certainly less likely to puncture than a tubed tire, there is still a possibility for air loss. Therefore, you should be prepared with the correct knowledge and tools to fix a tubeless puncture on the trail and at home. Here are the most common tubeless issues you might encounter and how to fix them!
Never heard of tubeless? In our ultimate guide to MTB tubeless, we explain everything you need to know about tubeless setup, tires and much more!
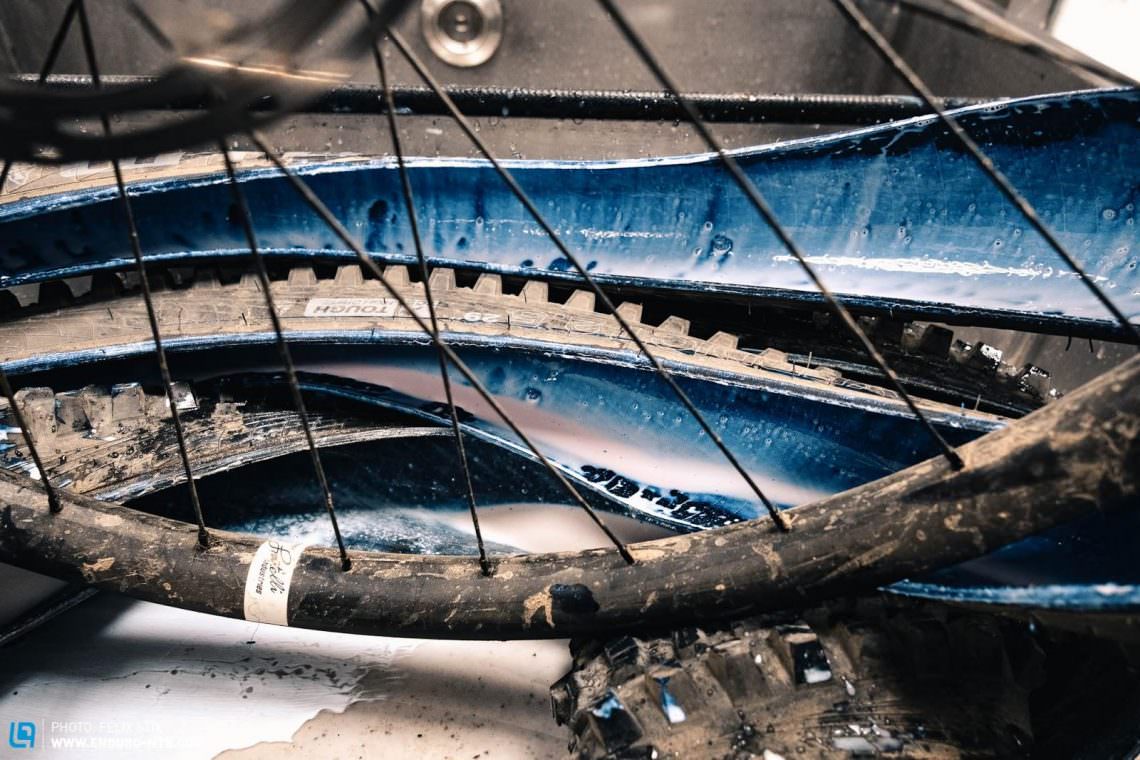
There are a host of different scenarios that lead to a puncture or air loss on the trail but in the end, you always have one goal: seal the system so it can hold air again. With a tubeless setup, this job is often quickly taken care of by the sealant, meaning small thorns etc aren’t that problem. IMPORTANT: renew your sealant every 6 months (or every time you change a tire) to make sure it is able to work as effectively as possible.
What do you need to fix a tubeless tire on the trails?

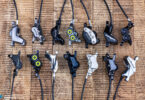
Depending on the severity of the problem, fixing a tubeless puncture can take less than a minute with the right tools. You will need a mini-pump (or Co2 cartridge and inflator), a tubeless tire plug set (click here to read our tire plug group test), a tire patch and a tube for the worst case. Luckily, it is possible to store all of these tools without needing to wear a backpack. They will easily fit into a hip pack (we tested 24 in a big hip pack group test), or even on your bike.
The most common causes of a tubeless puncture and how to fix them
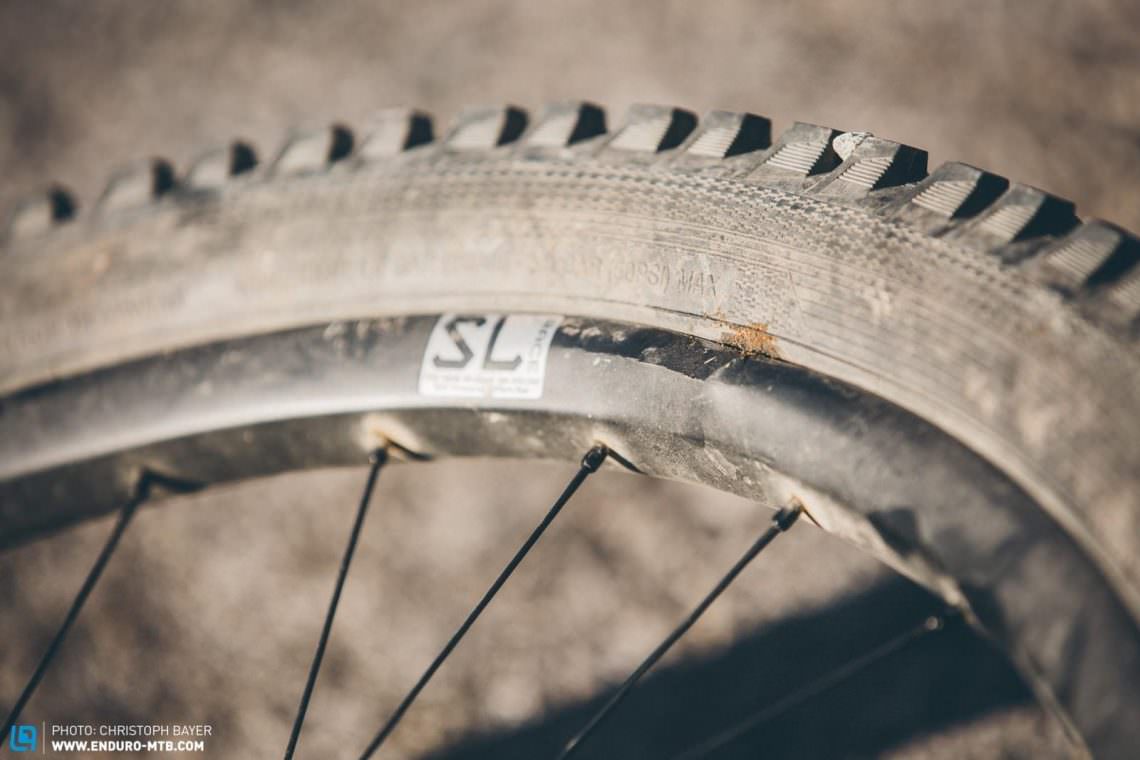
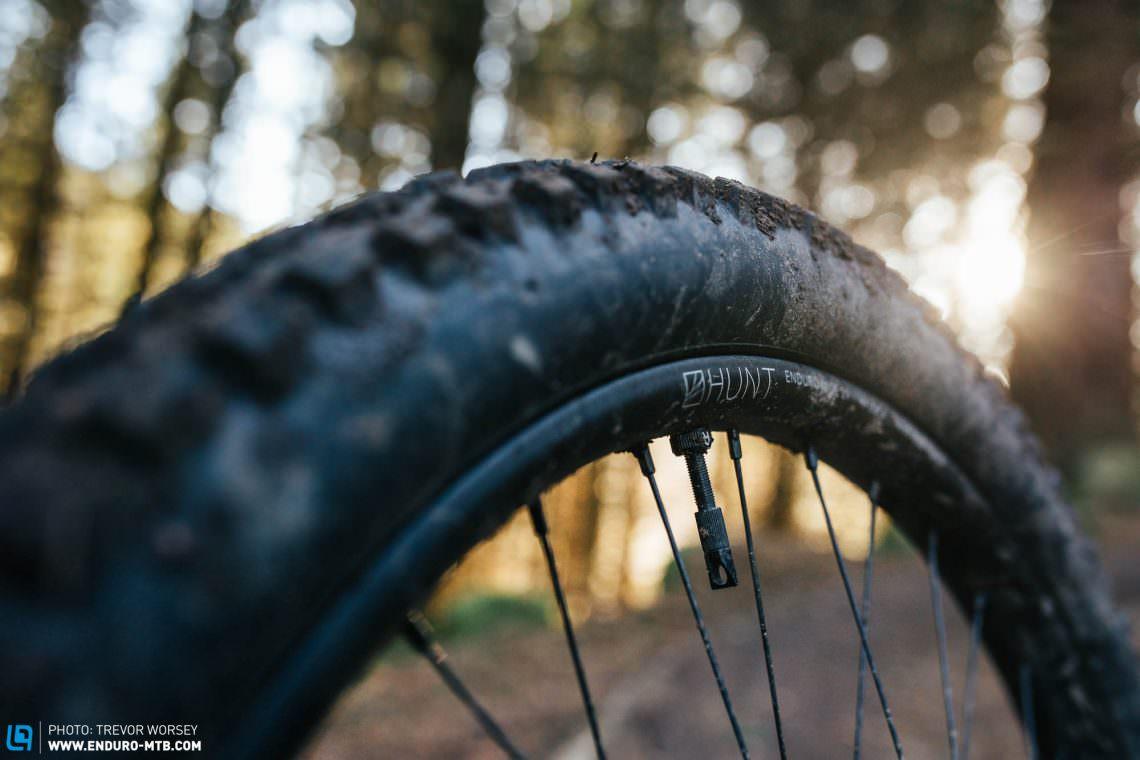
A puncture in tire tread or sidewall
Fixable on the trail? Yes
Time needed for repair: 1-5 minutes
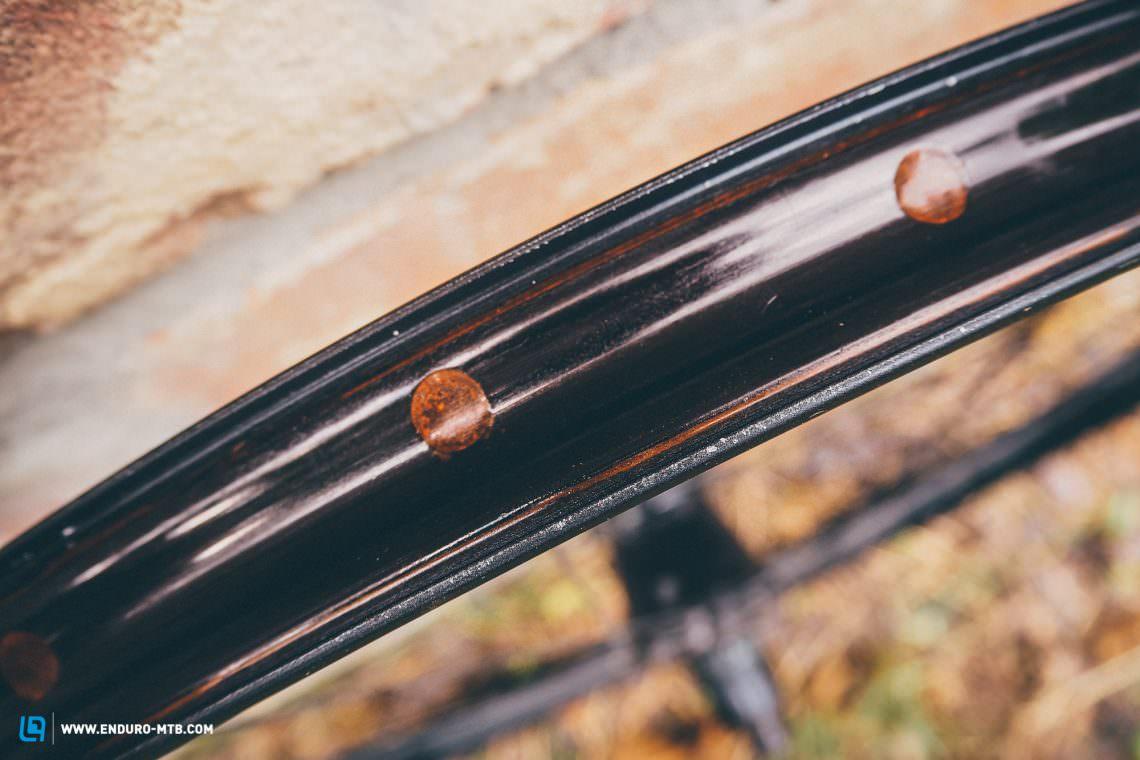
This kind of puncture is caused by small thorns, sharp rocks or nails etc on the trail. It is probably the most common tubeless puncture, and luckily also one of the easiest to fix. In fact, you might have already punctured on the trail without realising, as the tubeless sealant in your tires often seals these small punctures immediately. If, however, the hole is too big for the sealant to fix on its own – often caused by a pinch flat – you will need a tubeless plug kit. The first step is to find the hole (or holes) and wipe away any surrounding dirt. If you are riding in a group, ask a buddy to keep their finger over it to minimise air-loss. Then, quickly thread the tire plug through the plug installer.
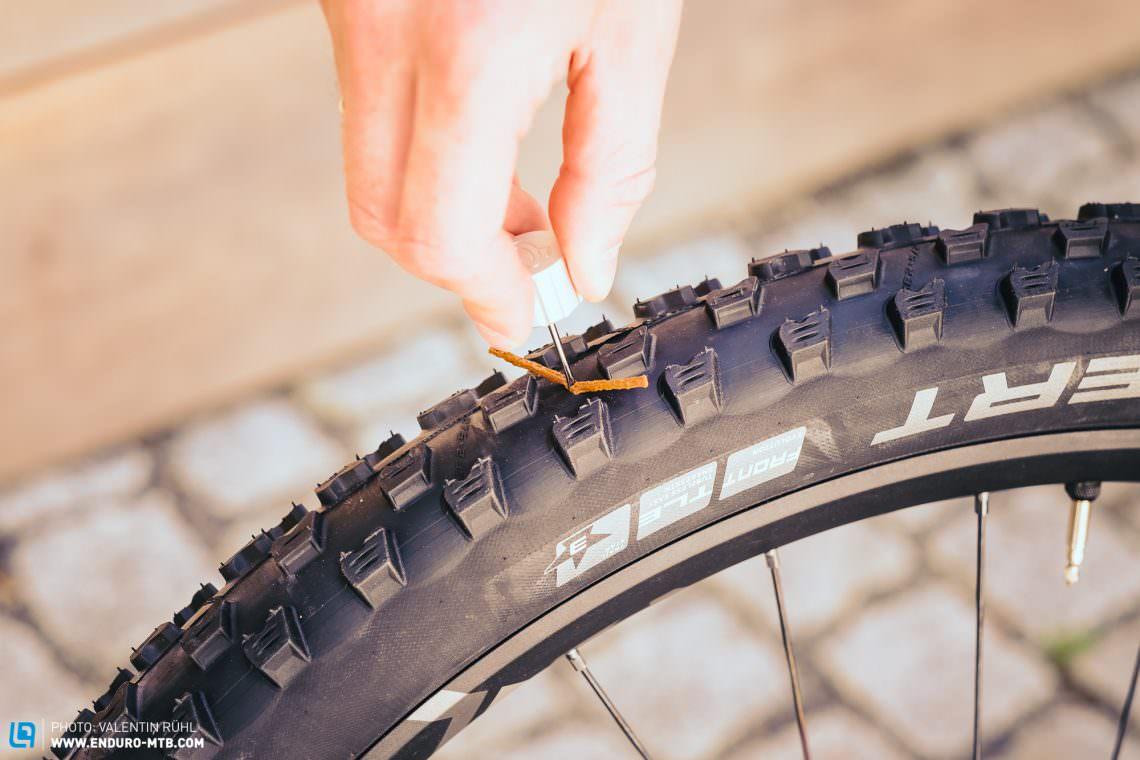
Depending on the size of the hole and the plugs, there are two techniques to plug the tire. For smaller punctures, push the plug into the hole until it fully disappears inside the tire. Then carefully pull the installer out, until 5-10 mm of the plug is visible. Use your fingers to hold the plug in place and remove the installer. If you are sealing bigger punctures with larger plugs, push the plug into the tire just over halfway, so that a “V” shape is left, and remove the installer.

Once the plug is installed, spin the wheel to let the sealant coat the tire and re-inflate if needed. In our experience, if installed correctly, tubeless plugs can last the lifetime of the tire and do not need to be removed. However, it is worth trimming the exposed plug to prevent it from ripping out under heavy braking.
Burping
Fixable on the trail? Yes
Time needed for repair: 1-5 mins
You’re flying down the trail, pushing around a tight berm and suddenly hear a loud “braaaap”! Your rear tire is not leaking, but it has definitely lost air… What happened?! You have rolled the tire so hard across the rim that the tire bead has pulled away from the rim, briefly letting a lot of air escape, before popping back in place and closing the gap between the rim and tire. In short, you have burped a tire. There are two possible causes: either you were running very low tire pressure, compromising your tire’s stability or you just hit the turn really really hard. Either way, the fix is simple. All you have to do is re-inflate the tire and keep riding. We recommend checking out our Tire Pressure Guide to find your perfect pressure and prevent burping in the future. You should also top up your sealant before your next ride, as you most likely lost some during the burp. If you burp on a regular basis, even with high tire pressures, you are very likely running a tire that is too wide for your rim width.
A cut in the sidewall
Fixable on the trail? No, install a tube and fix at home
A cut sidewall is usually caused by long, sharp rocks which cut a long slit into the tire. These punctures are too big for tire plugs and sealant to seal. Your only option is to install a tube and ride home. If the cut is really big, try protecting the tube by sticking some tape or plastic etc in between the tire and the tube. Depending on the severity of the damage, you can try fixing the tire at home by thoroughly cleaning the tire inside and out, roughening up the inside of the tire with sandpaper and applying a tire patch with vulcanising glue. Otherwise, the tire is a write-off.
Spoke runs through the tape
Fixable on the trail? No, install a tube and fix at home
Time needed for repair: 20+ mins
If a spoke punctures through the tubeless rim tape, you will quickly start losing air through the spoke holes. Unfortunately, there is no easy fix and you will have to install a tube to get you home (make sure the spoke is not protruding into the rim bed!). In order to fix the issue at home, remove the tire and the rim tape and clean the rim thoroughly. If spoked snapped, replace it… Make sure you know why the spoke punched through the tape: check for even spoke tension and make sure your rim is an intact running true. Re-tape the rim (with new tape) and set up tubeless. Check out our Ultimate Guide to Tubeless for everything you need to know!
Serious rim damage
Fixable on the trail? No
If you have dented your rim and it is losing air, the only option is to install a tube and carefully ride home. Make sure to thoroughly inspect the rim first – if the damage is too bad you will have to walk back.
Defect Valve
Fixable on the trail? Likely
Time needed for repair: 5-10 mins
If your valve is leaking, try tightening the lock-nut that holds it in place. Sometimes they rattle loose, causing the leak. Admittedly, we all have bent or somehow messed with our valve core trailside. When releasing air for example… If your valve core is broken, no need to panic. You often carry one around inside your spare tube without even knowing! Remove the core from the spare tube, carefully remove the one from the tubeless valve (this will let all the air out of the tire) and install the spare valve core. Pump the tire back up and ride on.
Why do I always puncture?

Are you doing everything right, yet still ending most rides in deflated disappointment? You are probably running the wrong tires! Luckily, we have put together a massive tubeless MTB tire group test, so you can find the perfect tire for your bike!
With the correct setup and tire choice, tubeless punctures are very rare. However, if you are caught off-guard and puncture, we hope the tips above will get you back onto the trail ASAP. Tubeless punctures are not scary, and definitely not a reason to stick with a tubed setup. Remember, you can always install a tube and ride home!
Did you enjoy this article? If so, we would be stoked if you decide to support us with a monthly contribution. By becoming a supporter of ENDURO, you will help secure a sustainable future for high-quality mountain bike journalism. Click here to learn more.
Words: Photos: ENDURO Team