It’s hard to imagine that we’ll soon be getting back on our bike wearing just a t-shirt and shorts in 25°C temperatures, letting the summer breeze blow through our hair. But summer will be here before you know it, we promise! We have summarised the most important tips for the new season, so you can get it started in tip-top shape, leaving your buddies in a cloud of dust!
If you want to avoid your first ride turning into a total disaster with you left standing on the side of the trail, completely disillusioned and exhausted like Tom Hanks on his deserted island in Cast Away, then now’s the time to pay attention. These tips don’t require expert know-how, a big budget or a lot of time to implement, ensuring that everyone can get the season started safely and well prepared. Instead of (not) returning home after the first ride with two flat tires, burning forearms and a broken chain.
Proper bike care and maintenance

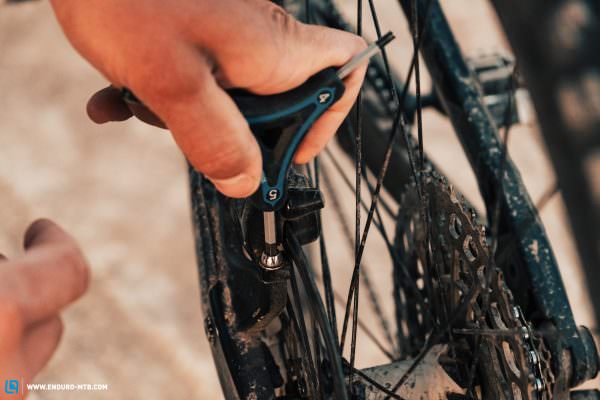
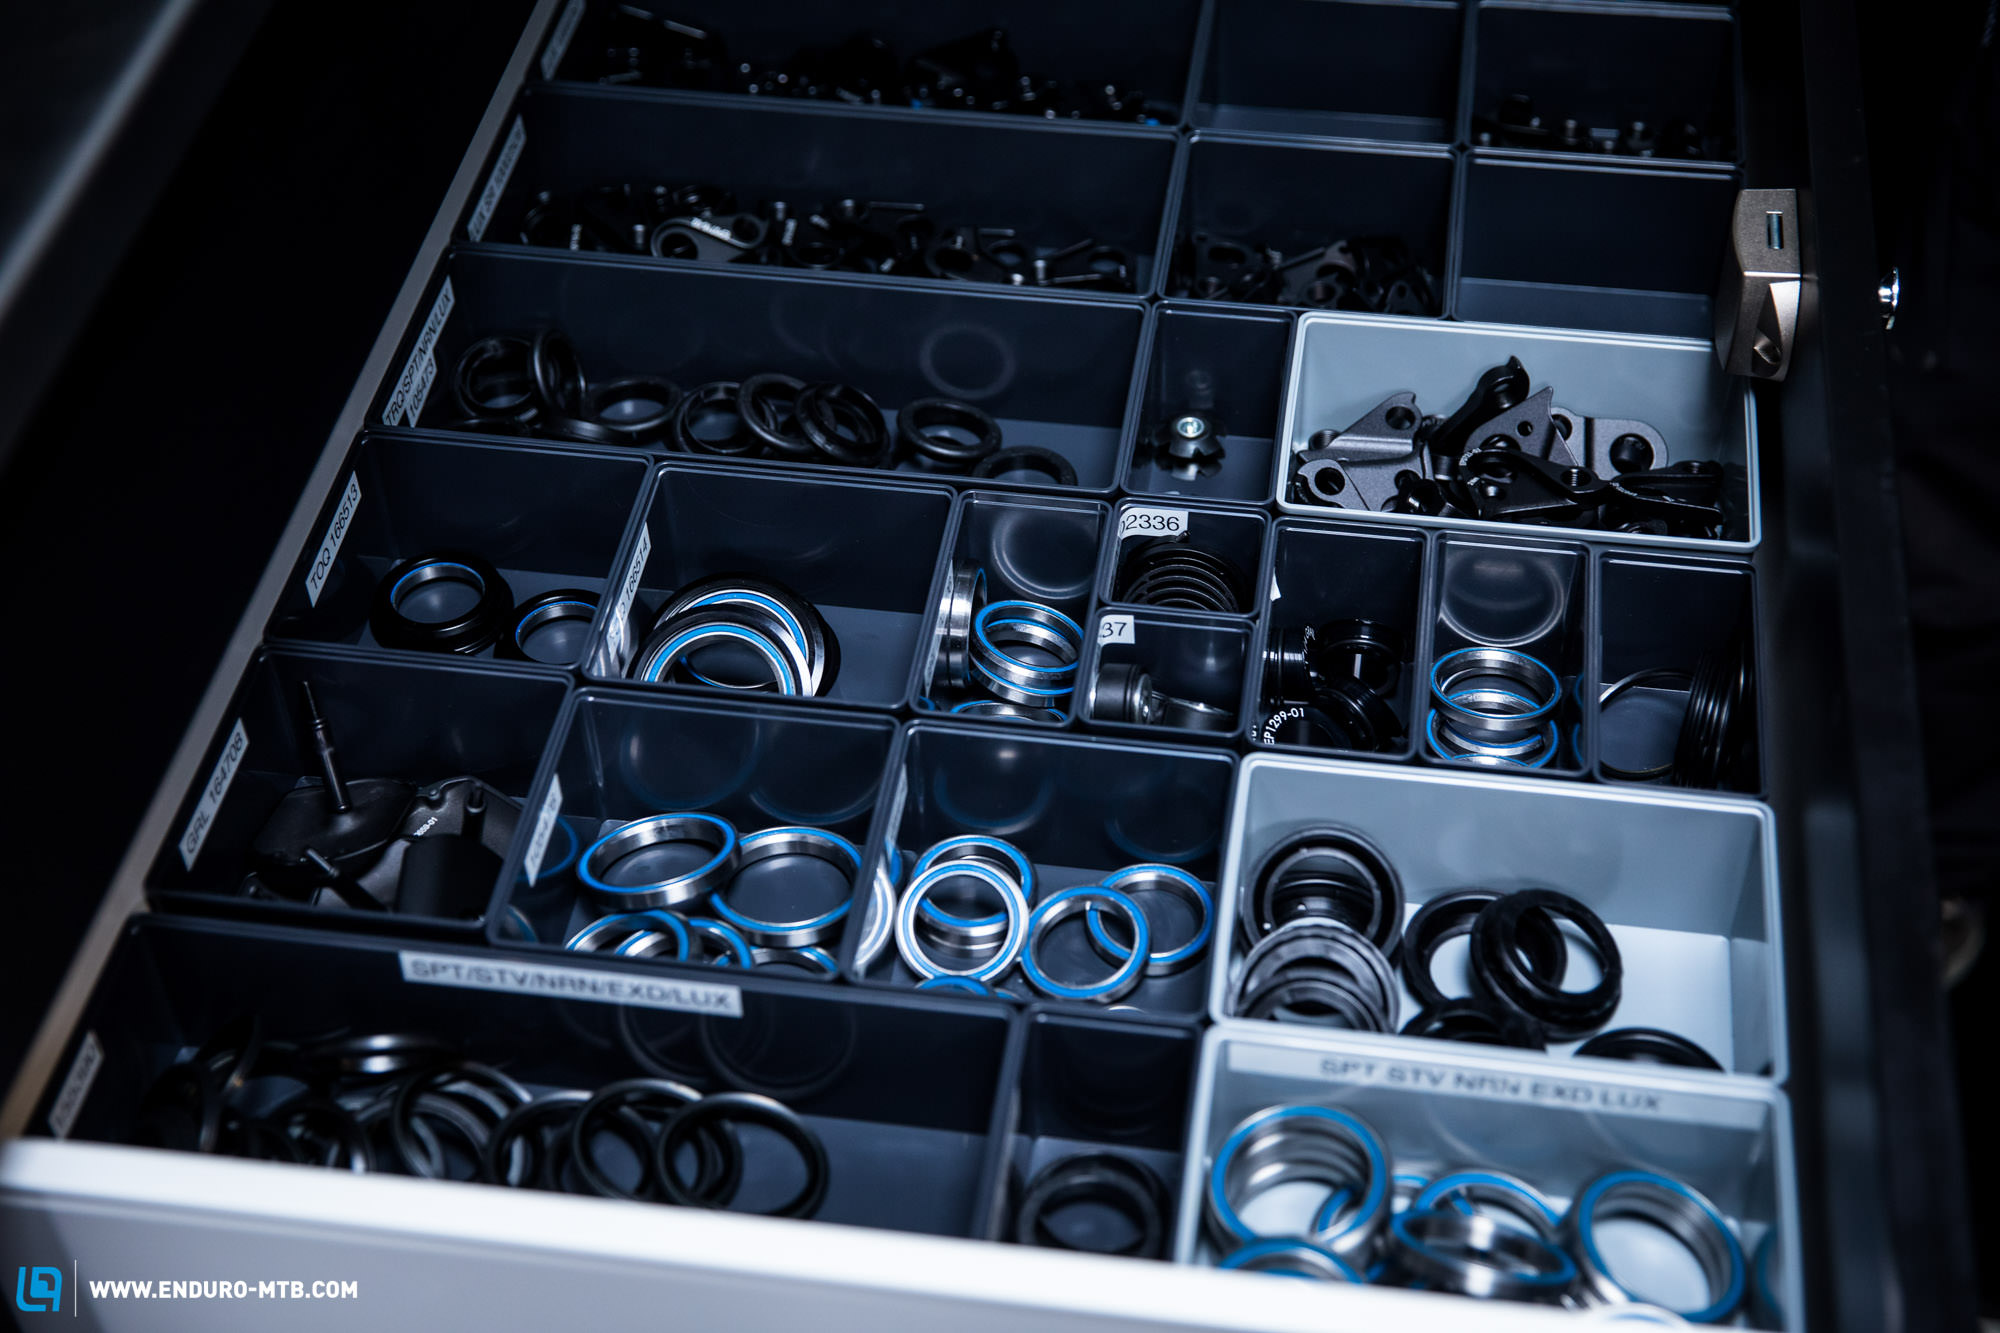
1. Check all bearings and bolts – Quiet is fast
What should be mandatory before every ride is at the top of your to-do list before the start of the new season as it’s critical to your safety: the good old bolt check. Tighten all the bolts to the specified torque setting and replace those whose heads are starting to get rounded out. Pay particular attention to the bolts on the brake callipers, stem and handlebar and always use a torque wrench. The last thing you want is to strip a thread or break a bolt. Caution: if you notice any play on the bearings when shaking the frame, wheels, etc., it’s best to replace the worn bearings or bushings right away.
Even if all the bolts are tight, there are so many moving parts on the bike that it will often squeak. According to the “quick is quiet and quiet is fast” rule of thumb, it’s important to find out where the noise is coming from and remedy it. Click here toread about the most common sources of annoying noises and how best to eliminate them.
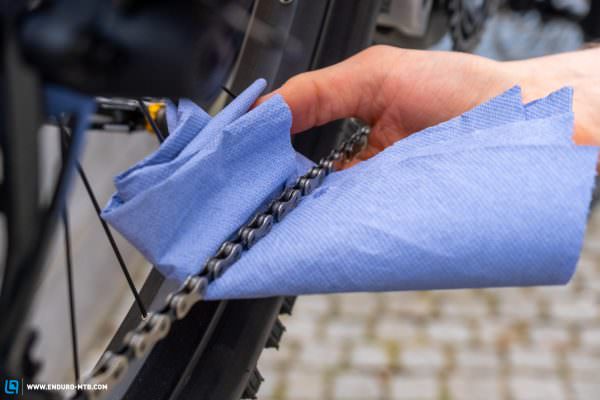

2. Servicing and maintaining the drivetrain – Caring for your teeth
In addition to the bearings in the rear linkage and the hubs, the drivetrain is also subject to constant wear and tear. In general, the rule of thumb is that the fewer the teeth, the greater the wear. Therefore, pay particularly close attention to the small plastic rollers on the rear derailleur and the heaviest gears (i.e. the smallest sprockets). To check if the chain has stretched, the relevant manufacturer usually provides a gauge or a specified maximum measurement between a defined number of chain links. To ensure that everything keeps running as long and smoothly as possible, we’ve written a guide on how to lube the chain. Should it be in need of replacing, we also tell you how to replace a chain and find the correct length. It is also always worth looking at the derailleur hanger. If it’s just slightly bent or loose, the drivetrain won’t shift properly. If the drivetrain doesn’t perform as it should despite everything looking alright and the chain not being worn, it’s often worth replacing the shifter cable.

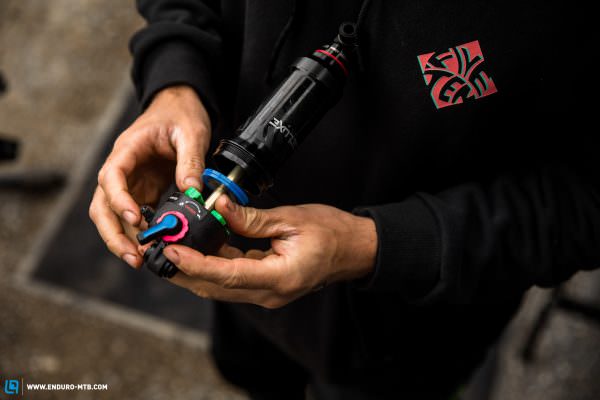
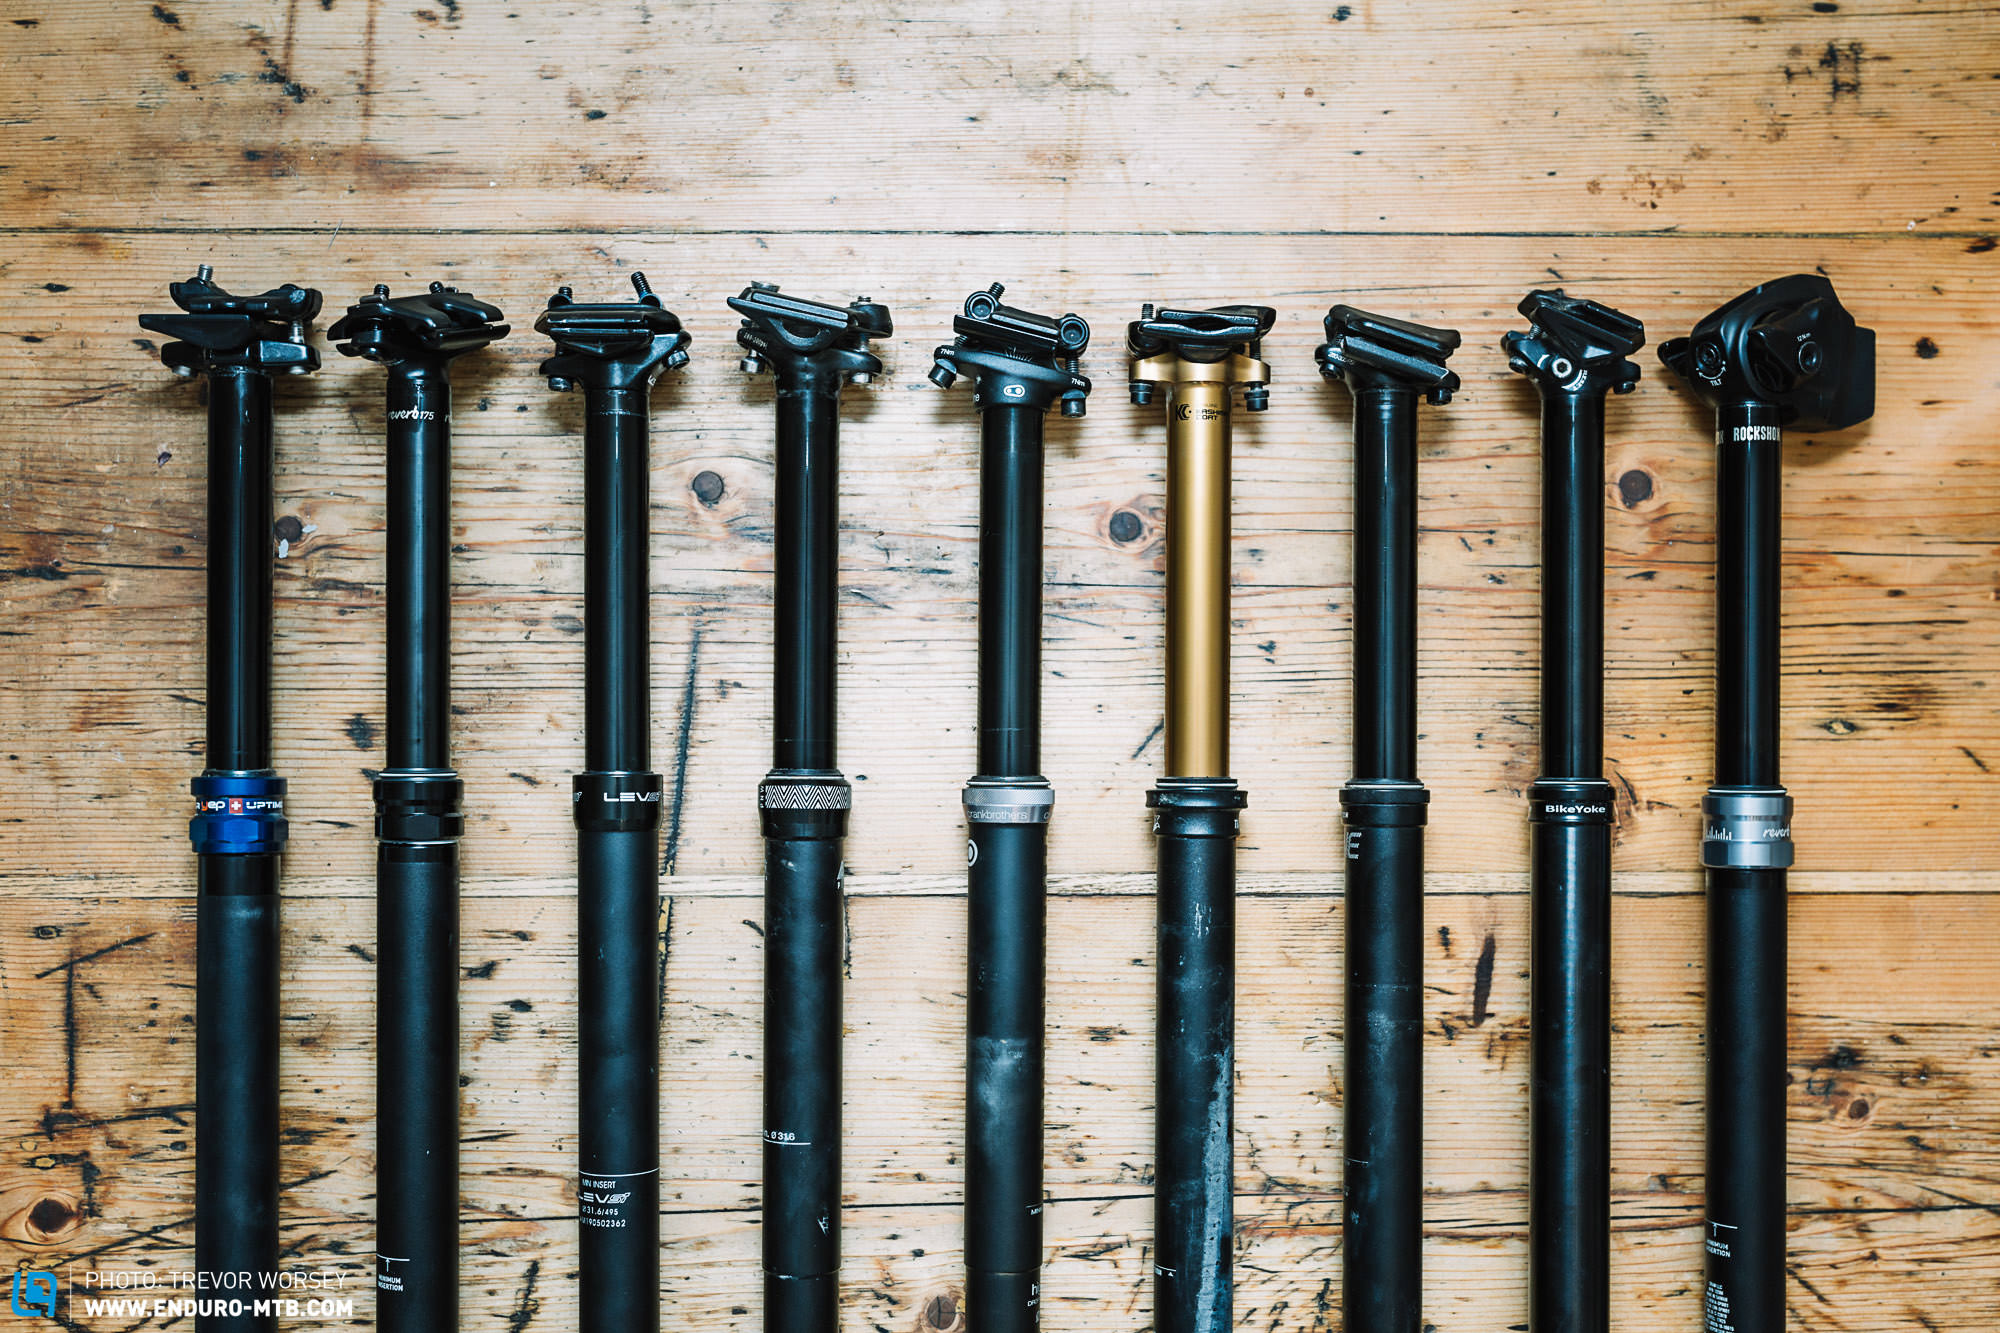
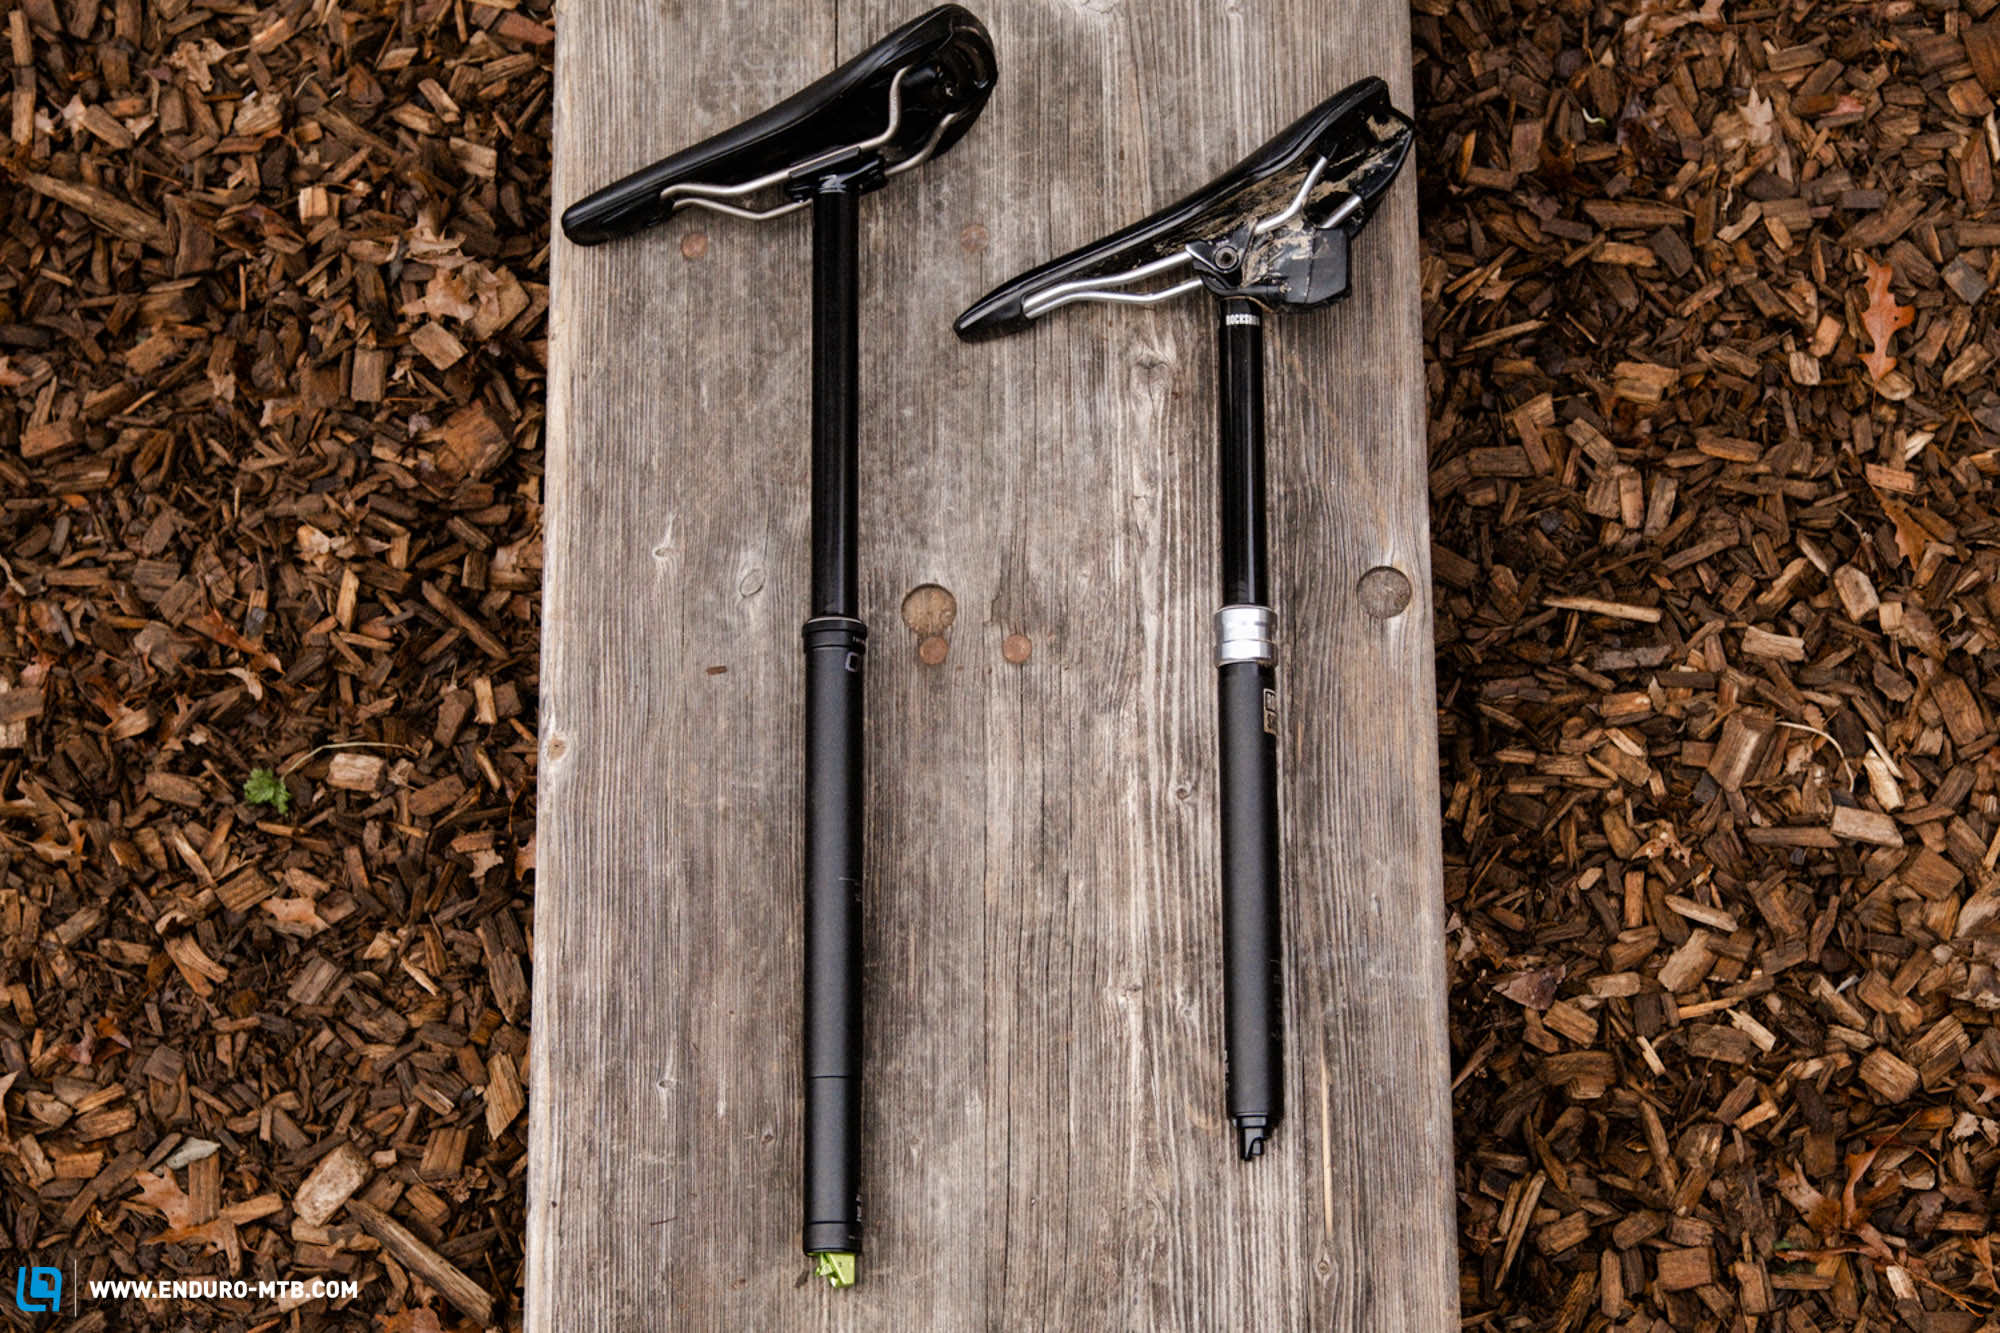
3. Optimising the suspension – Dampen the impacts
Let’s get to the part that matters most for having fun (on the descents!): the suspension. Since it’s at the core of every good setup and because the fork and shock can lose pressure if left standing over a longer period, it’s best to dial in your suspension from the ground up. Once you’ve perfected the setup, make a note of the settings on your phone or in one of the numerous setup apps available. That way you won’t have to start from scratch in case you’ve got to have the fork or shock serviced. In the broadest sense, the dropper post can also be considered a part of the suspension, or at least the fun part as you’ll have more of it on the descents when it gives you the necessary freedom of movement needed to ride actively. If you still find yourself fiddling with the seat post’s quick-release lever at the top of every trail, it’s time to treat yourself to a decent dropper post with a handlebar remote. It is particularly important to choose the correct dropper post length for your bike. If you know what length you need, we’ve already put a bunch of dropper posts to the test to find out which is the best. To keep it performing smoothly all season long, here are a few maintenance tips for your dropper post.

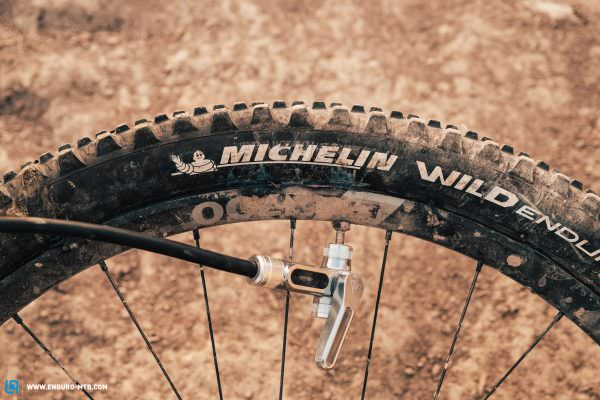
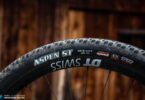
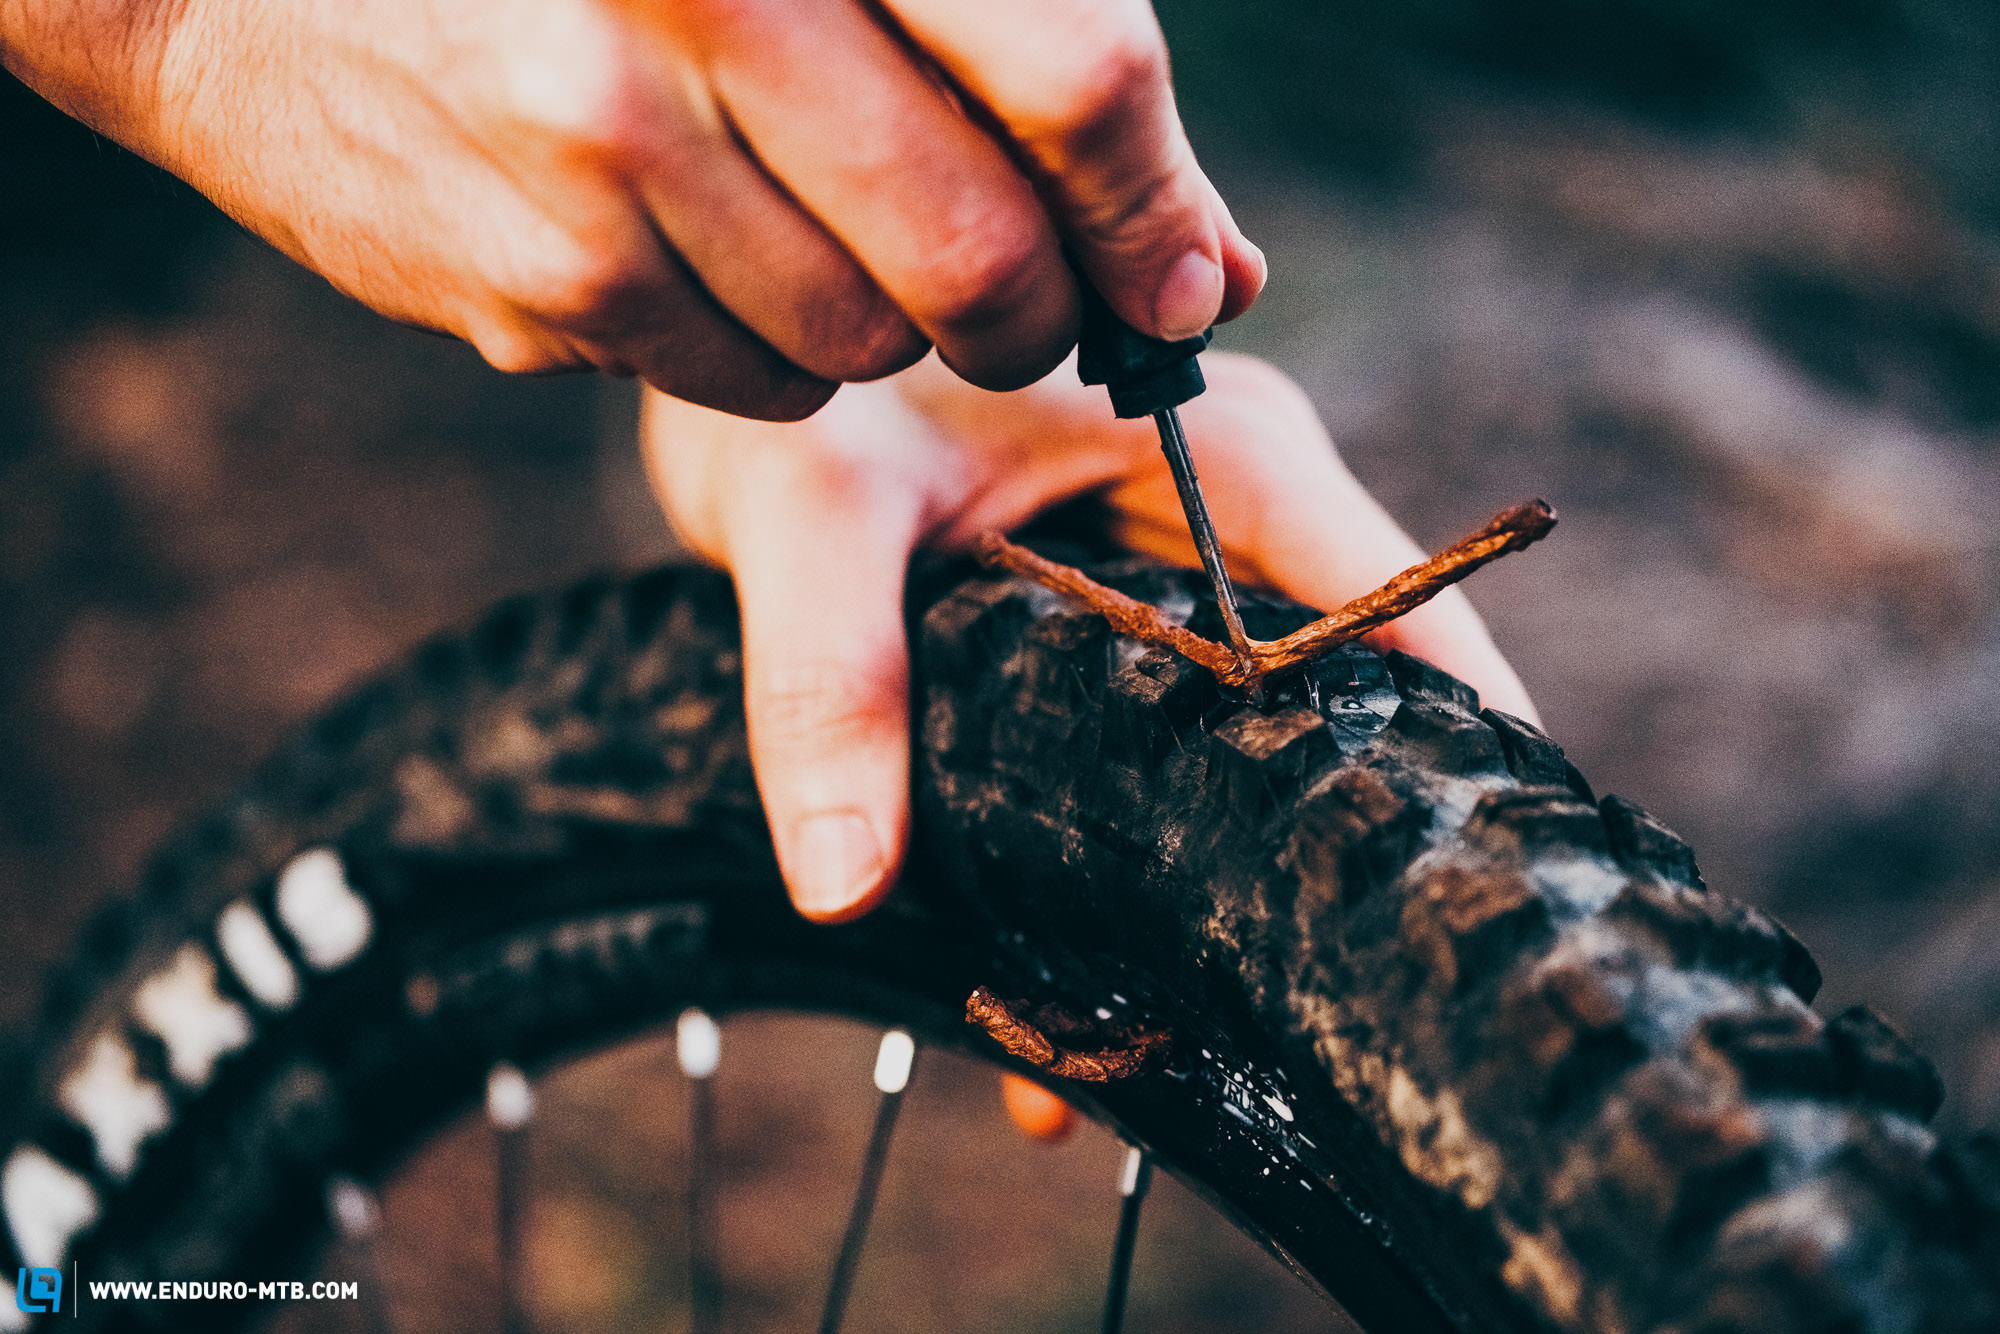
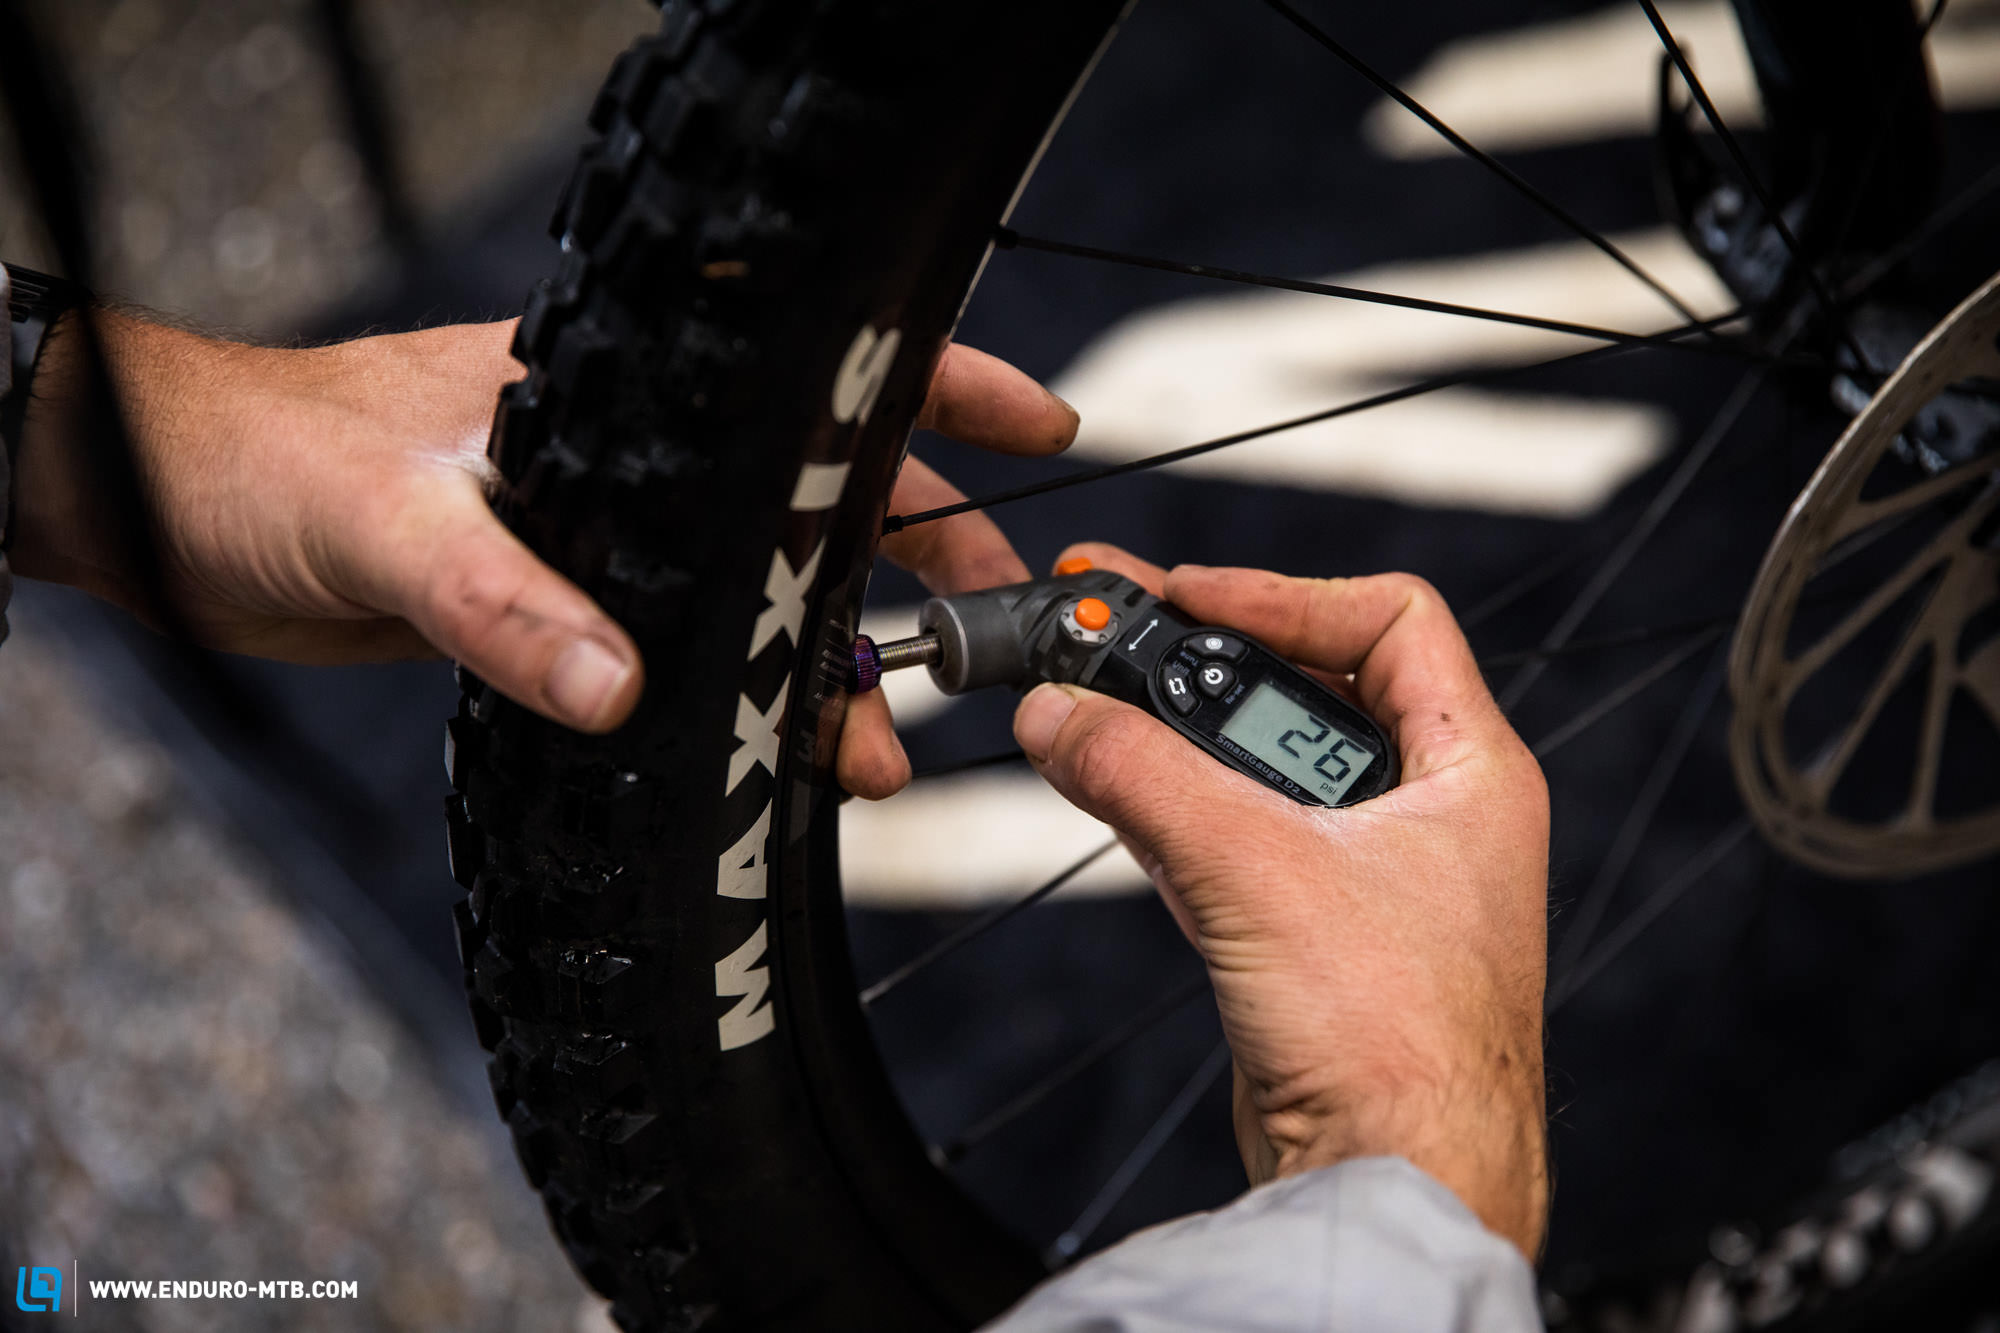
4. The best tire choice – Stay on track
Your tires are the only point of contact with the trail, so you’ve got to pay special attention here and regularly check for wear. You must remember that the tires also act as a kind of suspension, so start with the correct tire pressure. Adjust it according to your weight (including all your kit), the tire casing and the conditions on the trail. You will learn how to identify the correct tyre pressure here. If knobs have torn off or the casing is damaged beyond repair, you should replace the tires – preferably with ones that have a more robust casing so you can run them at a lower pressure without having to worry about your rims. You’ll find everything you need to know about adjusting the tire pressure for your intended use in our big mountain bike tire group test where we compared the models of the six best tire brands. If you want to drop the tire pressure lower than even the thickest casing can handle, a tire insert like the CushCore PRO is what you need. Tire inserts usually only work with a tubeless setup, not with a tube in the tire. You can find out how to convert to tubeless here if you haven’t already made the switch. It’s a good idea to put in new sealant after a long period of inactivity and to clean the valves. You’ll also find out how to do this in our tubeless guide.
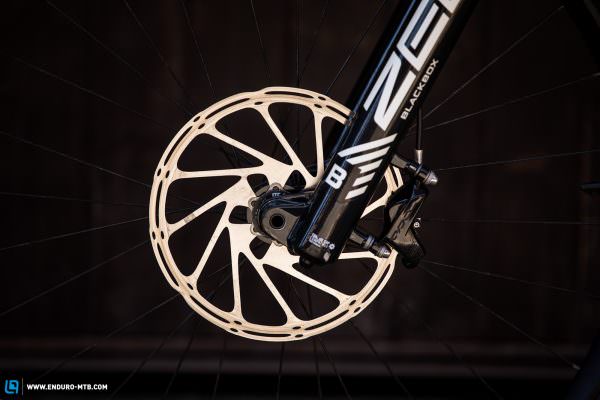
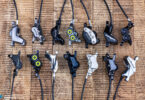
5. Your lifeline, the brakes – Maintenance, care and bleeding
The tires aren’t just good for generating grip through the corners, but also when using the brakes. For your life insurance – the brakes – to work properly, check them at least once before the start of the season. Check whether the pads are worn and use the opportunity to inspect your rotors. These can shrink and warp when they overheat like they do when you ride with worn pads for too long. Bigger rotors can help reduce the build-up of heat, improving the braking force. You can find out what else you can do for more braking power in our brake tuning guide. It also makes sense to bleed the brakes regularly, or at the latest when the bite-point starts feeling vague. We’ve created a brake bleeding guide for SRAM and MAGURA brakes. With Shimano brakes, the process is almost self-explanatory thanks to the funnel. For all other brakes, the bleeding kits usually come with comprehensive instructions. If you were dissatisfied with your brakes last season, it may make sense to replace the entire brake system before starting the new season. We found out which are the best brakes on the market in our big brake group test, based on both lab and real-world tests.


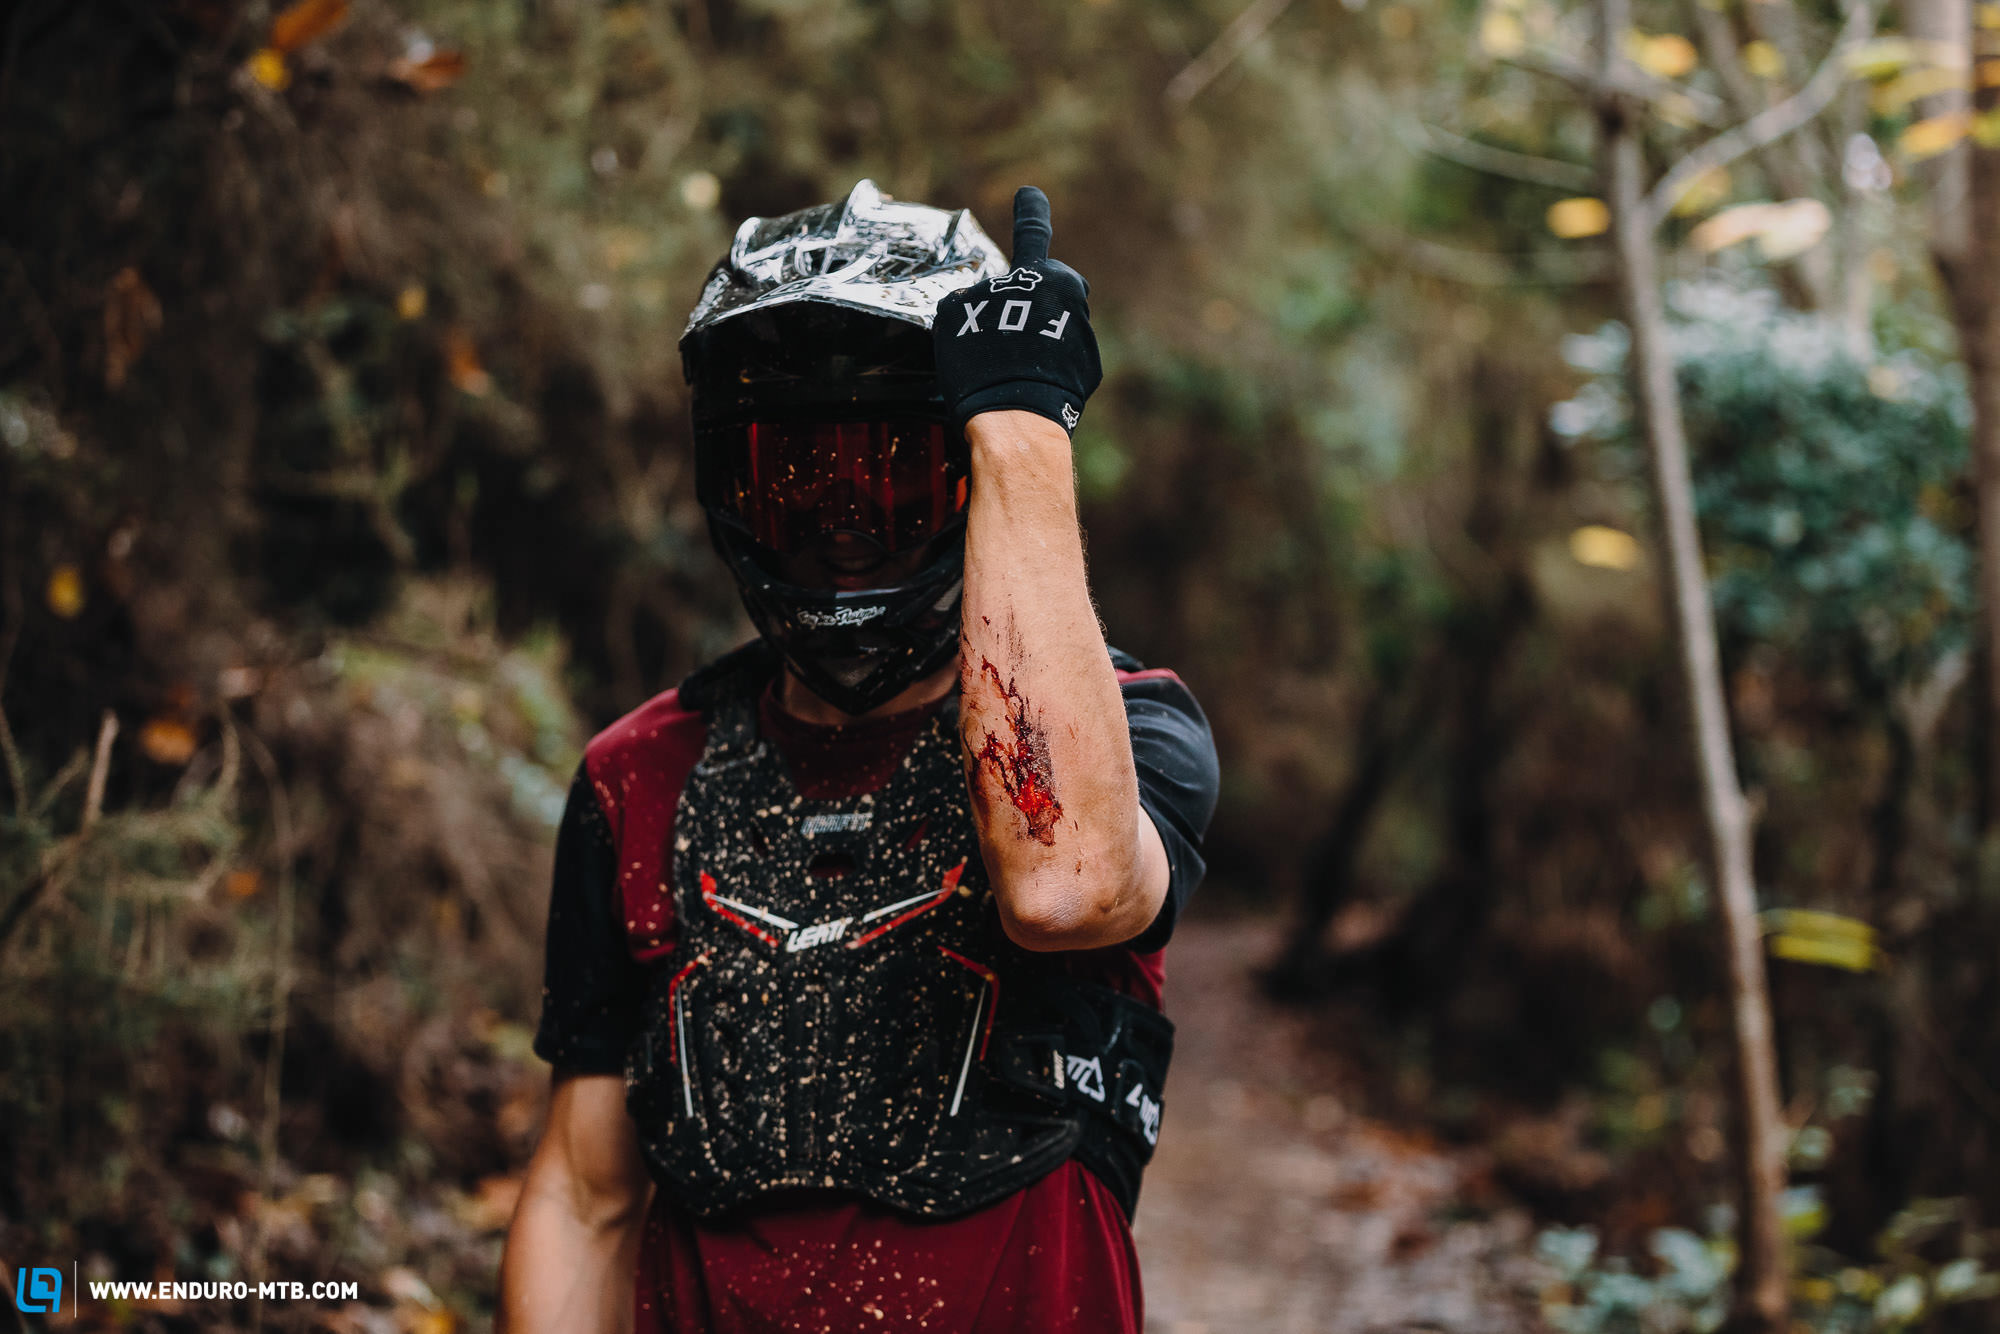
6. Bike-specific fitness – Beach body ≠ bikebody
It’s not enough to just get your bike ready for the start of the season, but also yourself. A good place to start is with your mindset, leave the winter blues behind and put on your best summer smile! Once you’ve got your head right, it’s time for your body: Try to stay fit during the off-season. When you’re already in good physical shape, get on your bike and work on your riding technique, refreshing the basic principles before you go shredding. In addition, in winter riding in snow and mud is an excellent opportunity to hone your skills as the slippery conditions require you to stay alert and keep your balance. However, crashing is almost inevitable, especially when there’s a lot of mud and ice on the trail, so we recommend reading our guide on how to crash your MTB beforehand. By doing so you can avoid serious injuries and make the most of the season.
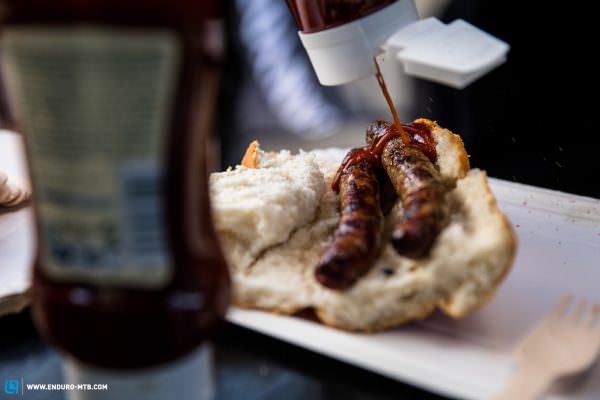
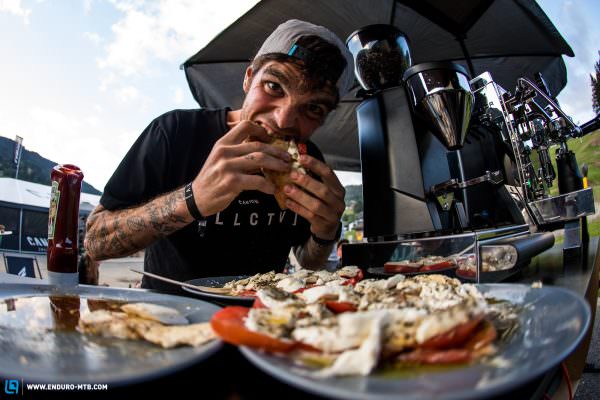
7. When all’s said and done – Post-ride planning
When you’re done in the workshop, made your preparations and hopefully gone out on your first ride, you can start thinking of the post-ride activities. It’s crucial to warm up after a winter ride: whether that’s in front of a warm fireplace, in the sauna or the bathtub. Heat can also help in the summer, allowing your muscles to relax and preventing them from feeling sore and stiff the next day. In addition to heat, isotonic drinks can also help you recuperate more quickly. In our here.post-ride drink guide, we’ve summarised the options and what makes the most sense after an extensive tour.
Whatever you do this summer, check your gear and yourself before you start shredding the trails. Once the brakes have been serviced and possibly bled and your mindset has been switched into summer mode, all that’s left to do is have a good time on the trails, let the warm summer breeze blow through your hair and have the best season ever!


Did you enjoy this article? If so, we would be stoked if you decide to support us with a monthly contribution. By becoming a supporter of ENDURO, you will help secure a sustainable future for high-quality mountain bike journalism. Click here to learn more.
Words: Julian Schwede Photos: Various